38
Connecting the AV receiver
—Continued
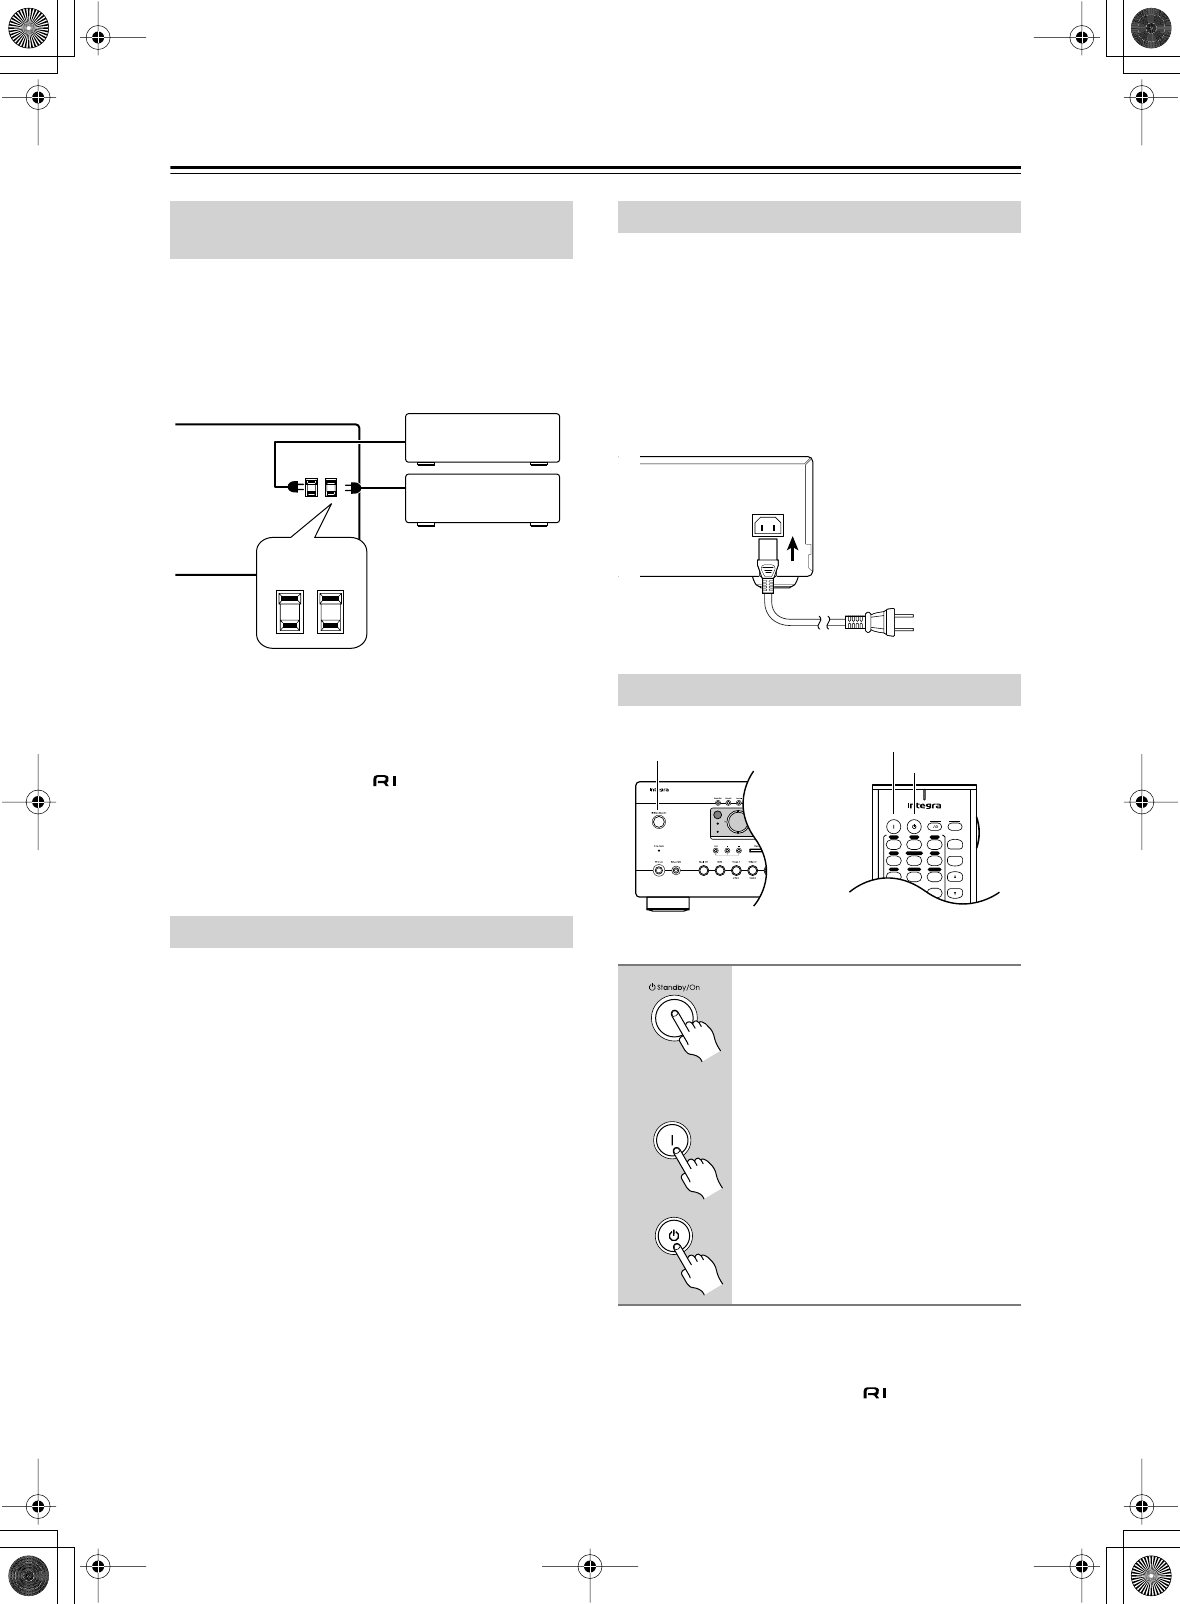
The AV receiver has AC outlets on its rear panel that can
be used to connect the power cords of AV other compo-
nents that you intend to use with the AV receiver. These
components can then be left turned on so that they turn
on and off as and when the AV receiver is turned on and
set to Standby.
Caution:
• Make sure that the total capacity of the components
that you connect to the AC OUTLETS does not exceed
the stated capacity (e.g., TOTAL 120 W).
Note:
• Integra components with jacks should be con-
nected directly to wall outlets, not the AV receiver’s
AC OUTLETS.
• The number of AC OUTLETS, socket type, and total
capacity depends on the country in which you pur-
chased the AV receiver.
This port can be used to connect an external controller
for controlling the AV receiver.
Plug the supplied power cord into this AC INLET.
• Do not use a power cord other than the one supplied
with this AV receiver. It’s designed exclusively for use
with this AV receiver and should not be used with any
other component.
•Never disconnect the power cord from the AV receiver
while the other end is still plugged into a wall outlet.
Doing so may cause an electric shock. Always discon-
nect the power cord from the wall outlet first.
Notes:
• Pressing the remote controller’s [On] button once will
turn on the AV receiver. Pressing it again will turn on
any components connected via .
• When the AV receiver is on Standby, it will turn on
automatically when any one of its input selector but-
tons is pressed.
Connecting the Power Cords of Other
Components
Connecting the RS232 Port
AC OUTLETS
AC
120
V 60
Hz
SWITCHED
TOTAL 120W 1A MAX.
Connecting the Supplied Power Cord
Turning On the AV receiver
Press the [Standby/On] button.
Alternatively, press the remote
controller’s [Receiver] button fol-
lowed by the [On] button.
The AV receiver comes on, the display
lights up, and the Standby indicator
goes off.
To turn off the AV receiver, press the
[Standby/On] button. The AV receiver
will enter Standby mode.
AC
INLET
DO NOT connect the
power cord at this time.
Power cord
(supplied)
Standby
Zone 2
On Standby
TV
TV CH
TV VOL
--
/
---
Input
I
+
10 0
Clear
123
456
789
+
-
V1 V 2 V3
CD
Phono
Tape
V
4 DVD
Multi CH
Tuner
Standby/On
Standby
On
Standby
On
Remote
controller


