7800 SERIES RM7824A RELAY MODULE
65-0155—1
10
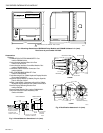
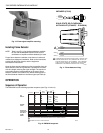
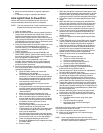
Fig. 10. Flame signal amplifier mounting.
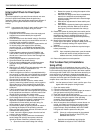
Installing Flame Detector
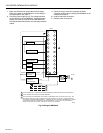
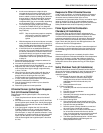
NOTE: Table 2 and Fig. 11 list the flame detectors available
for use with the RM7824A. Make sure the correct
combination of amplifier and flame detector(s) is used.
Proper flame detector installation is the basis of a safe and
reliable flame safeguard installation. Refer to the instructions
packed with the flame detector and the equipment
manufacturer instructions.
Keep the flame signal leadwires as short as possible from the
flame detector to the wiring subbase. Capacitance increases
with wire length, reducing the signal strength. The maximum
permissible leadwire length depends on the type of flame
detector, leadwire and conduit. The ultimate limiting factor in
the flame detector leadwire is the flame signal (see Table 6).
BLUE
YELLOW
WHITE
WHITE
RED
BLACK
F
G
22
M7594
SOLID STATE SELF-CHECKING
ULTRAVIOLET (C7024E,F - E SHOWN)
1
1
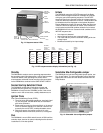
FLAME DETECTOR LEADS ARE COLOR CODED. THE BLUE LEAD
MUST BE CONNECTED TO THE F TERMINAL AND THE YELLOW
MUST BE CONNECTED TO THE G TERMINAL. THE UV SENSING
TUBE IS POLARITY SENSITIVE. REVERSING THE LEADS EVEN
MOMENTARILY CAN DAMAGE OR DESTROY THE UV TUBE.
24Vdc (–)
3
24Vdc (–)
WHITE
BROWN
F
G
INFRARED (C7015)
Fig. 11. Flame detector wiring.
OPERATION
Sequence of Operation
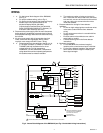
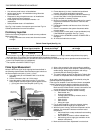
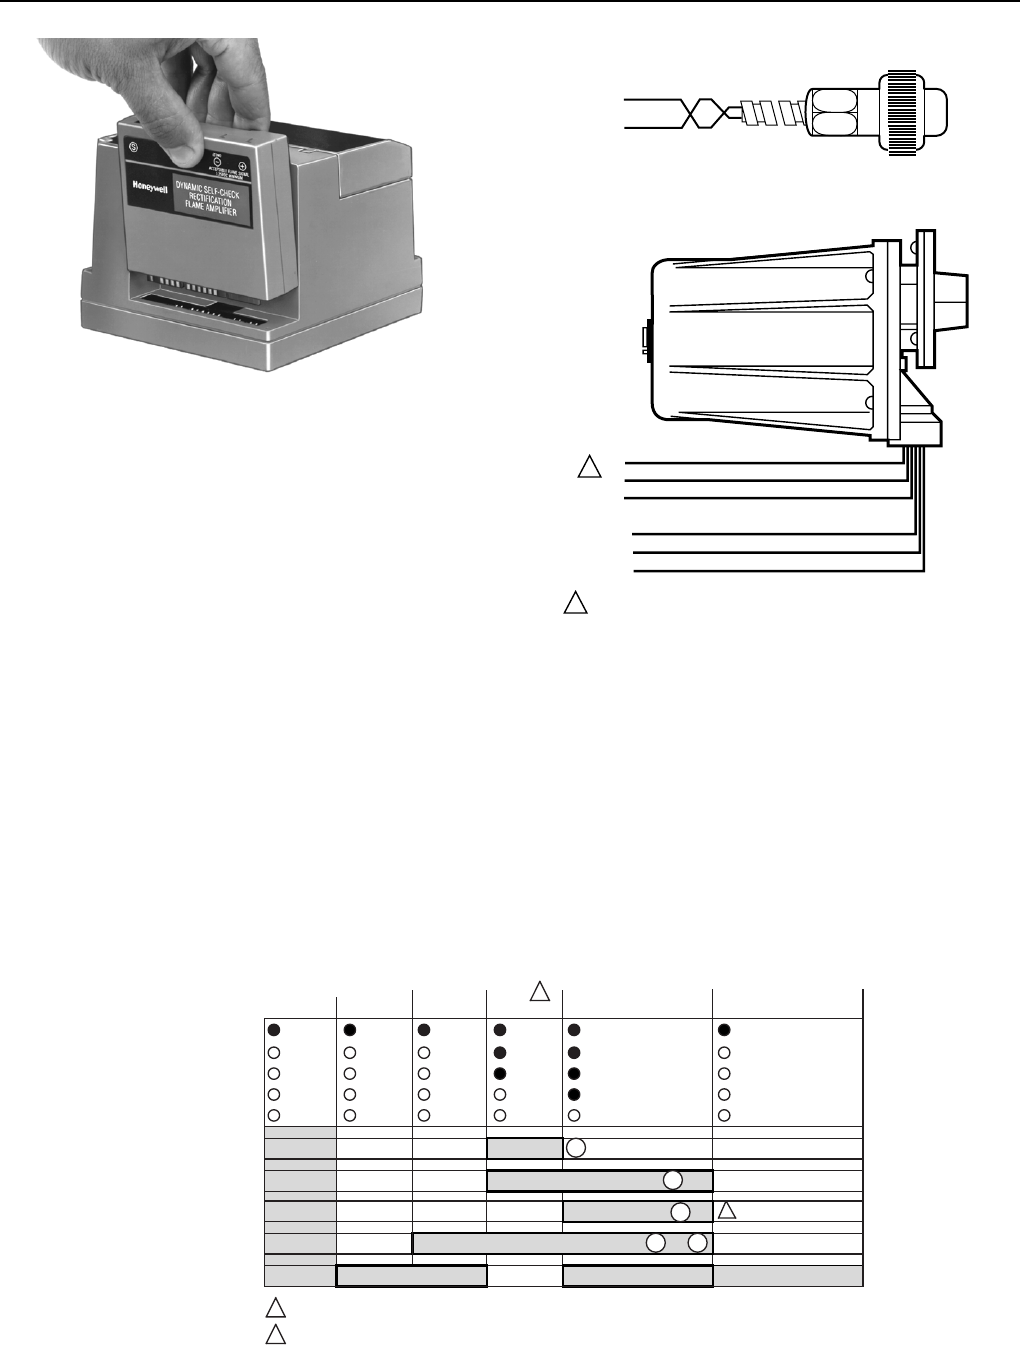
The RM7824A has the following operation sequence (see Figs. 12 and 14).
Fig. 12. RM7824A sequence.
POWER
00
LED
DISPLAY
OPERATING
CONTROLLER
AND LIMITS
BURNER
START
FLAME
SIGNAL
INITIATE
ALARM
POWER
STANDBY
POWER POWER
PILOT
FLAME
MAIN
PFEP
4 OR 10 SEC
PILOT
FLAME
MAIN
POWER
RUN
STANDBY
10
IGNITION
INTERMITTENT PILOT
MAIN VALVE
LIMITS AND BURNER CONTROL CLOSED
9
8
10
+ 6
TO
M5135B
00
POWER
SAFE-
START
MAIN FUEL VALVE WILL BE ENERGIZED DURING PFEP IF FLAME IS PROVEN.
RM7890A1031 PFEP IS FIXED 30 SECOND.
1
2
2
1
ALARM
S S C
SAFE START CHECK
FLAME PROVING


