


E
N
GTM 11 Owner’s Manual EN-3
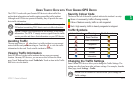
TESTING THE GTM 11
Use the following testing and troubleshooting techniques:
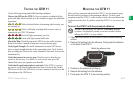
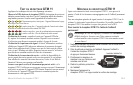
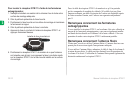
Observe the LED on the GTM 11:
Service reception is indicated by the
green solid light, which can take up to five minutes to appear for initial data
acquisition.
Yellow dot-dash flashes: determining which country you
are currently in.
Yellow solid light: searching table for active entry or
scanning for new TMC FM stations
Red solid light: momentary sync loss.
Green solid light: normal traffic data.
Check the Map: Check the map on the GPS device for traffic incidents.
Refer to the owner’s manual to learn how to access the map page.
Verify Signal Strength: The traffic information list on the GPS device
shows a signal strength indicator in the upper-right corner. Verify that the
bars are solid green. Refer to the owner’s manual to learn how to access the
information list.
Verify that you are in a service area:
Check for service from the pay
service or free services, if available. To view service areas, go to the
Garmin Web site at www.garmin.com/fmtraffic.
Verify that the paid subscription is activated: If the GTM 11 is using a
pay service, verify that the subscription has been activated in the Garmin
GPS device. Refer to the GPS device’s owner’s manual to learn how to add
subscriptions to the GPS device.
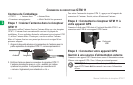
MOUNTING THE GTM 11
After you have connected and tested the GTM 11, you can mount it using
the hook-and-loop fastener or the permanent adhesive. For best signal
reception, mount the GTM 11 on the A-pillar, which is the area between the
windscreen and the door. If possible, mount the GTM 11 so you can see the
LED.
To mount the GTM 11 with the permanent adhesive:
NOTE: When mounted, the adhesive is extremely difficult
to remove. Be absolutely certain you want to mount it before
affixing the GTM 11 to your vehicle.
1. Clean and dry a section of the A-pillar or other suitable mounting
surface.
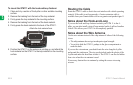
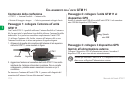
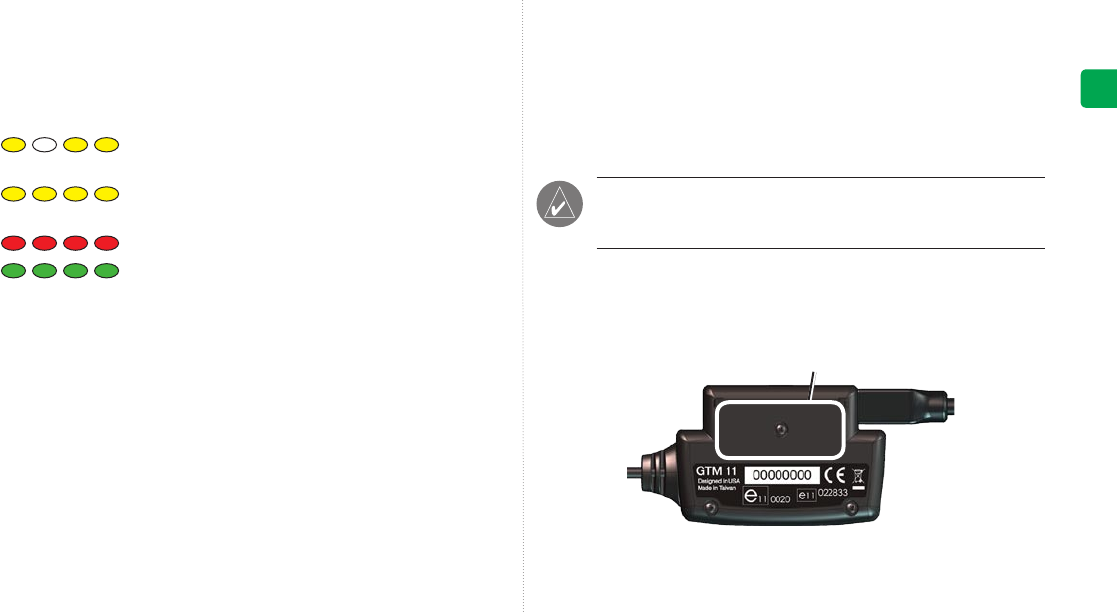
2. Remove the backing from the adhesive. Firmly press the adhesive
on the back of the GTM 11.
Attach the adhesive here.
3. Position so the antenna is pointing up.
4. Remove the backing from the adhesive.
5. Firmly press the GTM 11 to the mounting surface.