


• Be sure the THOR is installed by an Earthquake
authorized installer
• Do not attempt to perform the following steps without
a professional (Any product installed by an
unauthorized installer is not covered by the Limited 5
Year Warranty)
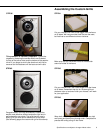
• Tools required for installation:
1) Allen wrench (This tool is provided)
2) Drill or power screw driver
3) Rubber Mallet
4) Razor blade or box cutter
5) Stud finder
6) Pencil
7) Sheet rock saw
8) Measuring device
This triangle, which appears on your component,
alerts you to the presence of uninsulated,
dangerous voltage inside the enclosure -
voltage that may be sufficient to
constitute a risk of shock.
CAUTION
RISK OF ELECTRIC SHOCK
DO NOT OPEN
This triangle, which appears on your component,
alerts you to important operating and
maintenance instructions in this
accompanying literature.
Unpacking System Components
Safety Instructions (continued)
System Installation
Considerations
Connection Tips
•
• 1 metal mesh grille
• 2 grille frames for custom fabric to match your décor
• 16 mounting screws
• 1 Allen wrench to install the logo screw
• 1 SWS logo
1 In-Wall SUB10 (THOR)
Your THOR Comes With:
• SWS (Shallow Woofer System)
• 300-watt driver
• 2 inch Excursion
• SLAPS (Symmetrically Loaded Audio Passive System)
• Extra thick high temperature PVC enclosure
• Back bridges that surround drivers
• Reinforced back box
• Crisscrossed ribs across the bottom of enclosure
• Dog ear clamps for added stability
• Bolts directly to 2x4 studs so no need to hassle with
brackets
• Spring loaded speaker terminals
• 3 grille options for ultimate customization
THOR Features
Installation Preparation
• Keep the original carton and packing materials for
future shipment or storage.
• Check for any visual signs of damage. If you
encounter any concealed damage, consult your
Earthquake Sound dealer before proceeding with unit
installation.
• Retain the sales receipt as it establishes the duration
fo the limited warranty and provides information for
insurance purposes.
There are several factors to consider before installing
Earthquake Sound’s THOR in-wall SUB-10.
• What are the intended listening zones?
• What system options and accessories might be
required for features such as local sources, etc.?
• From where in each zone will the listener prefer to
control the system? Where will the remote gains be
located? Where will the speakers be located?
• Where will the source equipment be located?
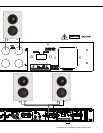
• Keep all power cords away from all signal cables to
prevent humming from induced noise.
• Choose reliable signal cable cords (Earthquake Sound
also specializes in high performance RCA cables and
patches).
• All speaker wires that are ran through the walls should
be twisted type to reduce potential hum noise pick-up.
• Label both ends of all wires with the corresponding
room location.
• It is best to use a grounded electrical outlet to power
the amplifier. Lack of input ground reference could be
unsafe. Consult with your electrical contractor about
proper grounding.
4
Earthquake Sound Corp. | (510) 732-1000 | www.earthquakesound.com
5
Specifications are subject to change without notice.
12) Use only a compatible rack or cart for the final
resting position.
13) Unplug this apparatus during lightning storm or
when unused for a long period of time.
14) Refer all servicing to qualified service personnel.
Servicing is required when the apparatus has been
damaged in a way such as: power-supply cord or
plug is damaged, liquid has been spilled or objects
have fallen into the apparatus, the apparatus has
been exposed to rain or moisture, does not operate
normally, or has been dropped.
15) To reduce the risk of fire or electric shock, do not
expose this apparatus to rain or moisture.
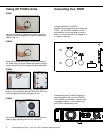
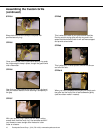
Unpacking Your THOR
This is your THOR in-wall packaged the way that you
will receive it. We will start from here, to begin your
journey into the world of true in-wall subwoofer
technology.
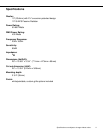
STEP#1
Open your carton from the top as shown and either pull
out from the top or carefully flip the carton upside down
and let it slide out.
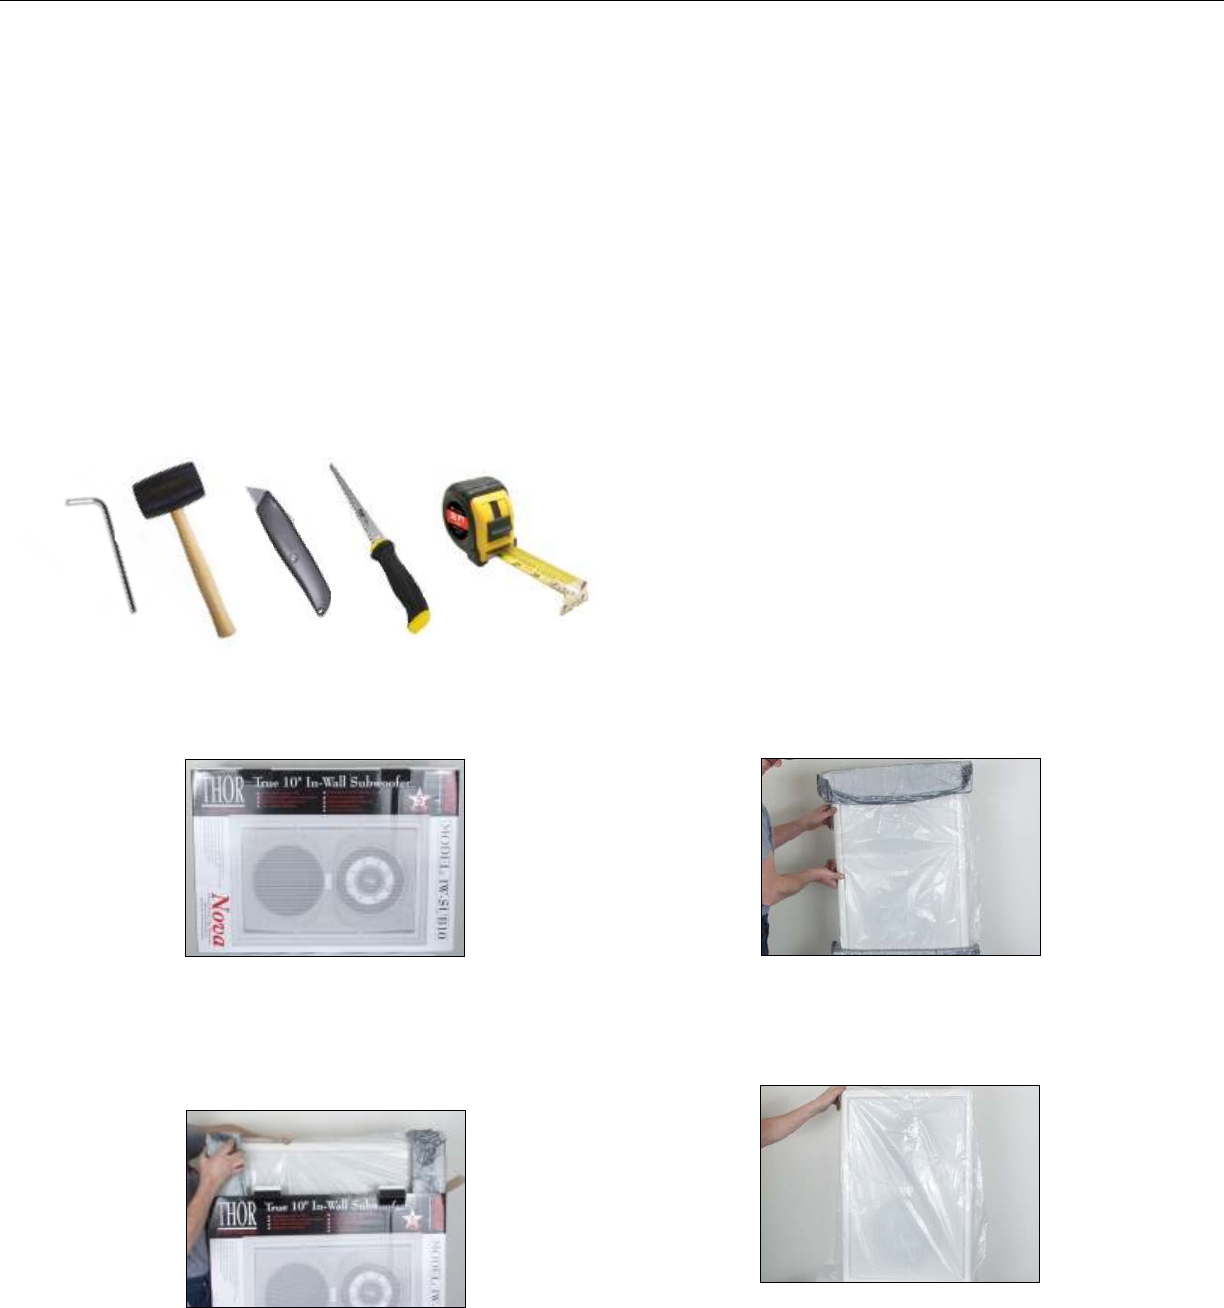
STEP#2
STEP#3
After you have successfully unloaded the THOR, be sure
to place all contents of carton aside for later use.
Remove the foam, plastic and two custom
grille rings from the back to begin installation proce-
dures.
protection
STEP#4