


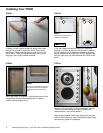

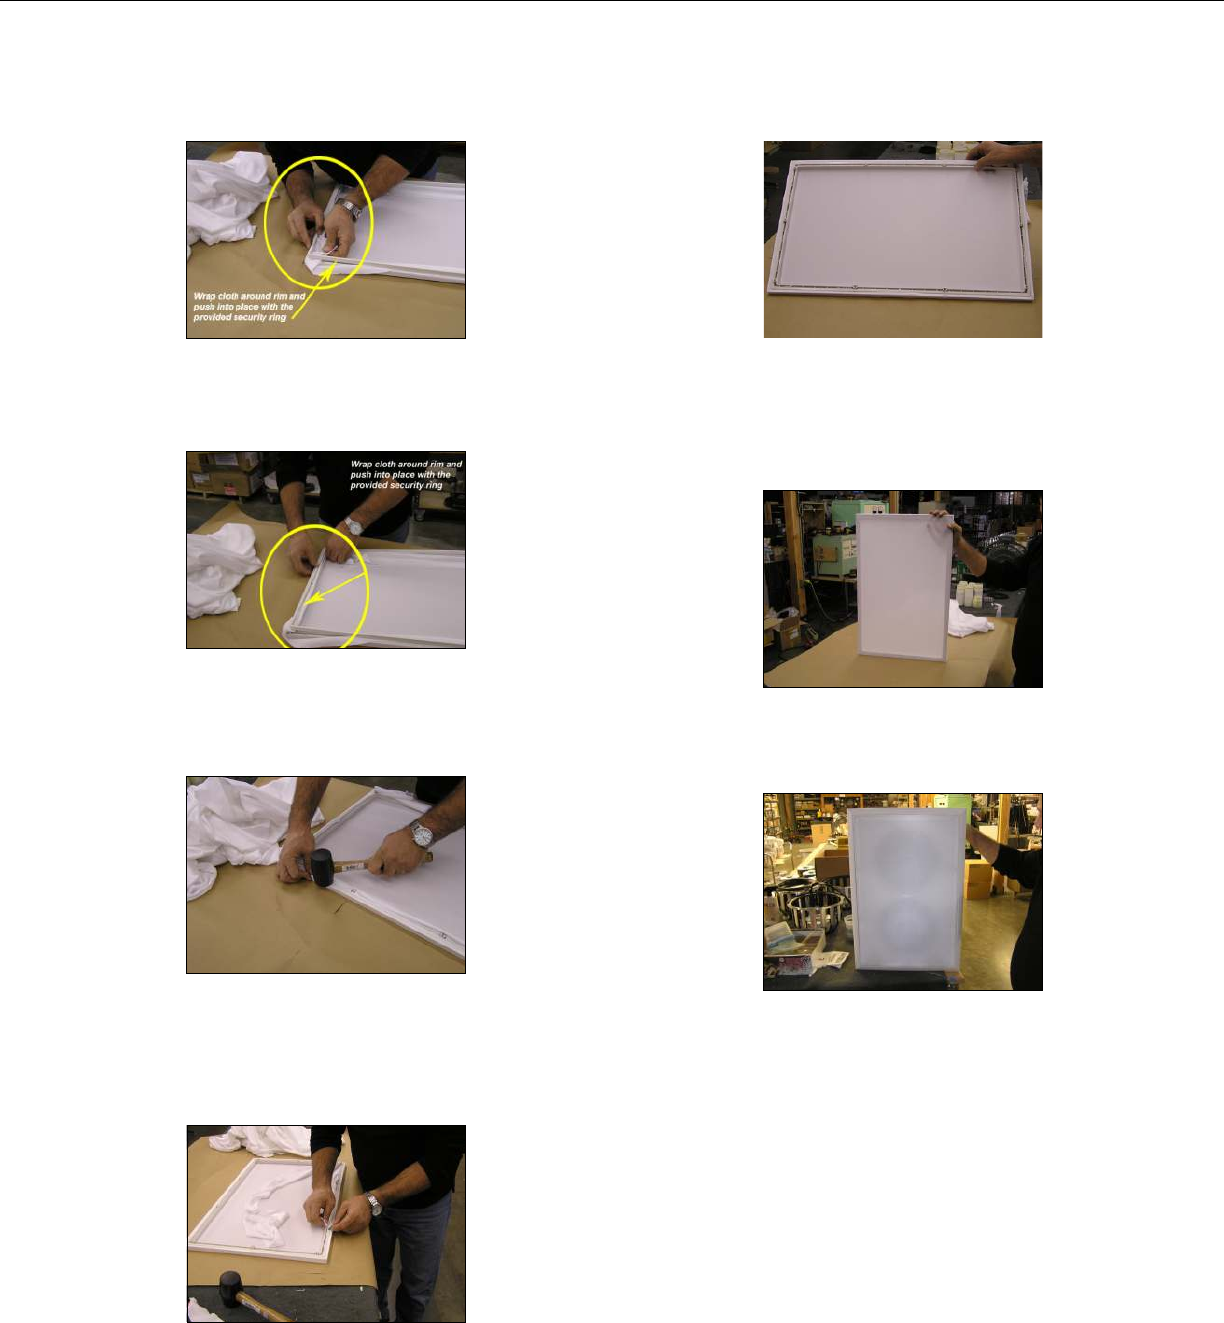
STEP#4
Wrap cloth around frame and put into place with
provided security ring.
STEP#5
Once you have the cloth in place with security ring push
the ring enough to keep in place, though the groove with
cloth underneath.
STEP#6
Now that you have pressed the security ring in by hand,
use your rubber mallet to finish securing it completely in
the gap.
STEP#7
With your security ring in place you can begin cutting
excess cloth from the inner ring. Use extreme caution if
you choose to use a straight razor instead of a box
cutter or scissors.
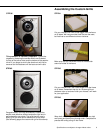
Assembling the Custom Grille
(continued)
Specifications
STEP#8
This is what the inside of your grille should look like.
Pouring a quick drying glue over the ring and in the
space around where the cloth is will add more support
and provide a hard shell.
STEP#9
This is what your finished product should look like on
and off of the sub.
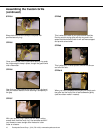
STEP#10
When you have completed the project you simply push
the grille into the front of the in-wall subwoofer gently
(use the rubber mallet if needed).
10
Earthquake Sound Corp. | (510) 732-1000 | www.earthquakesound.com
11
Specifications are subject to change without notice.
Woofer:
10” (254mm) with 2½” excursion patented design
10” SLAPS Passive Radiator
Power Rating:
50-800 Watts
RMS Power Rating:
400 Watts
Frequency Response:
20Hz-160Hz
Sensitivity:
89dB
Impedance:
4
Dimensions (HxWxD):
28” x 18 5/8” x 3 3/4” (711mm x 473mm x 95mm)
Cut out dimension (HxW):
24” x 13 3/4” (610mm x 349mm)
Mounting depth:
3 3/4” (95mm)
Finish:
white/paintable, custom grille options included