


45
ENGLISH
ENGLISH
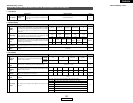
2 Parameters
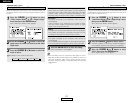
Large:
Select this when using speakers that have sufficient ability to
reproduce bass sound below the frequency set for the
crossover frequency mode.
Yes / No:
Select “Yes” when a subwoofer is installed, “No” when a
subwoofer is not installed.
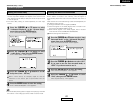
Small:
Select this when using speakers that do not have sufficient
ability to reproduce bass sound below the frequency set for the
crossover frequency mode. When this is set, bass sound with
a frequency below the frequency set for the crossover
frequency mode is sent to the subwoofer.
None:
Select this when no speakers are installed.
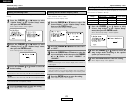
2sp / 1sp:
Set the number of speakers to be used for the surround back
channel.
Advanced Setup – Part 2Advanced Setup – Part 2
If the subwoofer has sufficient low frequency playback
capacity, good sound can be achieved even when “Small” is
set for the front, center and surround speakers.
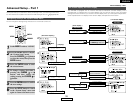
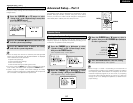
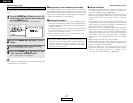
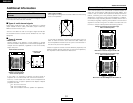
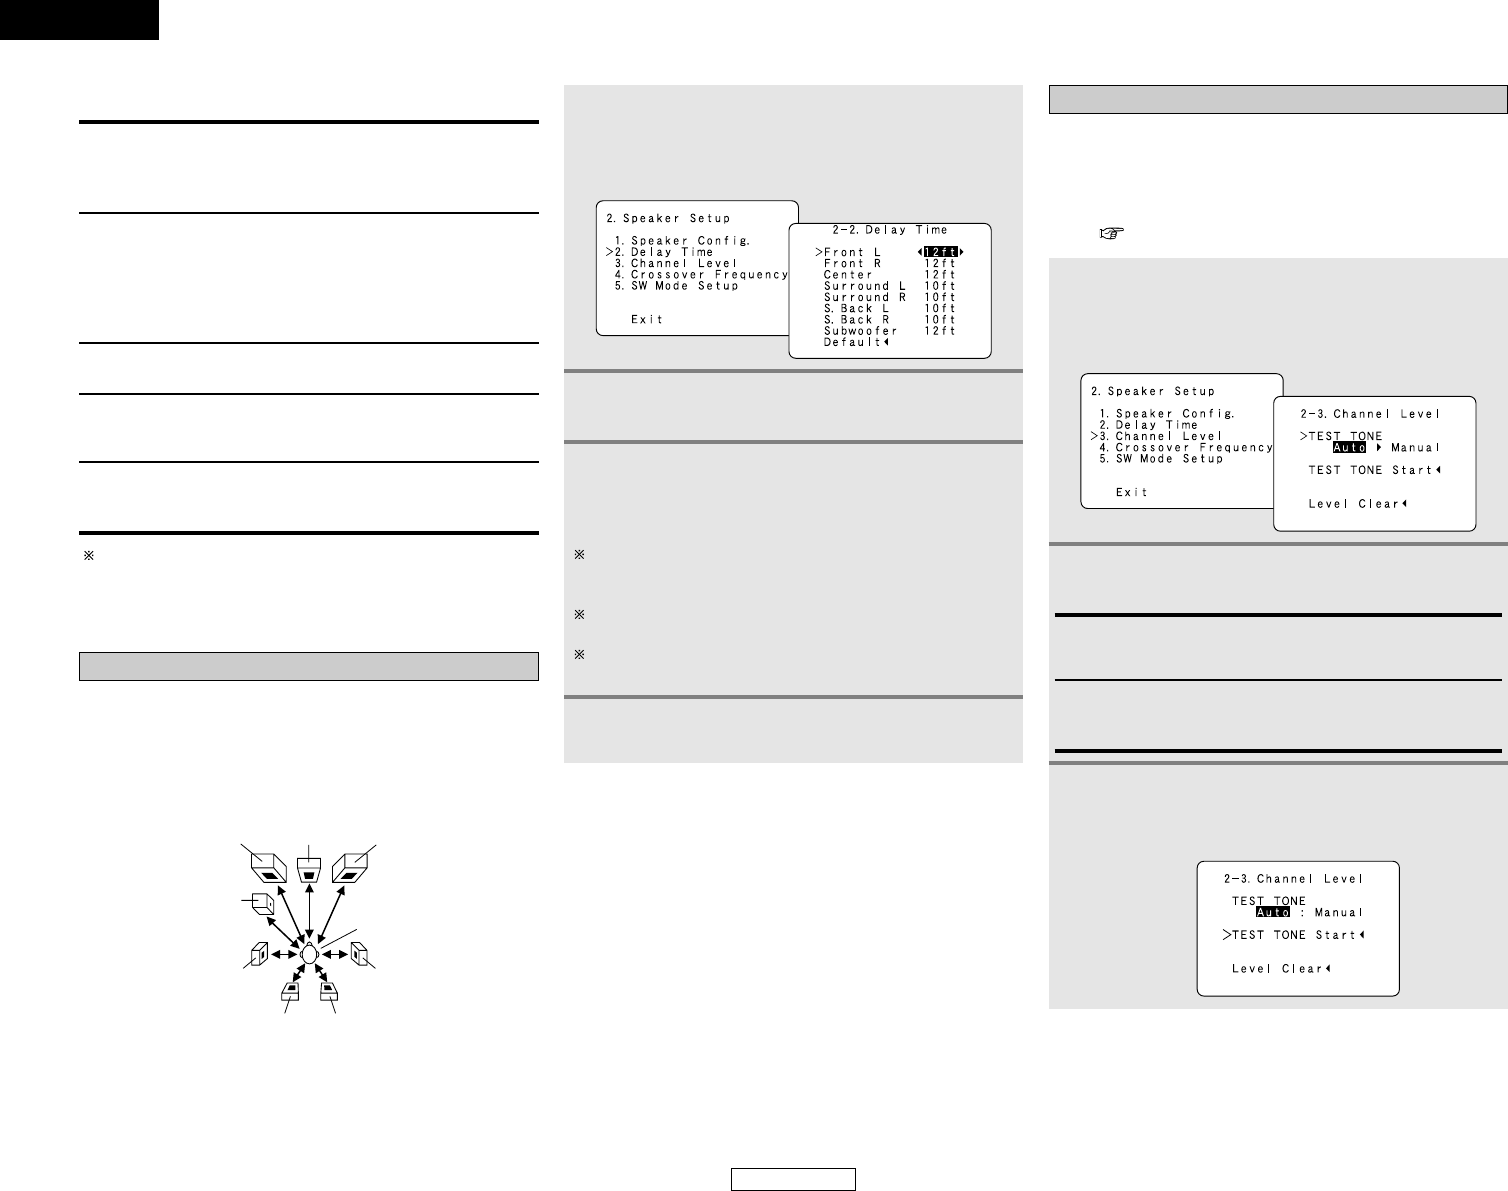
Setting the Delay Time
Input the distance between the listening position and each
speaker to set the delay time for the surround playback.
Preparations:
Measure the distances between the listening position and the
speakers.
Center FRFL
Subwoofer
Listening position
SL SR
SBL SBR
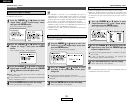
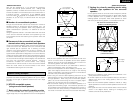
2
Press the CURSOR
DD
or
HH
button to select the
speaker to be set.
3
Press the CURSOR
FF
or
GG
button to set the
distance between the speaker and the listening
position.
The distance changes in units of 1 foot each time the button
is pressed. Select the value closest to the measured
distance.
If “Yes” is selected for “Default”, the settings are
automatically reset to the default values.
The difference in distance for the various speaker
settings must not be greater than 20 ft.
4
Press the ENTER button to enter the setting.
• The “Speaker Setup” menu appears.
1
Press the CURSOR
DD
or
HH
button to select
“Delay Time” at the “Speaker Setup” menu,
then press the ENTER button.
• The “Delay Time” screen appears.
• Use this setting to balance the playback levels in different
channels and make them appear equal.
• From the listening position, listen to the test tones produced
from the speakers to adjust the level.
• The levels can also be adjusted directly from the remote control
unit ( page 46).
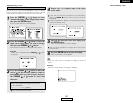
Setting the Channel Level
1
Press the CURSOR
DD
or
HH
button to select
“Channel Level” at the “Speaker Setup” menu,
then press the ENTER button.
• The “Channel Level” screen appears.
2
Press the CURSOR
FF
or
GG
button to select
“Auto” or “Manual”.
Auto:
Adjust the level while listening to the test tones produced
automatically from each speaker.
Manual:
Select the speaker from which you want to produce the test
tone to adjust the level.
3
Press the CURSOR
DD
or
HH
button to select
“TEST TONE Start”, then press the CURSOR
FF
button to select “Start”.