40
ENGLISH
ENGLISH
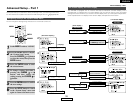
Advanced Setup – Part 1 Advanced Setup – Part 1
2
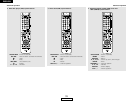
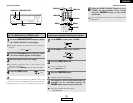
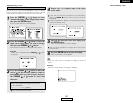
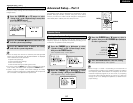
Press the CURSOR
DD
or
HH
button to select the
input source whose name you want to change,
then press the CURSOR
FF
or
GG
button.
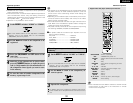
• The screen switches to the character input screen.
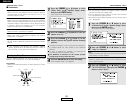
Example:
When “CD” is selected and the CURSOR
FF
or
GG
button
is pressed
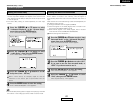
3
Press the CURSOR
FF
or
GG
button to move the
cursor (
22
) to the character, number, symbol or
punctuation mark you wish to input, and press
the CURSOR
DD
or
HH
button to select that
character.
Up to 5 characters can be input.
4
Repeat step 3 to complete input of the input
source name.
If you wish to return the input source to its initial setting,
press the CURSOR
HH
button while the input source is
highlighted.
If “Ye s” is selected for “Default”, the setting is automatically
reset to the default name.
The names of the input sources displayed on the front display
and the on-screen display can be changed. The names or brands
of the devices connected to the input sources can be input.
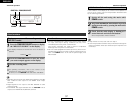
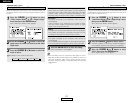
Setting the Function Rename
1
Press the CURSOR
DD
or
HH
button to select
“Function Rename” at the “Input Setup” menu,
then press the ENTER button.
• The “Function Rename” screen appears.
A B C D E F G H I J K L M N O P Q R S T U V W X Y
Z a b c d e f g h i j k l m n o p q r s t u v w x y z
0 1 2 3 4 5 6 7 8 9
’ ( ) + , – . / : ; < = > ? [ ] (space)
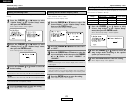
5
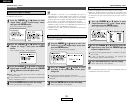
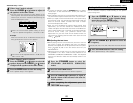
Once all the characters have been input, press
the ENTER button.
• The “Function Rename” screen appears.
Use the same procedure to change other input source
names as well.
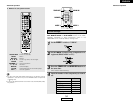
• When the input source is selected, the display is as shown
below.
Example:
When the name has been changed to “DENON”
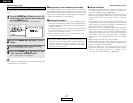
6
Press the ENTER button to enter the setting.
• The “Input Setup” menu appears.


