


1-10 Rack Installation Guide
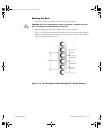
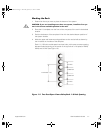
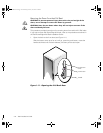
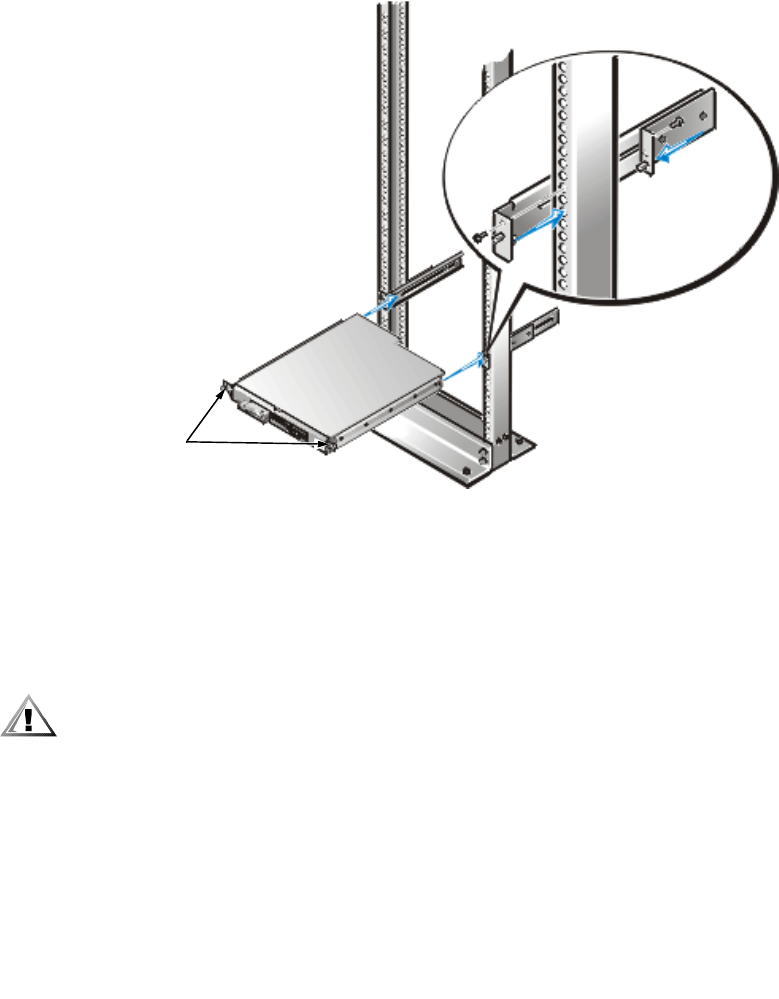
3. Move the system back with its inside rail engaging the mounting bracket. Slide
the system completely into position and secure it to the rack using the captive
fasteners at the outer edge of the front panel (see Figure 1-8).
An internally threaded stud projecting from the front of the tray flanges accepts
the captive fastener on the front of the system.
Figure 1-8. Securing the System in the Rack
4. Attach the front bezel, if it was removed in step 1, to the system (see the
Installation and Troubleshooting Guide for instructions).
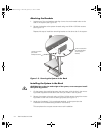
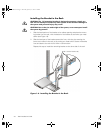
Installing Tab Covers
CAUTION: The system’s two-post flush-mount slide assembly does not have
a safety stop. Use care when sliding the system in and out of the rack; the
system could fall out of the rack, possibly resulting in bodily injury and
damage to the system.
1. Push the system completely into the rack.
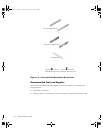
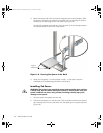
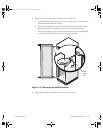
2. Center the thumbscrew on the tab cover with the clearance hole on the system
tab, and align the slot on the tab cover with the opening on the system tab (see
Figure 1-9).
captive
fasteners
2D786bk0.book Page 10 Thursday, January 18, 2001 8:44 PM