- 25 -
Select the DVD, VIDEO 1, VIDEO 2, AUX 1, AUX 2
mode by pressing the SOURCE
(6/n) button
Play the component corresponding to the FUNCTION
selected.
The picture from the video source can be seen on the
TV and the sound from the video source will be
heard from the speakers.
3
2
1
Note:
When playing videos that feature surround sound,
refer to "Available Surround Modes".
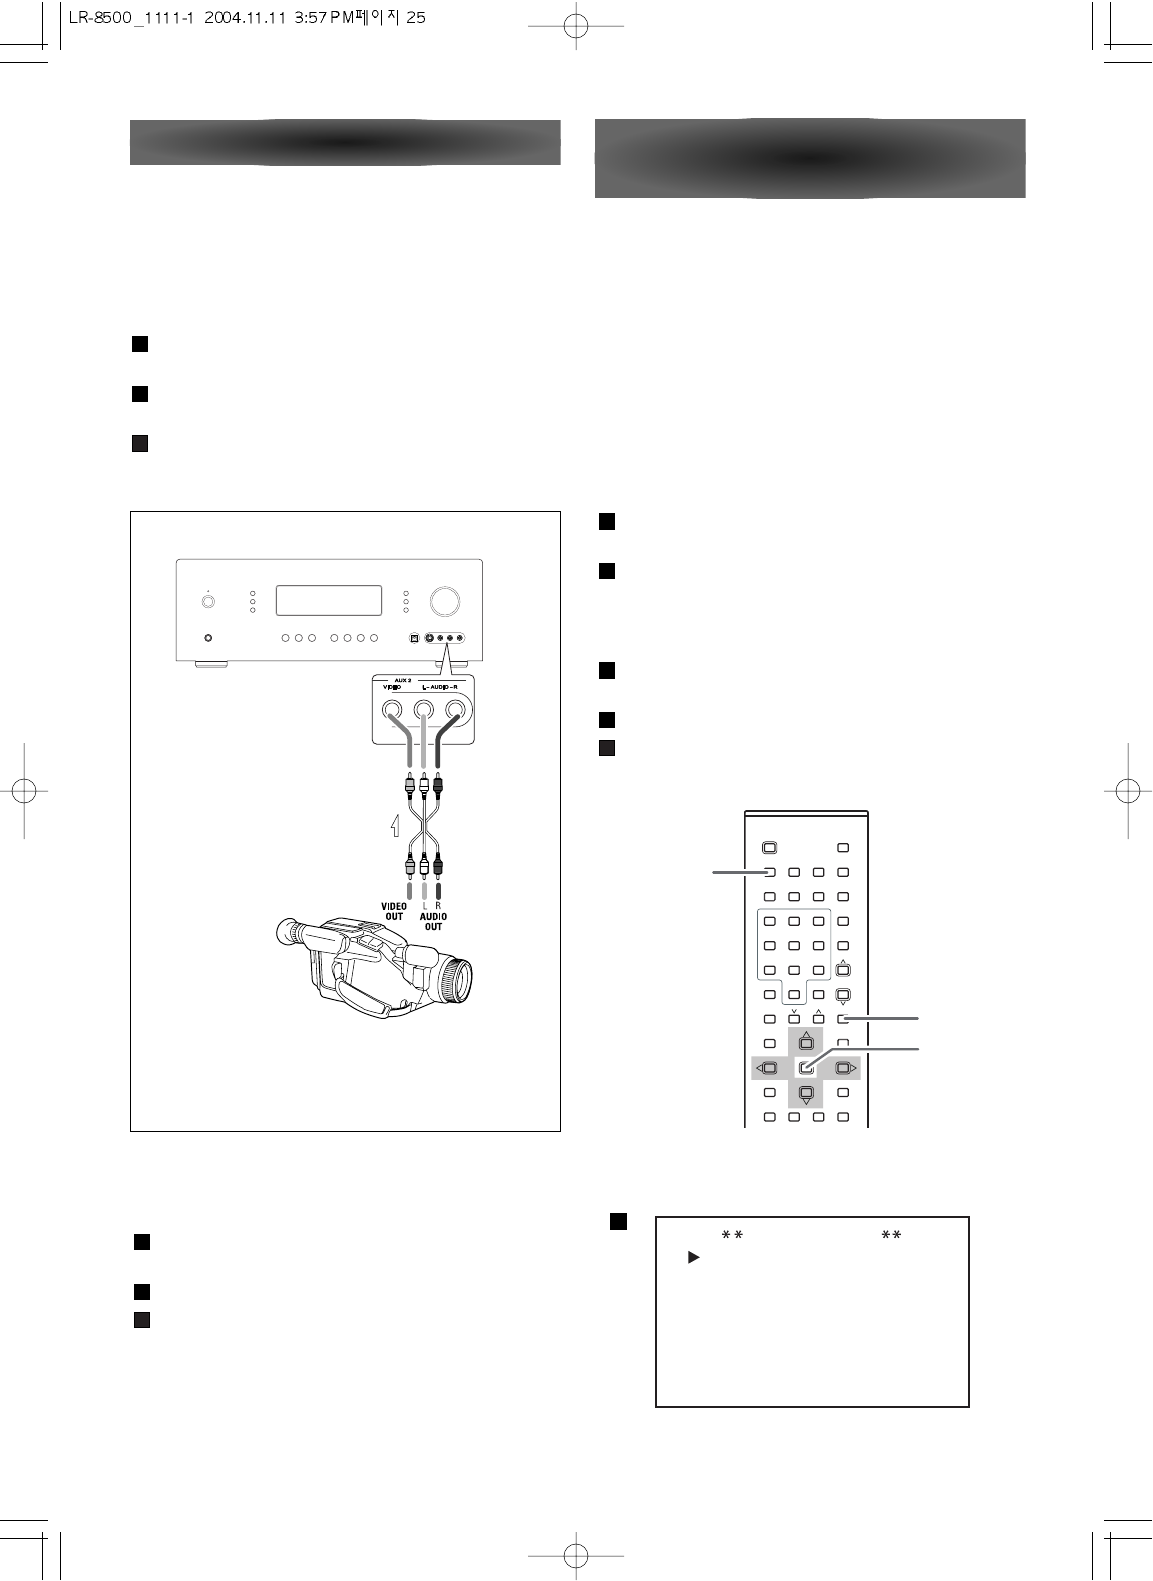
Video Camera Connections
Connect the video camera recorder's AUDIO OUT-
PUT to the AUDIO (L)/(R) jacks and VIDEO OUT to the
VIDEO jack of the AUX 2 INPUT.
VCR, Video Camera Recorder, etc.
Playing Video Sources
Video Tape Dubbing
Press the SOURCE(6/n) button to select the VIDEO
source to be recorded.
Playback the source.
Operate VID 1 or VID 2/VCR for recording.
Video/audio signals from the selected VIDEO source
can be dubbed to VID 2/VCR only.
3
2
1
Video Operations
System Configuration
(OSD - On Screen Display)
ENTER
AMP
OSD
MAIN MENU
FUNCTION
SURROUND
SPEAKER
DISTANCE
CH LEVEL
PREFERENCE
ZONE II
ROOM AUTO
SETUP
SETUP
SETUP
ADJUST
ADJUST
SETUP
SETUP
SETUP
Before using the unit, you will probably want to change
the settings for most inputs so that they are properly
configured to reflect the use of digital or analog inputs,
the type of speakers installed and the surround mode
specifics of your home theater system. Remember that
since the LR-8500 memorizes the settings for each input
individually, you will need to make these adjustments
for each input used. However, once they are made, fur-
ther adjustment is only required when system compo-
nents are changed.
Making Configuration Adjustments
If another function is selected, press the AMP but-
ton.
Press the OSD button.
The MAIN MENU will appear, and adjustments are
made from the individual menus. The menus will
remain on the screen for 20 seconds.
Select an item you want to change using the 5/b
buttons.
Press the ENTER button.
Press the
t button repeatedly until the setting you
want to select appears.
5
4
3
2
1
2


