STARLINE 3
SG2-DRT-3X Installation Sheet
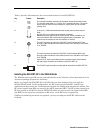
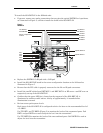
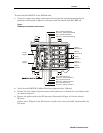
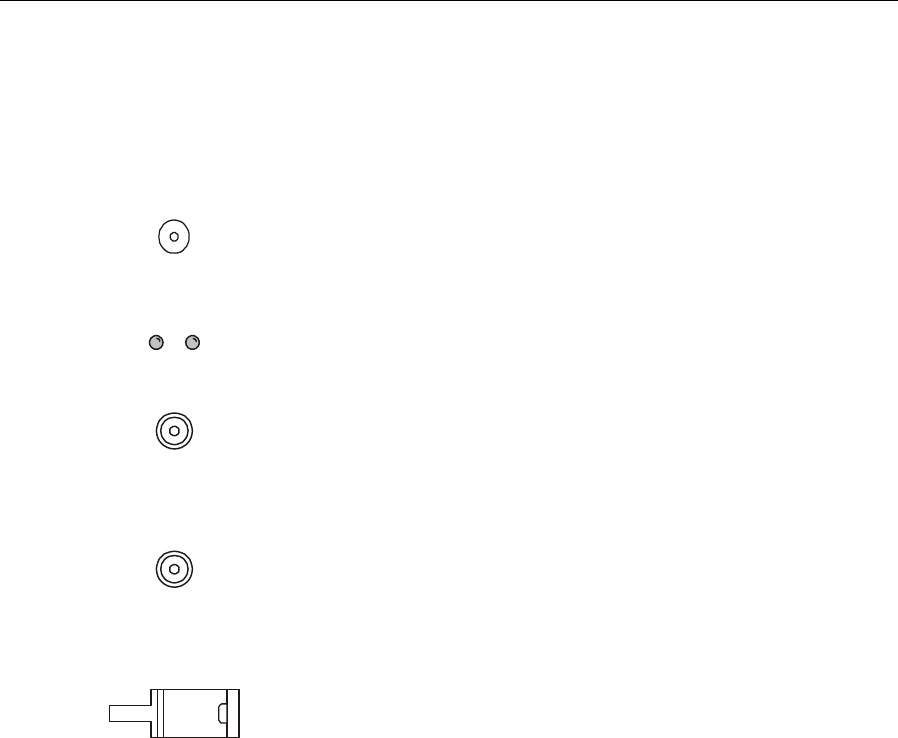
Table 1 provides information on the user-related features of the SG2-DRT-3X:
Key Feature Description
1
OPTICAL
POWER
(1 V/mW)
This test point enables monitoring of the optical output level of the module.
The nominal scale factor is 1.0 V/mW (6.3 V equates to 8 dBm). The optical
power test point does not track changes in optical power due to the laser
tracking error.
2
ALARM
F
A
U
L
T
O
N
A red (
FAULT) LED indicates that the laser output power is below normal
limits.
A green LED (
ON) indicates the transmitter is enabled.
Because the laser output requires a short period of time to stabilize, it is
normal for neither LED to illuminate for approximately 10 seconds. The
module must be enabled for the fault indicator to function.
3
I
N
P
U
T
A
This MCX connector provides the SG2-DRT-3X with channel A RF input
through a cable connection to the node lid board in an SG2440 or the E-pack
in an SG2000.
4
I
N
P
U
T
B
This MCX connector provides the SG2-DRT-3X with channel B RF input
through a cable connection to the node lid board in an SG2440 or the E-pack
in an SG2000.
Channel C RF input is provided by direct connection of the node lid board
with the D-type connector on the bottom of the SG2-DRT-3X.
5
This SC/APC type connector provides optical output from the SG2-DRT-3X.
Installing the SG2-DRT-3X in the SG2440 Node
The SG2440 carries each RF return path individually to the lid board and no adjustments to the
electronics package (E-pack) are necessary.
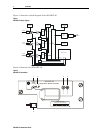
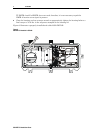
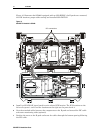
Before you install the SG2-DRT-3X in the SG2440, you must configure the node with the
SG2440 DR-3X board. In this configuration, the RF return signals from RP1 and RP3 are
combined and placed onto the D-subconnector beneath the double-wide transmitter module. The
RF return signals from RP2 are routed to the MCX connector DRT1. The RF return signals from
RP4 are routed to the MCX connector DRT2. RF cables are used to route the signal from DRT1
and DRT2 to the top of the transmitter to RF
INPUT A and RF INPUT B respectively.
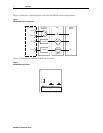
If different combining scenarios are required, you may reconfigure the RF RP cables on the
lid board.


