12
TURN ON OPTIONS CONT.
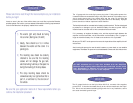
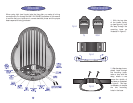
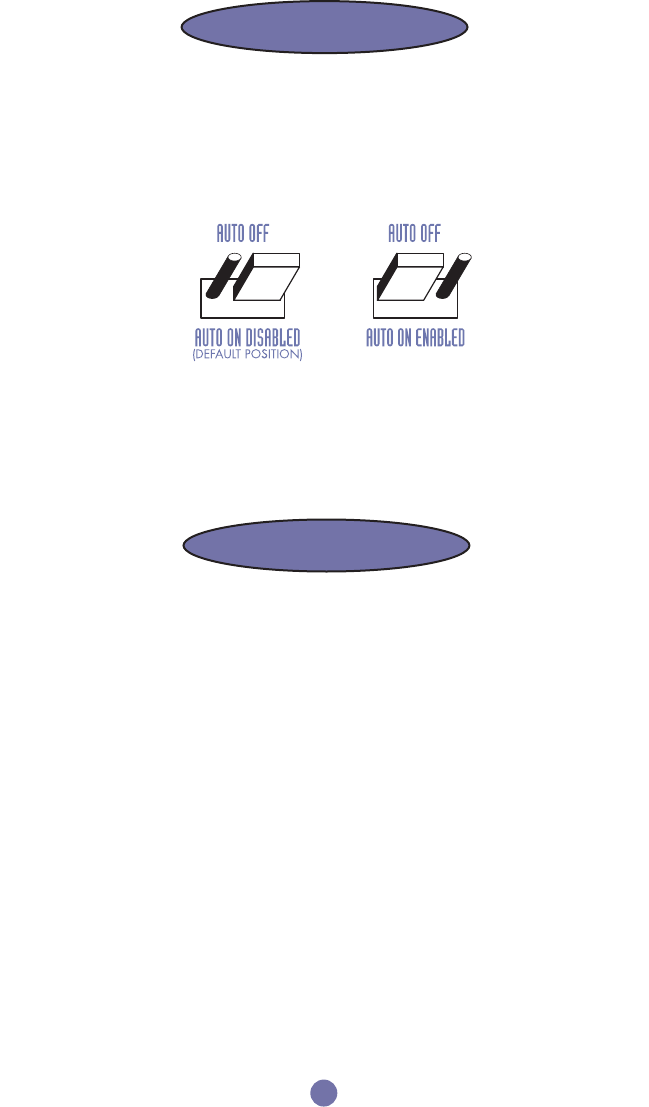
and middle pins to enable the Auto Turn-On feature. This can be done easily with a pair
of
needle nose pliers. With the jumper in the Auto position, the Amplified Bazooka will turn
on
automatically when it senses any music. The ORANGE wire should not be connected
to
anything if this feature is being used. Be sure to insulate the end of the ORANGE wire
so
that it will not short to ground, as this may damage the Amplified Bazooka.
INPUT SIGNAL CONNECTIONS
Should I Use High or Low Level Inputs?
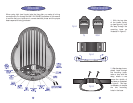
If the source unit has only speaker outputs, use the high-level inputs of the Amplified
Bazooka. If
the source unit has both high and low level outputs, we recommend using
the
high level inputs over the low level inputs, due to the configuration of the Amplified
Bazooka's
balanced input circuit. PLEASE NOTE THAT THE WIRING IN A FACTO-
RY STEREO MAY NOT BE ELECTRICALLY IN PHASE EVEN WHEN YOU HAVE MADE
THE
PROPER CONNECTIONS. Take the time after you make your wire connections
to
run through the quick phase check procedure in the AM I IN PHASE? Section of
this manual. NEVER USE BOTH high and low-level inputs at the same time!
High-Level Inputs:
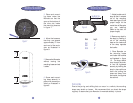
If the source unit has both front and rear speaker outputs, use only one set of speak-
er
outputs for the high-level input of the Amplified Bazooka. Connect the GREEN wire
from
the 14-pin Molex plug of the Amplified Bazooka to the source units left (+) pos-
itive speaker output. Connect the GREEN W/BLACK stripe wire of the plug to the
source
units left (-) negative speaker output. Connect the GRAY wire of the plug to the
source
units right (+) positive speaker output. Connect the GRAY W/BLACK stripe wire
of the plug to the source units right (-) negative speaker output.
Amplifier Status LED
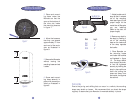
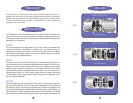
The white color LED on the Amplified Bazooka will light up GREEN when power, ground
and
remote are all connected properly. If it lights up RED, the Amplified Bazooka is in pro-
tection
mode which can indicate a short in the wiring or a problem with the amplifier.


