


17
PGWX-62L/PGWU-62L/PGWX-62L-K/PGWU-62L-K - - 2015/07/27
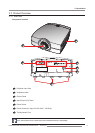
3. Installation
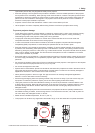
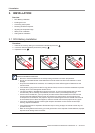
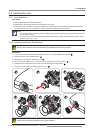
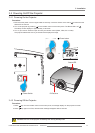
3.2 Installing the Lens
Warning: This procedure may only be performed by qualied technical service personnel.
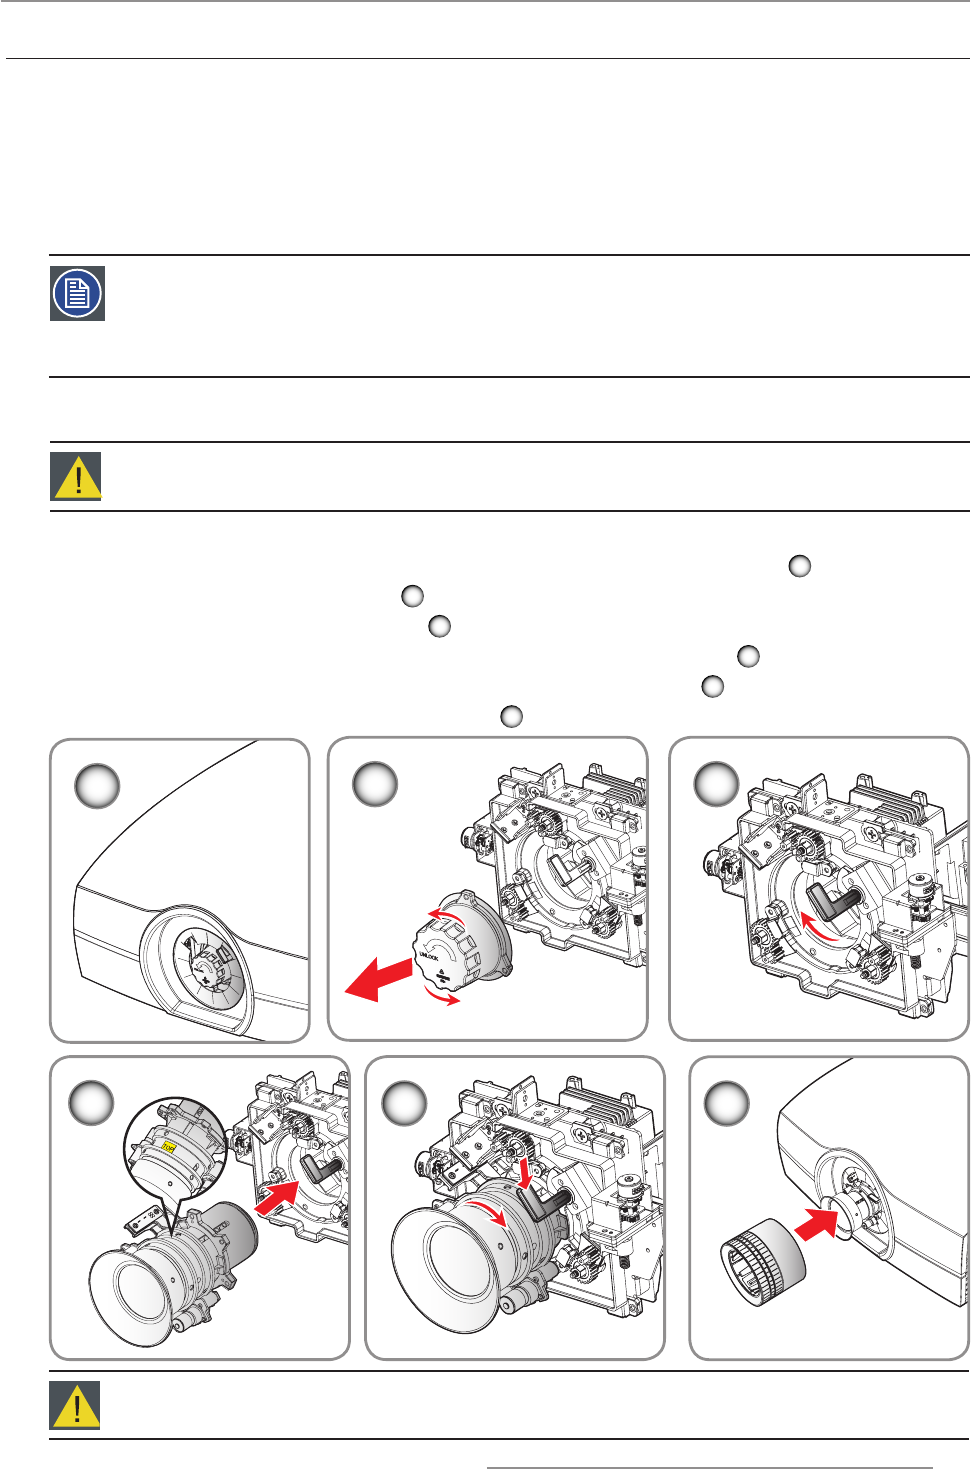
Lens cap should be removed before installing the lens. If not it will damage the projector. 1.
1
Remove the lens cap counterclockwise. 2.
2
Rotate the bar upwards to release the lock. 3.
3
Be sure the label “4. TOP” of lens is upward and then push the lens into the position.
4
Rotate the lens clockwise to lock the lens and then rotate the bar downwards. 5.
5
Put the lens cover on the lens with the sound “click”. 6.
6
Procedure:
1
5
6
2 3
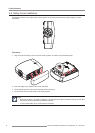
Caution: Do not transport the projector with any lens installed.
4
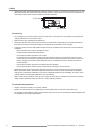
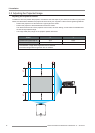
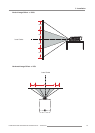
Determine the required screen width (SW).1.
Determine the approximate position of the projector in the room.2.
Start up the Lens Calculator on the Barco website: http://www.barco.com/en/tools/lenscalculator to determine 3.
the possible lenses for your conguration. As a result the Lens Calculator window opens.
3.2.1 Lens Selection
Procedure:
3.2.2 Installing the lens for the rst time
Notes:
The Lens Calculator can also be used to determine the position of the projector when the lens type and y
screen width is known.
Due to lens tolerances the results of calculated values may be different from measured values. These y
difference may vary +/- 5%.