


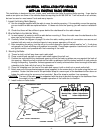
PERFORATED STRAP
SCREW STUD
NOSE PIECE COLLAR
(INCLUDED WITH RADIO)
METAL PART OF
DASH BOARD
RADIO
DRILL HOLE IF NECESSARY
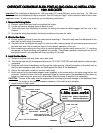
HEX
HEX NUT
SHAFT NUT
SCREW
TRIM FOR "GM"
DASHBOARD
SHAFT NUTS
CHECHE
CHECHE
CHE
VRVR
VRVR
VR
OLET-OLDSMOBILE-BUICK-PONTOLET-OLDSMOBILE-BUICK-PONT
OLET-OLDSMOBILE-BUICK-PONTOLET-OLDSMOBILE-BUICK-PONT
OLET-OLDSMOBILE-BUICK-PONT
II
II
I
AC-GMC-CAAC-GMC-CA
AC-GMC-CAAC-GMC-CA
AC-GMC-CA
DILLDILL
DILLDILL
DILL
AC INSTAC INST
AC INSTAC INST
AC INST
ALLALL
ALLALL
ALL
AA
AA
A
TT
TT
T
IONION
IONION
ION
1981 A1981 A
1981 A1981 A
1981 A
ND OLDERND OLDER
ND OLDERND OLDER
ND OLDER
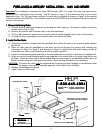
Important-This installation is designed for 1981 and older U.S. made GM cars, trucks, and vans. For 1981 and
newer vehicles, an installation kit may be required. See Kit Listing on Page 1 of this manual or refer to the in-store
application chart. If a kit is not required, use the following instructions.
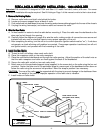
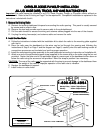
1. Remove the Existing Radio:1. Remove the Existing Radio:
1. Remove the Existing Radio:1. Remove the Existing Radio:
1. Remove the Existing Radio:
A. Remove radio knobs and shaft nuts behind the knobs.
B. Locate and remove support brace at back of radio.
C. Push radio back into dashboard to access the wiring and antenna cables plugged into the rear of the
chassis.
D. Un-plug the wiring harness(es) and antenna cable and remove the radio.
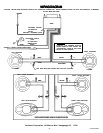
2. Wire the New Radio:2. Wire the New Radio:
2. Wire the New Radio:2. Wire the New Radio:
2. Wire the New Radio:
A. In most cases it is easier to wire the radio before mounting it. Place the radio near the dashboard so the
wires can be led through the opening.
B. Carefully follow the diagram on page 8 to wire the radio, making certain all connections are secure and
insulated with wire nuts or electrical tape to insure proper operation of the unit.
C. After completing the wiring, turn the unit on to confirm operation (ignition switch must be "on"). If unit does
not operate, re-check all wiring until problem is corrected. Once proper operation is achieved, turn off unit
and ignition switch, and proceed with final mounting of the radio.
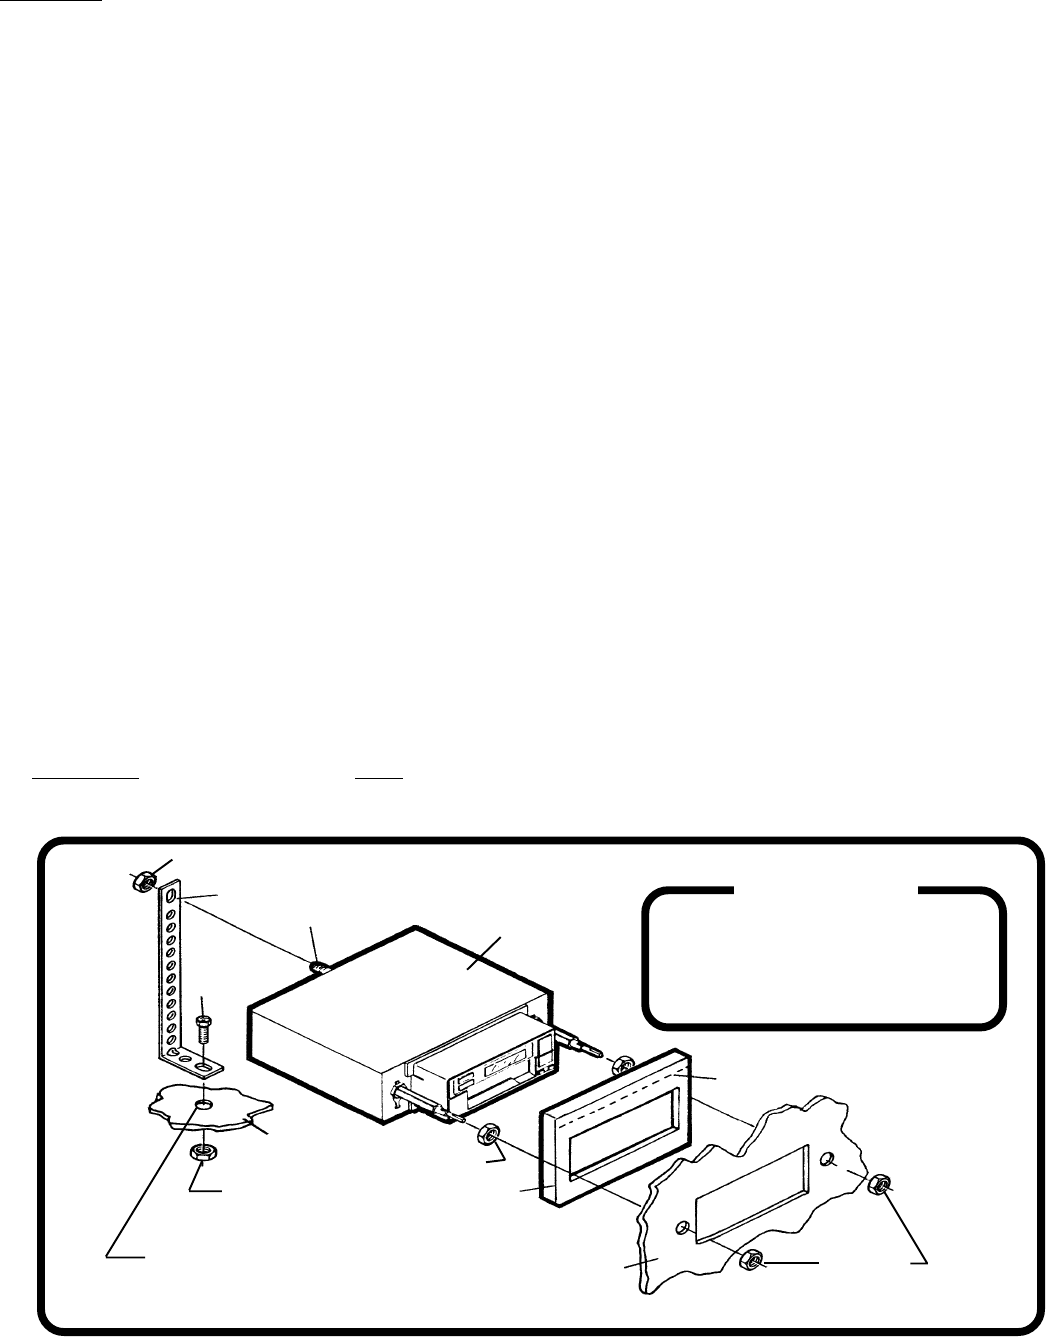
3. Install the New Radio:3. Install the New Radio:
3. Install the New Radio:3. Install the New Radio:
3. Install the New Radio:
A. Thread a shaft nut half-way down each radio shaft.
B. Trim the top edge off of the nosepiece collar at the "CUT OFF FOR GM" mark and place the collar on radio
nosepiece.
C. Place the radio behind dashboard and through the radio opening. Adjust the position of the shaft nuts so
that the radio nosepiece and collar are flush against the back of the dashboard.
D. Secure the radio with a shaft nut on each radio shaft.
E. Attach one end of the perforated support strap (supplied) to the screw stud on the radio using the hex nut
provided. Fasten the other end of the perforated strap to a secure part of the dashboard either above or
below the radio using the screw and nut provided. Bend the strap to position it as necessary.
CAUTION: The rear of the radio must be supported with the strap to prevent damage to the dashboard from
the weight of the radio or improper operation of the radio due to vibration.
F. Install knobs on radio shafts.
-3-
1-800-645-49941-800-645-4994
1-800-645-49941-800-645-4994
1-800-645-4994
8:30am - 7:00pm Eastern
9:00am - 5:00pm Eastern
Monday - Friday
Saturday
HELP!