Chapter 4 Scene Selection
73
4-2 Creating Clip Lists
4-2 Creating Clip Lists
4-2-1 Selecting Clips
You can create a clip list by selecting a desired clip from
the thumbnail display, and including it in the clip list as a
sub clip.
Note
Up to 99 clip lists can be handled in the CLIP menu.
Including a clip selected from the
thumbnail display in the clip list
Proceed as follows.
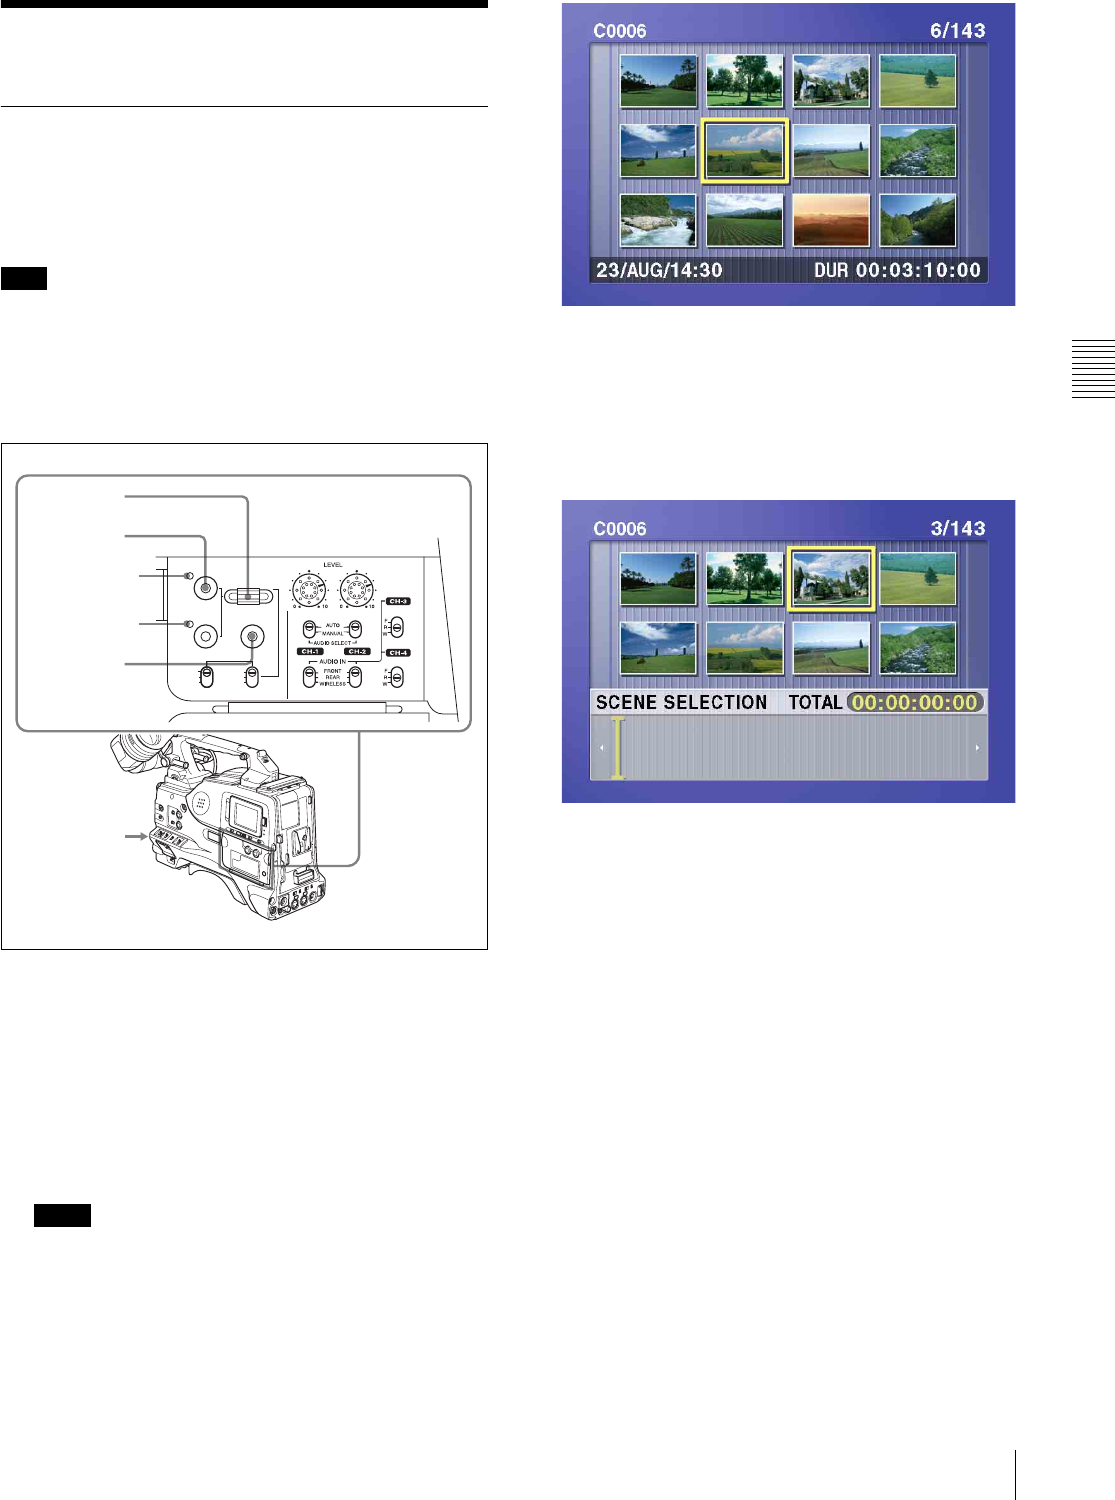
To select from the thumbnail screen
Proceed as follows.
1
With the sub clip indicator off, press the
THUMBNAIL button, turning on the thumbnail
indicator.
The thumbnails of the clips on the disc appear.
Notes
• If the MENU ON/OFF switch is set to ON, set it to
OFF and press the THUMBNAIL button.
• If you set the MENU ON/OFF to ON during
thumbnail display, thumbnail display is cancelled
and replaced with menu display.
2
Use the SEL/SET dial or the MENU knob to select the
clip you want to include in the clip list.
3
Hold down the SHIFT button, and press the SEL/SET
dial or MENU knob.
The scene selection window appears.
To return to the previous screen
Press the RESET button.
4
Press the SEL/SET dial or the MENU knob.
This adds the selected clip to the current clip list as a
sub clip.
At the same time, this closes the scene selection
window and returns to the original thumbnail display.
5
Repeat steps 2 to 4 until all desired clips have been
added to the current clip list.
You can select the same clip any number of times.
The scene selection window shows the thumbnails of
the sub clips that have been added to the current clip
list. The cursor within the window indicates the
position in which the next sub clip will be added.
PRESET
SHIFTCLIP MENU
REGEN
CLOCK
SEL/SET
THUMBNAIL
S.SEL
ESSENCE MARK
SUB CLIP
REGEN
CLOCK
F-RUN
SET
R-RUN
1
3
2
2~4
Thumbnail
indicator
Sub clip
indicator
