24
Step 3: Turning the power on and setting the date and time (Continued)
3 Select the desired geographical
area with / , then touch
[NEXT].
4 Set [SUMMERTIME], then touch
[NEXT].
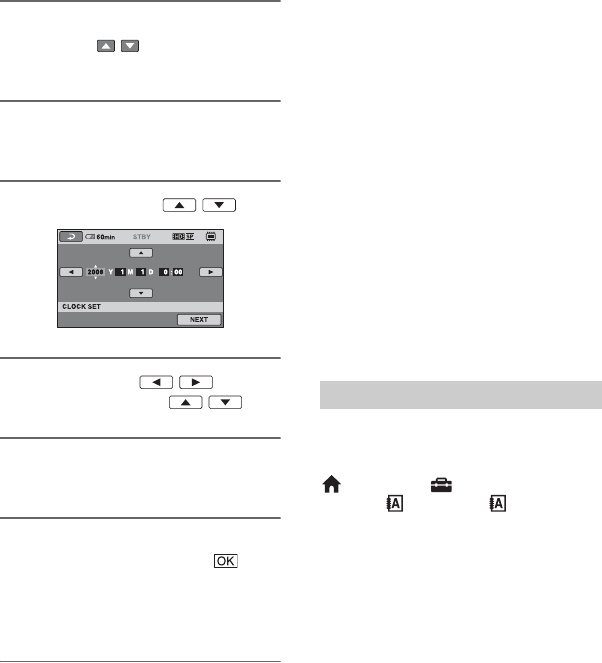
5 Set [Y] (year) with / .
6 Select [M] with / , then
set the month with / .
7 Set [D] (day), hour and minute in
the same way, then touch [NEXT].
8 Make sure that the clock is
correctly set, then touch .
The clock starts.
You can set any year up to the year
2037.
To turn off the power
Slide the POWER switch to OFF (CHG).
b Notes
• If you do not use your camcorder for about 3
months, the built-in rechargeable battery gets
discharged and the date and time settings may
be cleared from the memory. In that case,
charge the built-in rechargeable battery and then
set the date and time again (p. 132).
• It takes a few seconds for your camcorder to be
ready to shoot after the power is turned on. You
cannot operate your camcorder during this time.
• The lens cover opens automatically when the
power is turned on. It closes when the playback
screen is selected, or the power is turned off.
• In the setting at the time of purchase, the power
turns off automatically if you leave your
camcorder without any operation attempted for
approximately 5 minutes, to save battery power
([A.SHUT OFF], p. 95).
z Tips
• The date and time does not appear during
recording, but they are automatically recorded
on the media, and can be displayed during
playback ([DATA CODE], p. 90).
• Refer to page 123 for information concerning
“World time difference.”
• If the buttons on the touch panel do not work
correctly, adjust the touch panel
(CALIBRATION) (p. 130).
You can change the on-screen displays to
show messages in a specified language. To
select the screen language, touch
(HOME) t (SETTINGS) t
[CLOCK/ LANG] t [ LANGUAGE
SET] (p. 94).
Changing the language setting
