English - 47
TV
Channel
Auto Store
√√
Manual Store
√√
Add/Delete
√√
Sort
√√
Name
√√
▼
More
Move Enter Return
TV
Name
▲
More
P 1 :
-----
P 2 :
-----
P 3 :
-----
P 4 :
-----
P 5 :
-----
▼
More
Move Enter Return
TV
Name
▲
More
P 1 :
A
P 2 :
-----
P 3 :
-----
P 4 :
-----
P 5 :
-----
▼
More
√√
Move Adjust Return
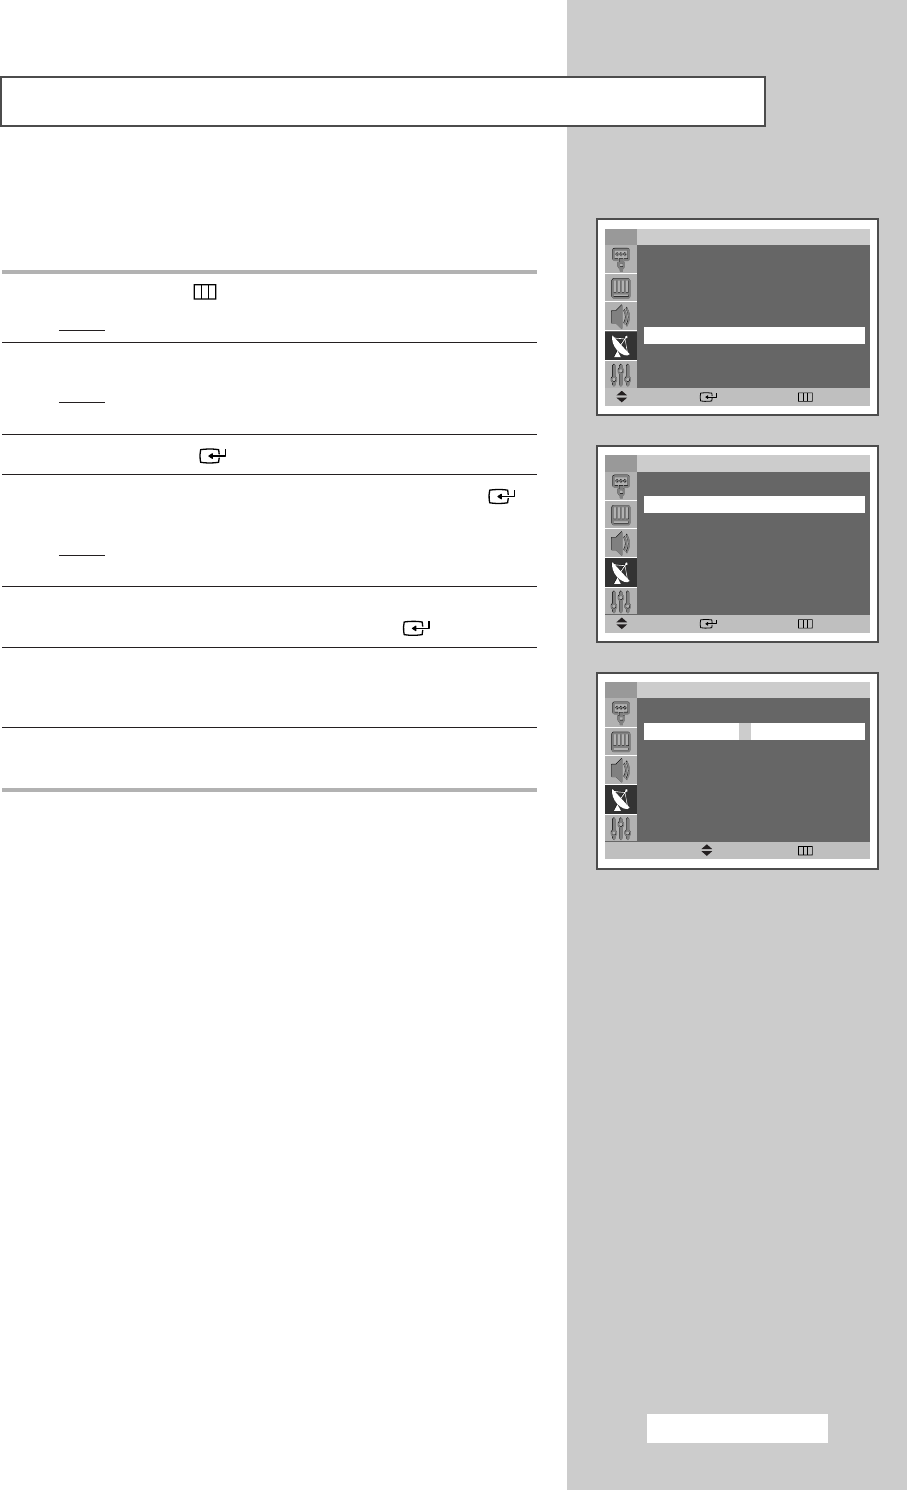
Channel names will be assigned automatically when channel
information is broadcast. These names can be changed, allowing
you to assign new names.
1 Press the MENU () button.
Result
: The main menu is displayed.
2 Press the ▲ or ▼ button to select Channel.
Result
:
The options available in the
Channel
group are
displayed.
3 Press the ENTER () button.
4 Press the ▲ or ▼ button to select Name. Press the ENTER ()
button.
Result
: The Name menu is displayed with the current channel
selected.
5 If necessary, select the channel to be assigned a new name by
pressing the
▲ or ▼ button. Press the ENTER () button.
6 Press the ▲ or ▼ button to select a letter (A~Z), a number (0~9)
or a symbol (space,
-
). Move on the previous or next letter by
pressing the
œ or √ button.
7 Repeat steps 5 to 6 for each channel to be assigned to a new
name.
Assigning Names to Channels
➢
Not available in DTV or external input mode.
R
BP68-00491A (J60C_UK) 2005/04/18 05:11 PM Page 47


