56
Assigning Tracks Numbers While You Record (continued)
Other Recording Methods
When making a long recording such as a lecture, you can
automatically assign track numbers at fixed time intervals to
divide the recording into tracks. If you’ve assigned track
numbers, it will be easier to find a desired location in the
recording.
1
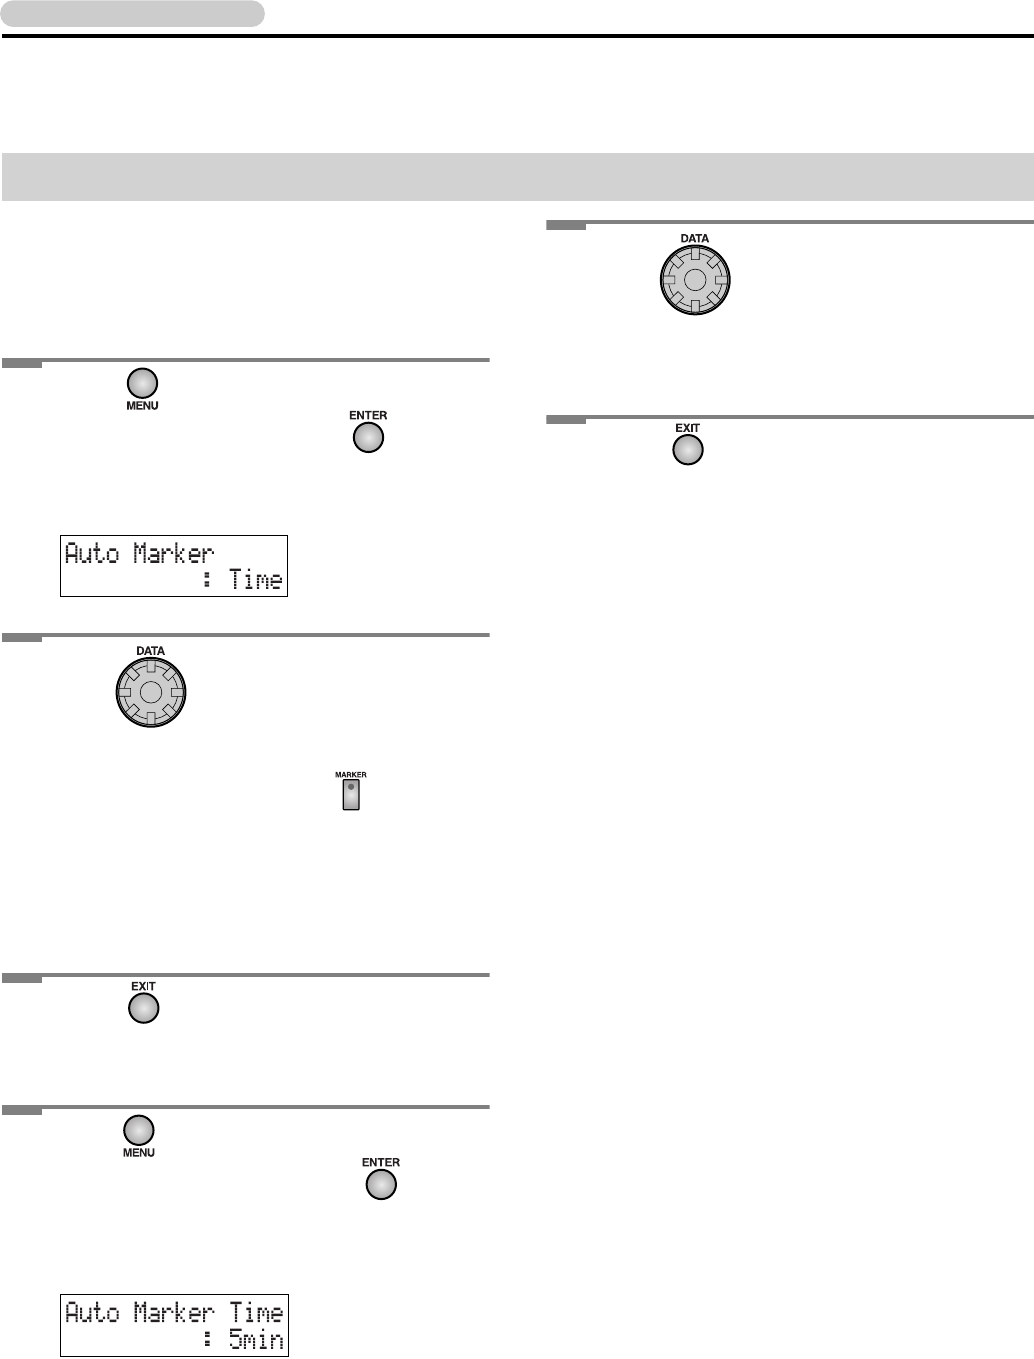
Press until “Auto Marker” appears in
the display, and then press .
• You can also select this item by turning [DATA].
The following screen appears.
2
Turn to select “Time.”
Off: Track numbers will be assigned at the
points where you press while
recording.
Time: During recording, track numbers will be
assigned at every specified time interval.
Level: During recording, track numbers will be
assigned when the sound drops below a
specified level.
3
Press .
You’re returned to the previous readout.
4
Press until “Auto Marker Time” appears
in the display, and then press .
• You can also select this item by turning [DATA].
The following screen appears.
5
Turn to specify the time interval
at which track numbers are
to be assigned.
• You can specify a time interval of 5 min–15 min
(minutes).
6
Press twice.
You’re returned to the previous readout.
Subsequently, when you begin recording, track
numbers will automatically be assigned at every time
interval you’ve specified in Step 3.
• To defeat this setting, choose “Off” in Step 2.
Assigning Track Numbers at Specified Intervals


