34 C4632M (11/09)
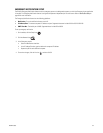
CONFIGURING A REMOTE CAMERA
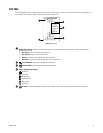
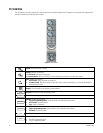
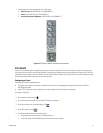
You can access a camera’s configuration menu using the PTZ OSD Menu controls or the PTZ control.
Remote Camera Menu
To access the camera menu:
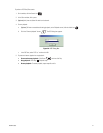
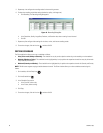
1. On the toolbar, click the Live icon .
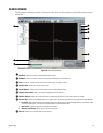
2. In the Client window, click the PTZ-enabled pane.
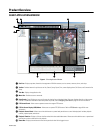
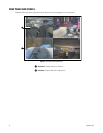
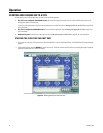
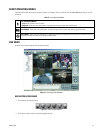
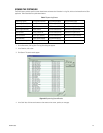
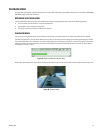
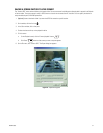
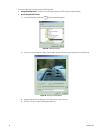
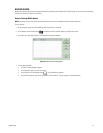
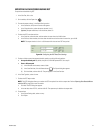
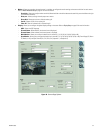
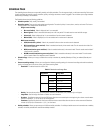
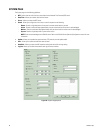
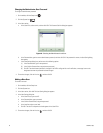
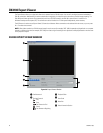
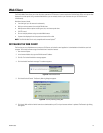
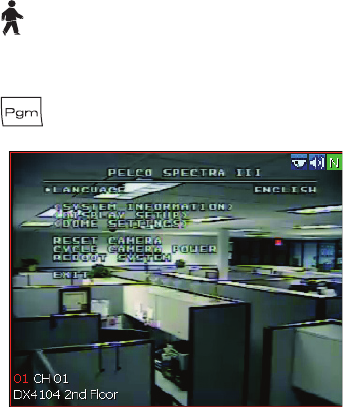
3. On the PTZ control, click Program . The camera menu appears.
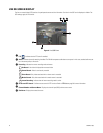
Figure 22. Camera Configuration Menu
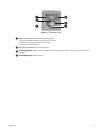
For Pelco cameras, click Set, 9, 5, and then click Preset. The camera menu appears.
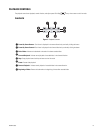
4. To access menu commands and settings:
• Move up and down through the camera menu/display settings:
– Click the PTZ OSD Menu up and down button (refer to PTZ Control on page 16 for more information).
– Click FOCUS PLUS (+) and FOCUS MINUS (–).
• Make a menu a selection: Display a submenu or to move the cursor to the right, and then click IRIS PLUS (+).
• Cancel a menu selection: Cancel a selection or to move the cursor to the left, and then click IRIS MINUS (–).
• Exit the camera menu/setting:
– Click IRIS MINUS (-) to select EXIT or to move the cursor to the left.
– Click IRIS PLUS (+) to exit the camera menu.