EPSON Stylus CX6400
6 - EPSON Stylus CX6400 10/03
Note:
If you place your document against the guides, the edges next to the
guides won’t be scanned.
If you need to scan a thick document, such as a book, you can
remove the scanner lid. Open the scanner lid completely, then lift it
out. Gently press down the original to keep it flat on the document
table. Be sure to replace the scanner lid when you’re finished.
Copying Without a Computer
Basic Copying
1. Place your document face-down on the glass, as shown in
the previous section. Then close the scanner lid.
2. Press the Copy button to enter Copy Mode.
3. Change any necessary copy settings on the LCD screen, as
described in “Changing Copy Settings” below.
4. Press the x Color button (for both color and grayscale
photos, and for all color documents) or x B&W button
(for black and white copies). Your document is scanned and
then printed.
If you’re using the
2-up or 4-up copy layout settings
described below, follow the instructions on the LCD screen
to scan additional sheets.
Caution:
Never open the scanner section while scanning or copying, or
you could damage the CX6400.
Changing Copy Settings
The current copy settings are shown on the LCD screen. You
can change copy settings using the buttons, as described
below.
Note:
To clear a setting, press the Clear/Reset button. To clear all the
setting changes you’ve made, press and hold the Clear/Reset button
until you see Resetting on the LCD screen.
Number of Copies
Press one or two buttons on the control panel’s numeric
keypad to select the number of copies you want to print.
Note:
You can print up to 99 copies. However, if you’re using the 2-up or
4-up copy layout setting, you can only select one copy.
Copy Layout
Since the copy layout setting determines the options available
with many other settings, select this option first, then select
your other copy settings.
1. While in Copy Mode, press the Menu button.
Note:
The Copy button on the control panel is green when Copy Mode
is enabled.
2. Press the green button next to the LCD screen until you see
Copy Layout displayed, then press OK.
3. Continue pressing the green button until you see the
desired layout setting, then press OK.
Here are the layout settings you can choose from:
Copy button
Print quality
Paper type Reduce/enlarge
Number of
copies
Paper size
Menu selection
buttons
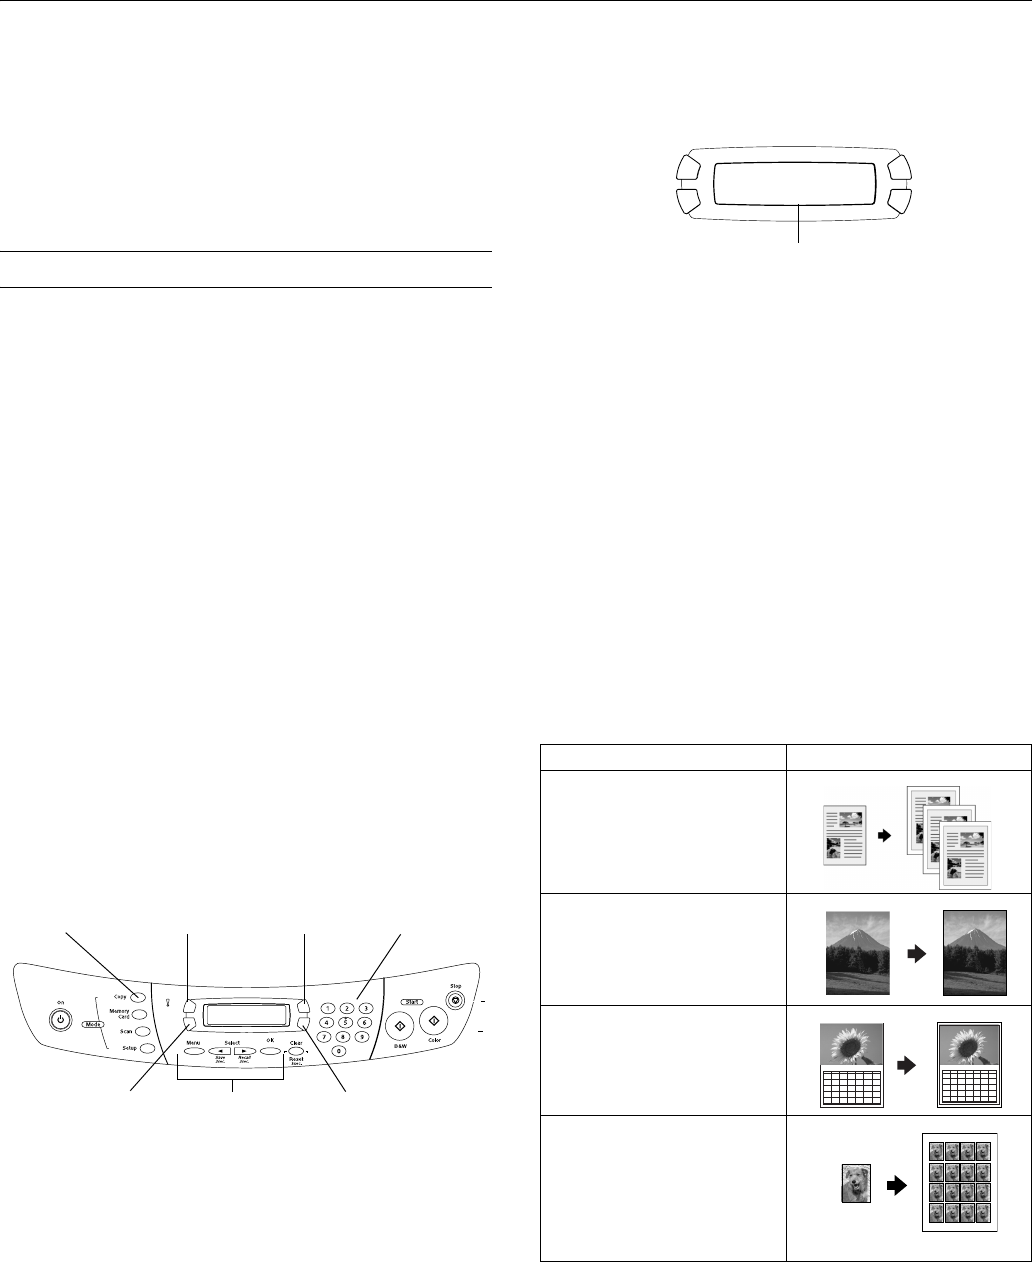
Copy Layout setting Result
Standard
Copies your original with a
0.12-inch margin on all edges
BorderFree
™
Sizes your original as needed
to fit to the edges of 4 × 6, 5 × 7,
8 × 10-inch, or letter-size paper*
Min Margins
Copies your original with a
0.06-inch border around the
edges*
Repeat
Prints an image multiple times on
one sheet; select 4, 9, or 16
images per sheet, or Auto to print
your image as many times as it
will fit (prints full-size; works best
with small images)
Glossy
100%
Photo
LTR
01
Number of copies
123
45678910
11 1213 1415 1617
18 1920 2122 2324
25 2627 2829 3031
8
123
45678910
11121314151617
18192021222324
25262728293031
8


