Copying
3-26
2-Sided Copying
2 to 2-Sided Copying
You can make 2-sided copies from 2-sided
documents.
1
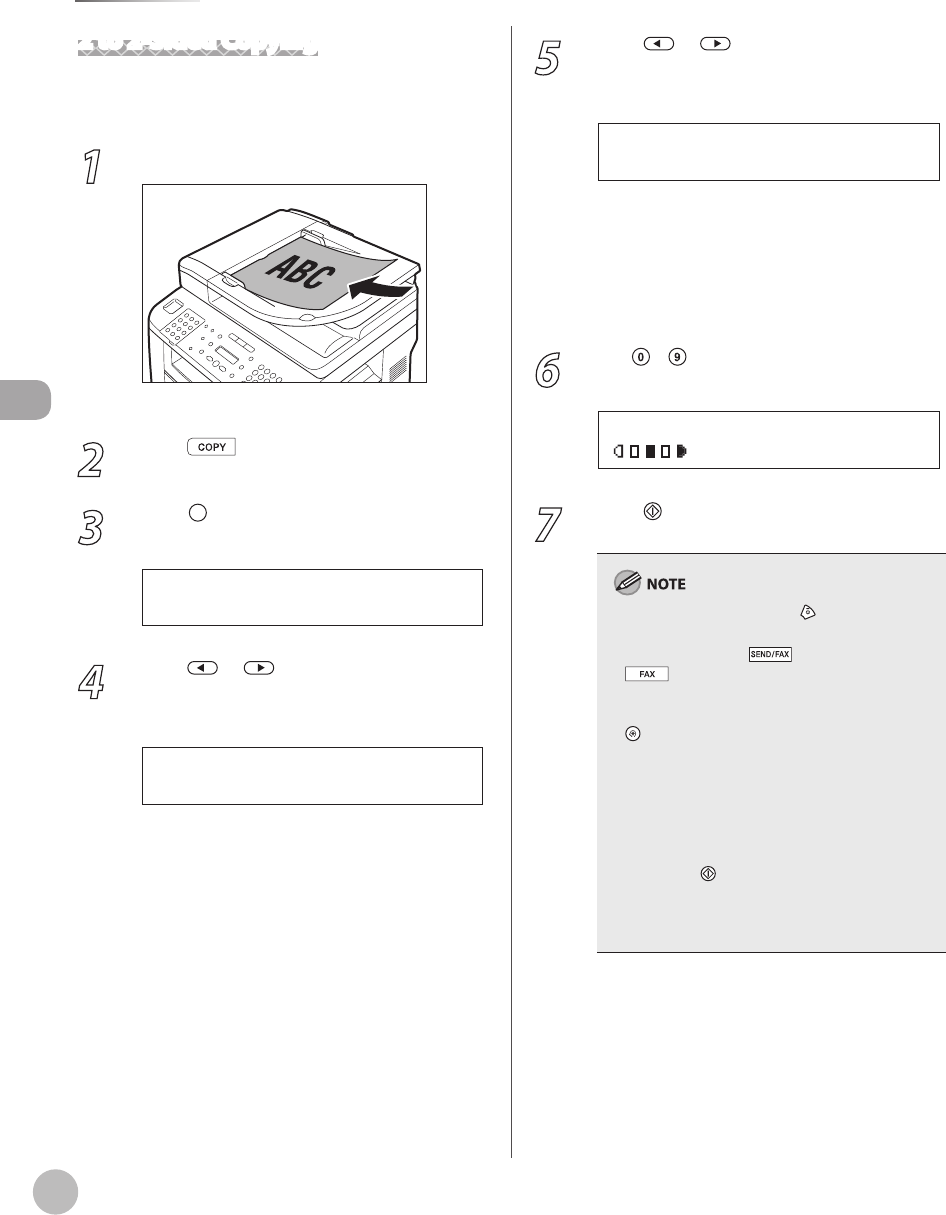
Place documents in the ADF.
For details, see “Placing Documents,” on p. 2-4.
2
Press [COPY].
3
Press [2-Sided] repeatedly to select
<2 > 2-SIDED>, then press [OK].
4
Press or to select <BOOK TYPE>
or <CALENDAR TYPE> for the document
layout, then press [OK].
B O O K T Y P E
T Y P E O F O R I G I N A L
<BOOK TYPE>: The front and back sides of the
document will have the same top-bottom
orientation.
<CALENDAR TYPE>: The front and back sides
of the document will have the opposite top-
bottom orientation.
–
–
5
Press or to select <BOOK TYPE>
or <CALENDAR TYPE> for the output
layout, then press [OK].
B O O K T Y P E
T Y P E O F O U T P U T
<BOOK TYPE>: The front and back sides of the
copy will have the same top-bottom
orientation.
<CALENDAR TYPE>: The front and back sides
of the copy will have the opposite top-
bottom orientation.
6
Use
– [numeric keys] to enter the
desired copy quantity (1 to 99).
T E X T / P H O T O
1 0 0 % * L T R
0 1
7
Press [Start].
To cancel all settings, press [Stop/Reset].
When you switch the mode by pressing the
mode keys such as [SEND/FAX]/
[FAX], all settings will be also canceled. If
you want to keep the settings, store the settings
as follows:
[Menu] → <COPY SETTINGS> → <STANDARD
SETTINGS> → <2-SIDED> (See “COPY SETTINGS,”
on p. 13-5.)
You can skip steps 4 and 5. In this case, the
machine scans 2-sided documents in the
<BOOK TYPE> orientation and outputs the
same way.
If you press [Start] in step 4 after selecting
<CALENDAR TYPE>, the machine scans 2-sided
documents in the <CALENDAR TYPE>
orientation and outputs the same way.
–
–
–
–
–
–
