20
Setting the unit to match your
speaker system
Follow the instructions below to set the amplifier output
to match the size of your room and speakers. Press u / d
to cycle through parameters 1 through 4, and –/+ to alter
the parameter setting.
Factory default settings are highlighted.
1 ROOM
Settings: S, M, L
Select the size of the room you have installed your
speakers in. Roughly speaking, the room sizes are
defined as follows:
[U.S.A. and Canada models]
S: 16ft. x 3ft., 200sq.ft. (4.8 x 4m, 20m
2
)
M: 20ft. x 16ft., 300sq.ft.(6.3 x 5.0m, 30m
2
)
L: 26ft. x 19ft., 450sq.ft.(7.9 x 5.8m, 45m
2
)
[Other models]
S: 3.6m x 2.8m, 10m
2
M: 4.8m x 4.0m, 20m
2
L: 6.3m x 5.0m, 30m
2
2 SUBWOOFER
Settings: YES, NONE
Select YES if you have a subwoofer in your system,
or NONE if you do not.
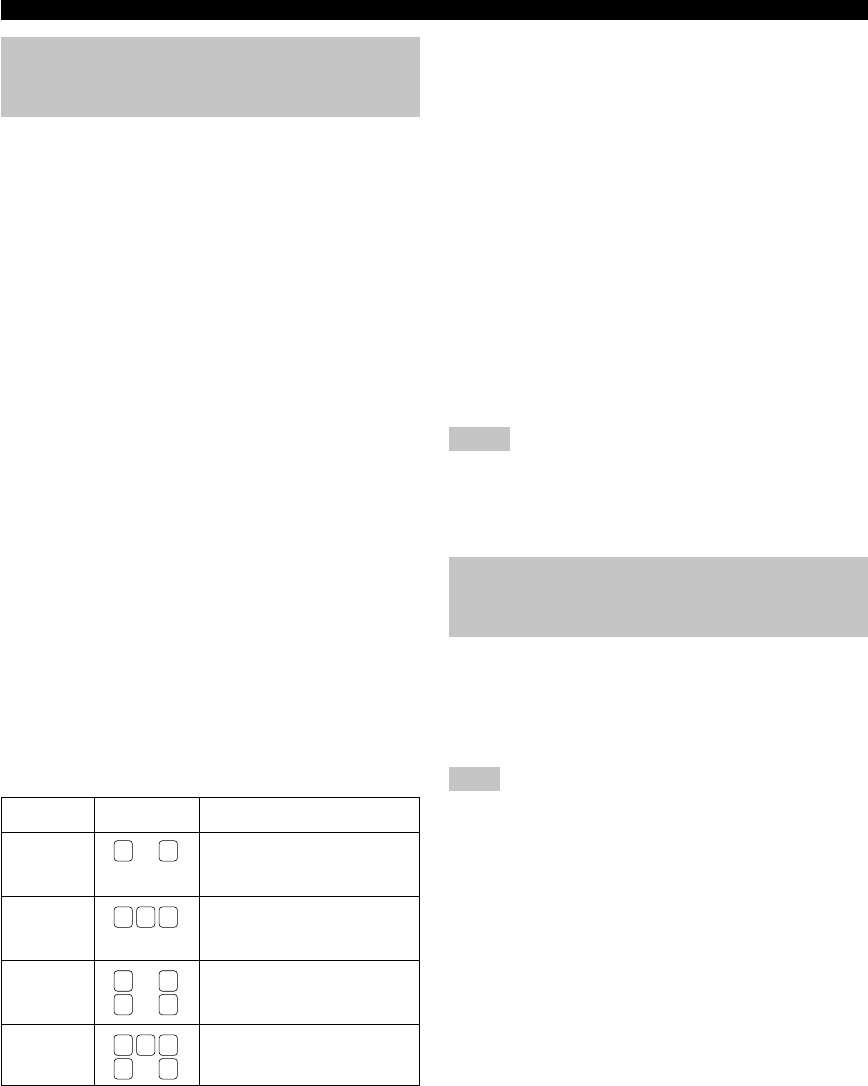
3 SPEAKERS
Settings: 2, 3, 4, 5 (spk)
Select the number of speakers you wish to use in your
speaker configuration. This number does not include
your subwoofer.
BASIC SYSTEM SETTINGS
4 SET or CANCEL
Select SET to confirm the changes you made to the
above three settings. The unit will output a test tone to
the speakers (see
5
). Alternatively, select CANCEL
to exit this menu without altering any of the unit
settings.
5 Use the test tone to check the speaker levels.
When you select SET in
4
, the display changes to
“CHECK: TestTone”, and the unit outputs a test tone
to each of the speakers in turn. When the test tone
begins, the display changes to “CHECK OK?-- YES”.
If the volume of the test tone varies between speakers,
press –/+ to change the display to “NO”. The unit will
automatically enter the “2 SP LEVEL” mode.
If the test tone is output at the same volume from all
of the speakers, select “CHECK OK: YES”. Press d
to exit from the SETUP menu.
Notes
• The unit cycles the test tone around each of the speakers in
turn twice.
• The indicator of the speaker currently outputting the test tone
flashes on the front panel display.
Setting speaker output levels
(SP LEVEL)
Use this menu to compare and adjust the test tone output
from each speaker to the output from the left main (or left
rear) speaker so that the volume level for all speakers is
identical. Press u / d to select a speaker, then adjust the
balance using –/+.
Note
• The unit outputs the test tone from the selected speaker and
the left main (or left rear) speaker in turn. The indicator of the
speaker currently outputting the test tone flashes on the front
panel display.
1 L-R
Adjusts the balance between the main left and right
speakers.
2 C
Adjusts the balance between the main left and center
speakers.
3 RL
Adjusts the balance between the main left and rear
left speakers.
4 RR
Adjusts the balance between the rear left and rear
right speakers.
5 SWFR
Adjust the balance between the main left speaker and
the subwoofer.
Setting
2spk
3spk
4spk
5spk
Display
L R
L C R
L R
RL RR
L C R
RL RR
Speaker
Main L/Main R
Main L/Center/Main R
Main L/Main R/Rear L/
Rear R
Main L/Center/Main R/
Rear L/Rear R
05V340G_19-21_EN(03.3.18)a.p65 03.4.14, 11:49 AM20


