Chapter 2 - Installing the Yamaha CRW4001t Drive
5
Chapter 2 - Installing the Yamaha CRW4001t Drive
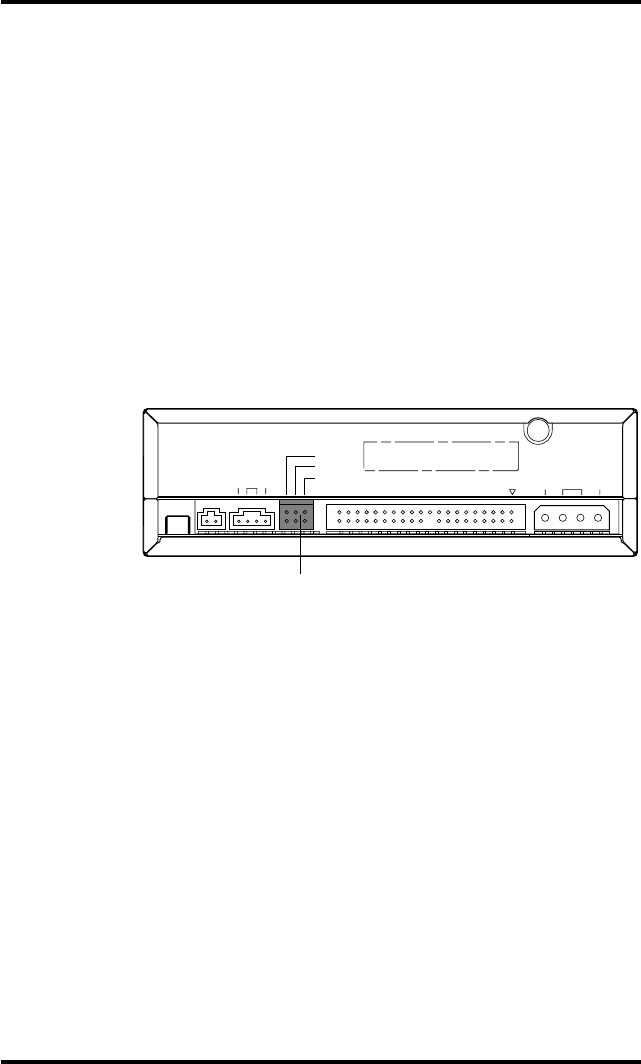
MASTER/SLAVE settings
Before you install the CRW4001t in your computer, you must make the
MASTER/SLAVE setting.
This setting is set by inserting a jumper pin in the jumper switch located
on the rear panel of the CRW4001t drive.
Important:
When the unit is shipped from the factory, this setting is in the MASTER
position.
Note:
Use long-nose pliers to remove or insert the jumper pin.
Rear Panel
Enhanced IDE compatible computers normally have two IDE interface
connectors; a primary one and a secondary one.
Each IDE interface connector of the host computer allows up to two IDE
devices to be connected. This means that a total of up to four IDE devices
can be connected.
Normally, a hard disk is connected to the primary connector, and a CD-
ROM drive is connected to the secondary connector.
Important:
Avoid connecting the CRW4001t or a CD-ROM drive to the same primary
connector as the hard disk drive.
In order to take full advantage of the system's performance, we recommend
that you connect the CRW4001t to the secondary connector by itself as
the MASTER.
RGL
AUDIO OUT
CSEL
SLAVE
MASTER
SER. NO.
IDE INTERFACE CONNECTOR
1
DC INPUT
+5V G +12V
Jumper Switch


