6
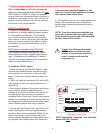
1 Barrel connector
1 large yellow spade connector
2 small red spade connectors
All required screws, washers, bolts, and nylocks
1 base with electronics, dish, single LNBF
Silicone sealant
Surface Wipes
30’ power cable and 30’ coaxial cable
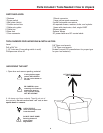
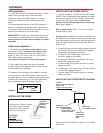
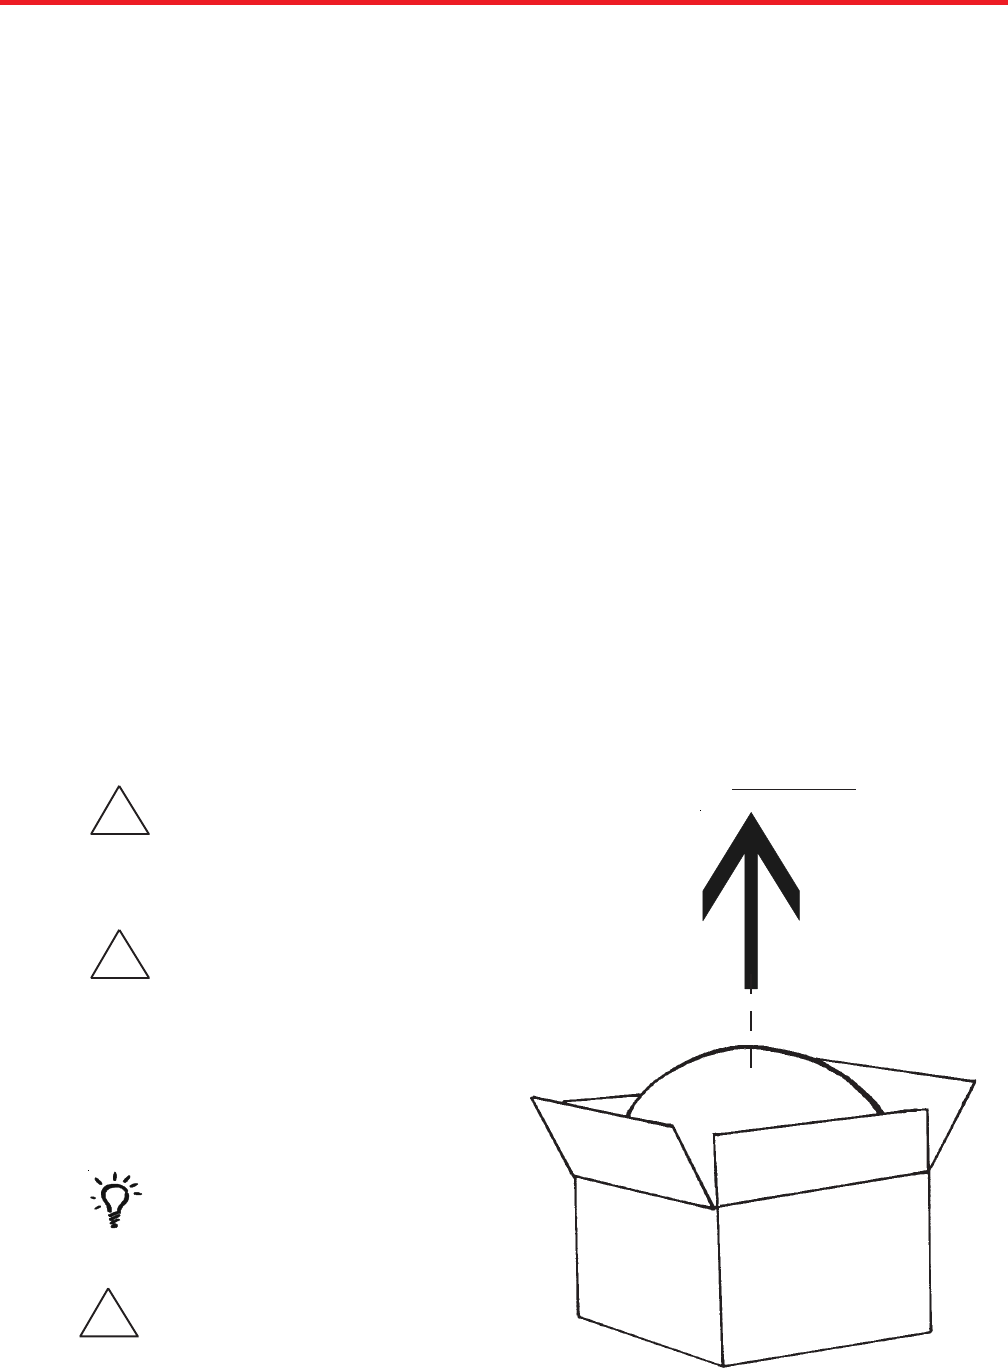
1. Open box and remove packing material.
2. Lift dome out of box vertically. Then lift unit out of
box vertically. Do not turn box and “roll” out, or turn
upside down to remove.
!
USE 2 PEOPLE
when removing the unit
from the carton.
Parts Included • Tools Needed • How to Unpack
If using knife to open
carton, BE CAREFUL.
Do not cut the dome on
the unit.
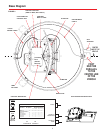
1 Radome
1 Power switch
1 Wall plate (white)
1 Surface mount box
1 Cable entry plate
2 Cable ties
3 Base feet
1 Coax connector
LIFT UNIT STRAIGHT UP
OUT OF CARTON!
TOOLS NEEDED FOR UNPACKING & INSTALLATION:
UNPACKING THE UNIT
Level
Drill w/3/4” bit
1-1/4” hole saw (if mounting switch in wall)
Phillips screw driver #2
3/8” Open end wrench
7/16” Open end wrench
Sealant (consult RV manufacturer for proper type
for your roof material)
PARTS INCLUDED:
!
BE CAREFUL when
removing unit. Dome is
attached to base by
only 3 pieces of tape,
NOT BY SCREWS.
!
DO NOT PAINT DOME!
Painting dome will
cause signal
degradation.


