


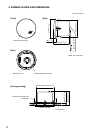

5
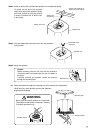
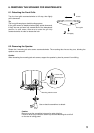
Detachable input
connector
Speaker unit
5. INSTALLATION
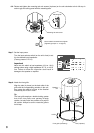
The F-2852C ceiling speaker can be mounted in 3 different configurations:
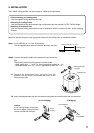
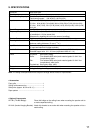
Step 1. Cut a ø250 mm (9
27
/32") hole in the ceiling.
Use the supplied paper pattern to position and trace the hole.
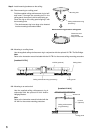
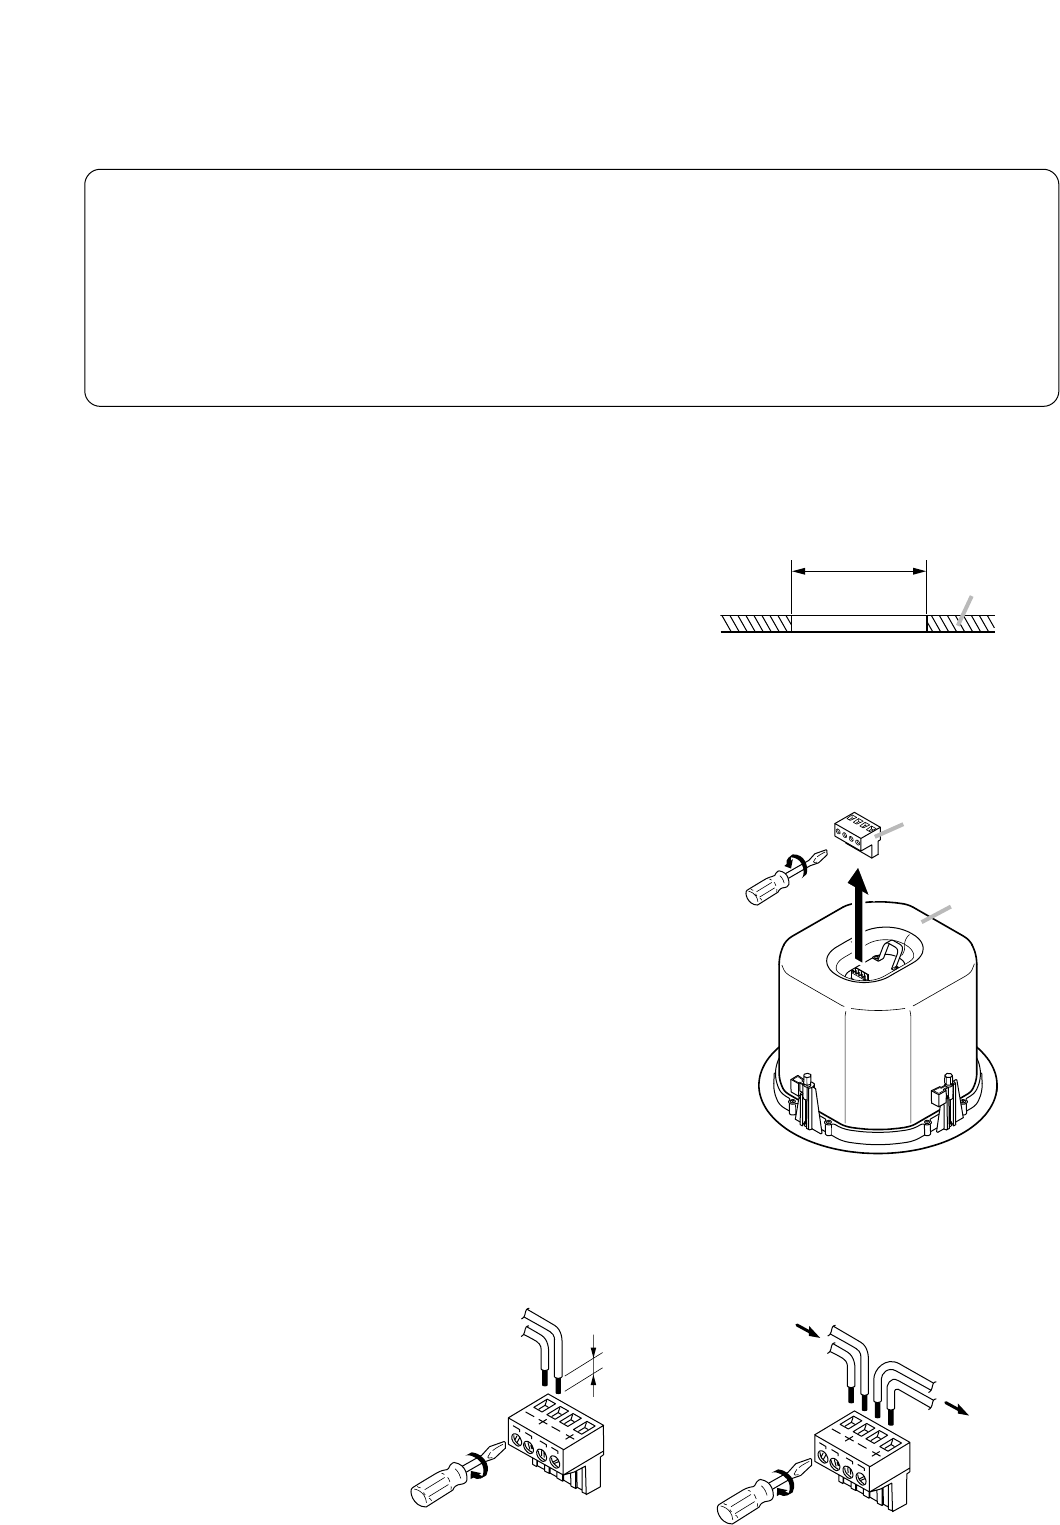
Step 2. Connect the speaker cable to the detachable input connector.
Tip
The following matching cable types are recommended:
• Solid copper wire: ø0.5 – ø1.6 mm (equivalent to AWG 24 – 14)
• Stranded copper wire: 0.2 – 2.5 mm
2
(equivalent to AWG 24 – 14)
2-1. Remove the detachable input connector from the
speaker's wiring socket, and loosen the screw of the
terminal to be used.
• Direct mounting to a ceiling panel
Use the supplied ceiling reinforcement ring.
• Mounting to a ceiling frame
Use the supplied ceiling reinforcement ring in conjunction with the optional HY-TB1 Tile Bar Bridge.
• Mounting to an anchor bolt
Use the supplied ceiling reinforcement ring in conjunction with the optional HY-AH1 Anchor Hanging
Bracket.
Mount the speaker using the most appropriate method for the ceiling panel or installation location.
2-2. Insert the stripped cable end into the terminal and tighten the terminal screw with a screwdriver.
Caution
If not making bridge connections,
be sure to tighten unused terminal
screws to avoid their vibration.
Ceiling panel
ø250 ±5 mm (9
27
/32 ±
13
/64")
5 mm
(13/64")
From Amplifier
To the
next speaker
[If bridging][If not bridging]