ENGLISH
9
AM loop antenna
Connect the supplied AM loop antenna
to the AM ANTENNA terminal.
Place the antenna on a shelf or hang it
on a window frame, etc., in the
direction which gives the best
reception.
If you want, you can hook the AM
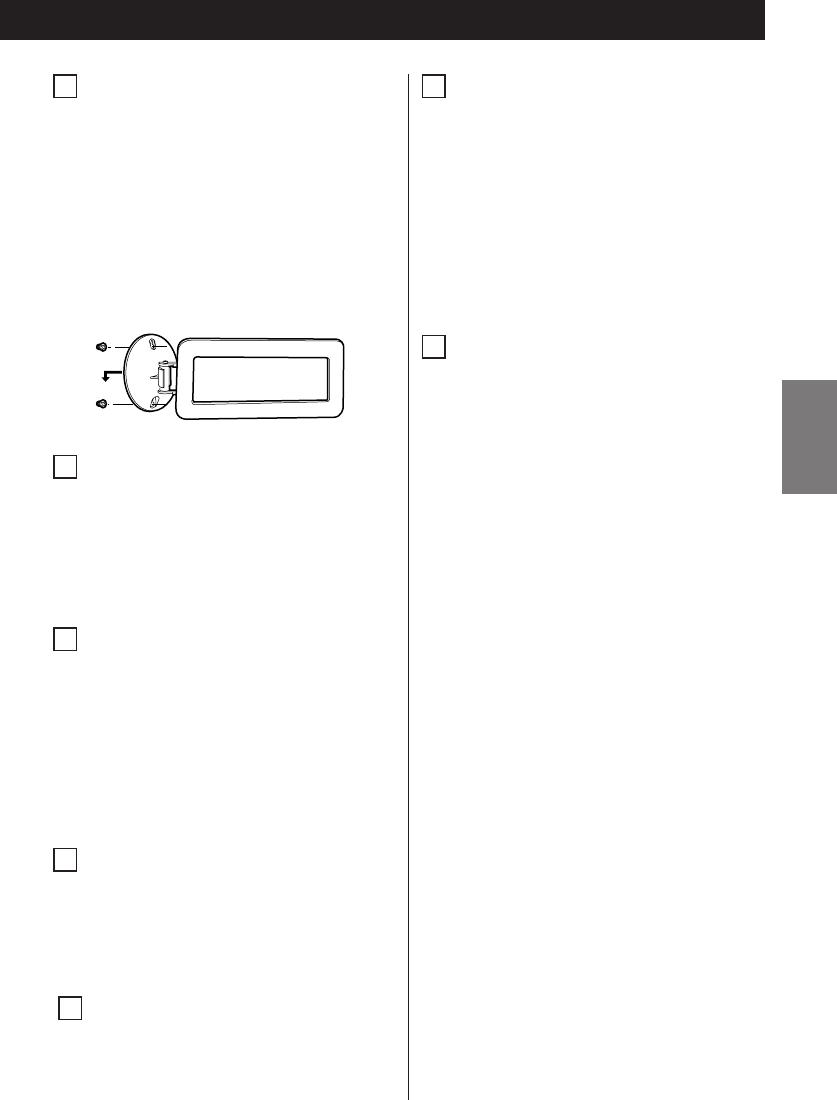
antenna on a wall as shown below:
FM antenna
While in FM mode, tune in an FM
station and extend the lead to find the
best position for the reception. This
antenna may need to be repositioned if
you move your unit to a new location.
S-VIDEO OUT/VIDEO OUT
You can enjoy videos or slideshow
reproduced by your iPod through your
TV screen.
Connect this jack to S-VIDEO IN/VIDEO
IN of your TV set using a commercially
available S-Video or composite video
cable.
PHONES
For private listening, insert the
headphones plug into this jack, and
adjust the volume using the VOLUME
button.
AUX IN
You can connect a portable audio
player to this jack.
See page 17 for details.
E
D
C
B
A
DC IN jack
Connect the provided AC adapter to
this jack. Then connect the AC
adapter’s plug to the AC wall socket.
< Do not use any AC adapters other than
the one included with this unit to avoid
fire, electric shock, etc. Be sure to
connect the adapter to an AC outlet
that supplies the correct voltage.
Battery compartment
The battery supplies a backup power to
the built-in clock and memory, when
the unit is momentarily disconnected
from the AC outlet.
Battery installation
1.Remove the battery compartment
cover.
2.Insert a CR2032 lithium-ion battery
with it’s positive + face facing outer
side.
3.Close the cover.
Battery replacement
If the clock comes to indicate the
wrong time, replace the battery with a
new one.
The life of a battery is about 16 hours
in total.
Precautions concerning button-
shaped battery
< Be sure to insert the battery with
correct positive “+” and negative “–”
polarities.
< Do not heat or disassemble battery and
never dispose of old battery by
throwing them in a fire.
G
F


