


9
ENGLISH
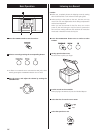
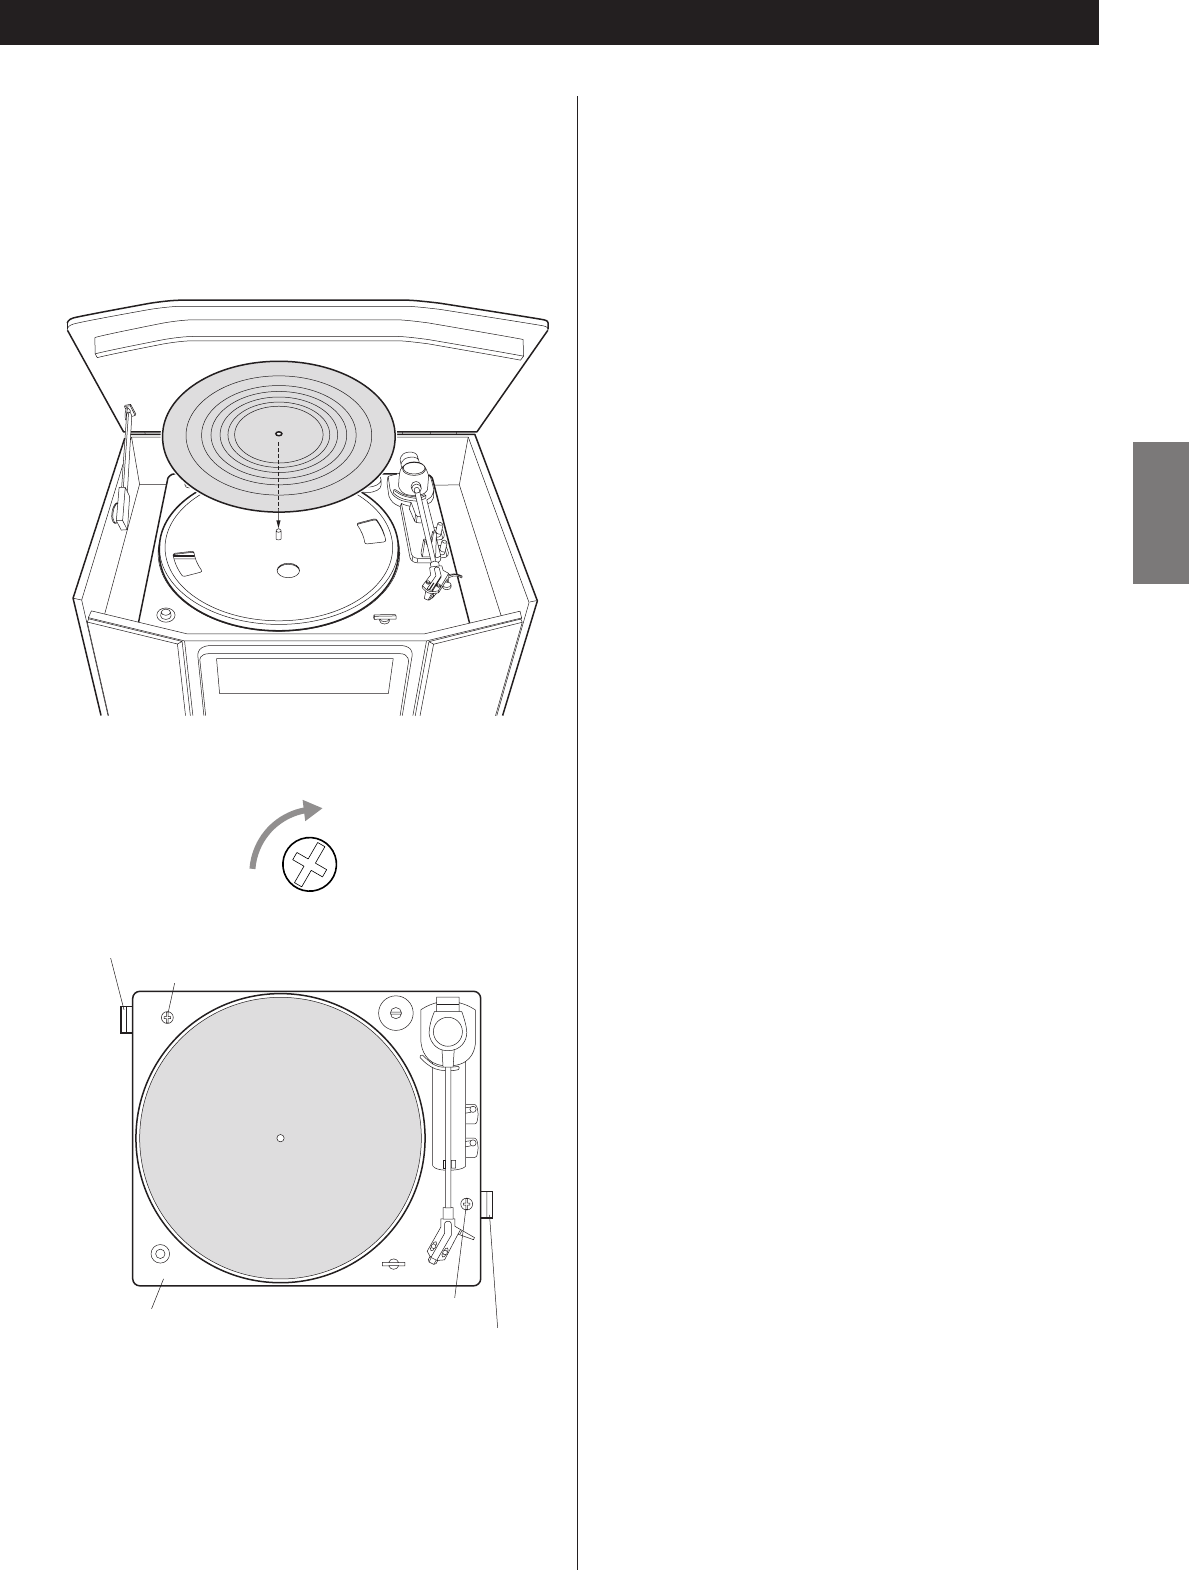
5. Remove the red tape ribbon.
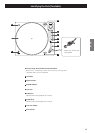
6. Slowly turn the turntable platter 5 or 6 times by hand
so that the drive belt is correctly seated into the pulley's
groove.
7. Place the record mat on top of the turntable platter.
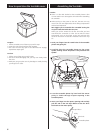
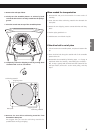
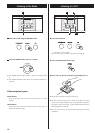
8. Completely loosen the shipping screws by turning them
clockwise with a coin or screwdriver.
Cushioning material
cushioning material
Shipping screw
Shipping screw
Base plate
9. Remove the two white cushioning materials from
beneath the base plate.
We suggest that you save the cushioning materials for
possible future moving or shipping.
When needed for transportation
1.Disassemble and pack the turntable in reverse order of
assembly.
2. Insert the two white cushioning materials into beneath the
base plate.
3. Rotate the two shipping screws counterclockwise until they
block.
4. Put the stylus guard back on.
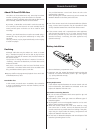
5. Hold the tone arm with the vinyl tie.
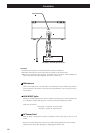
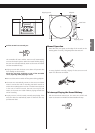
If the drive belt is out of place
1. Lift and remove the turntable platter, and place it bottom side
up.
2. Place the drive belt along the outside wall of the turntable
platter’s drive rim.
3. Reassemble the turntable by following steps 1-7 of page 8
explained under the heading “Assembling the Turntable”.
But, in step 4, gently hold the drive belt itself (instead of the
red tape ribbon) and hook it to the motor pulley, and skip
step 5.