22
Erasing the Last Track (CD-RW)
1
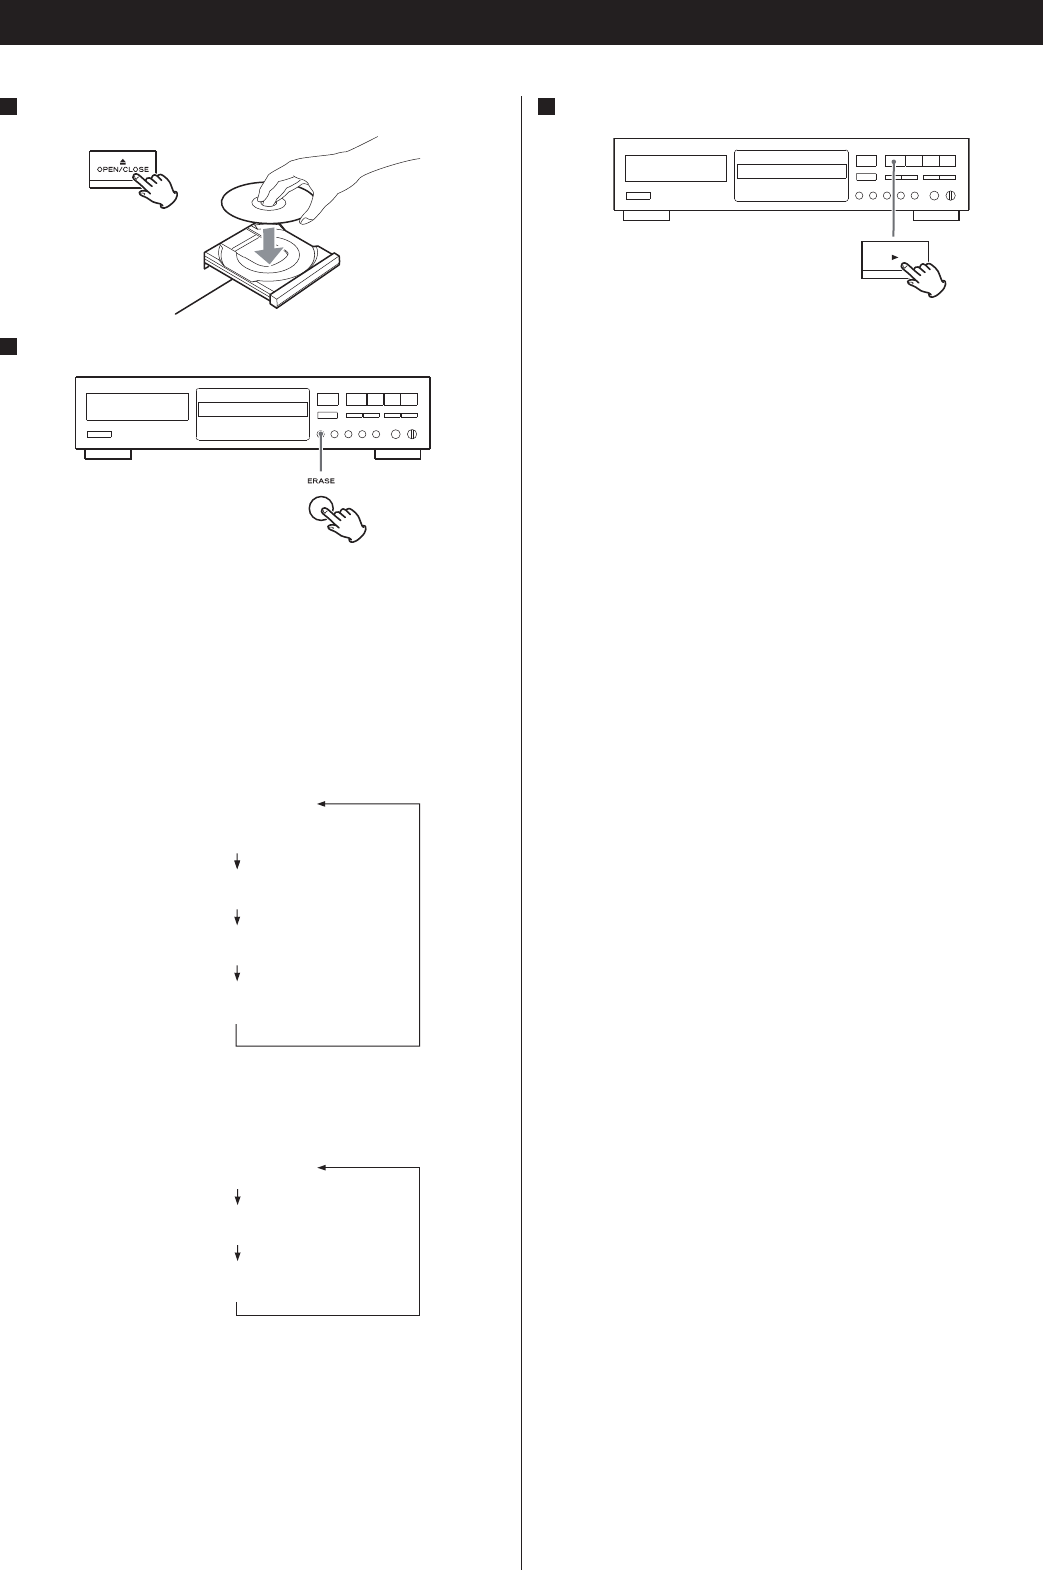
Load a recorded CD-RW.
2
Press the ERASE button in the stop mode.
“ERASE” and the last track number appear on the display.
You can simultaneously erase multiple tracks, from the selected
one to the last one. Press the Skip (.//) buttons to select
the number of the first track to erase. (You cannot erase only tracks
in the middle of the CD.)
Each time the ERASE button is pressed, the display changes as <
follows:
If only one track is recorded, “ERASE” and the last track number do <
not appear. The display changes in the following order:
If a finalized disc is inserted, “UNFINALIZE” appears. To erase the <
track(s), unfinalize the disc first.
3
Press the Play (y) button to start erasing.
Only the last track, or tracks from the selected one to the last one,
will be erased.
When the operation has been finished, the display returns to the
track/time display.
Never turn the power off nor unplug the power cord during <
erasing.
During erasing, no buttons will work. <
This operation cannot be cancelled. Before erasing the track or <
tracks, make sure that you really want to erase them.
(#: The last track number)
Total number of tracks and total playback time
Total number of tracks and total playback time


