18
Recording (2)
S-LVL-60/50/40/30 (The track numbers are automatically
added)
The auto track function activates and “A-TRACK” appears. The
displayed number indicates the increment level.
The track numbers are automatically added during recording. If a
track change is detected via DIGITAL or if silence (lower than the
increment level) continues for three seconds or longer then the
next track starts (when sound becomes louder than the increment
level) via ANALOG, and the track numbers are automatically
updated.
* Increment level
Sound level to detect “silence” to add track numbers using auto
track when recording from external devices via ANALOG or to
perform synchronous recording for digital sources such as CD, MD,
and DAT.
This instruction manual describes “silence” as the situation where
the recording source level is lower than the specified increment
level.
−60, −50, −40, and −30 dB can be selected.
MANUAL (The track numbers are not automatically added)
In MANUAL mode, the track numbers are not automatically added.
To add track numbers manually, press the RECORD button.
The setting can be configured for DIGITAL and ANALOG respectively. <
When the power is turned on, the setting is –60dB for DIGITAL, and
–50dB for ANALOG.
The setting is stored until the power is turned off. <
If a CD is recorded via DIGITAL, the track numbers are added based <
on the CD's digital signals. There is usually no need to change the
increment level.
In digital recording, even if the auto track function is activated, <
track numbers may not be added depending on the digital source
player.
When you record digital broadcasts or other sources without <
track numbers, track numbers are not added even if the auto track
function is activated. To add a track number, press the RECORD
button while recording a track.
When you record classical music or other sources containing silent <
parts via ANALOG, track numbers may not be properly added even
if the auto track function is activated. To add a track number in this
case, deactivate the auto track function, and press the RECORD
button while recording a track.
When you record a record or other sources with much interference, <
more track numbers than expected may be added unintentionally.
The AUTO/MANUAL button cannot be used during recording. <
If track numbers are not properly added
When you record sources with interference via ANALOG, track
numbers may not be added if the increment level is lower than the
interference level. In this case, set the increment level higher than
the interference level.
If there is little interference and the track starts with a small sound
resulting in the beginning of the recorded track being truncated,
set the increment level lower.
4
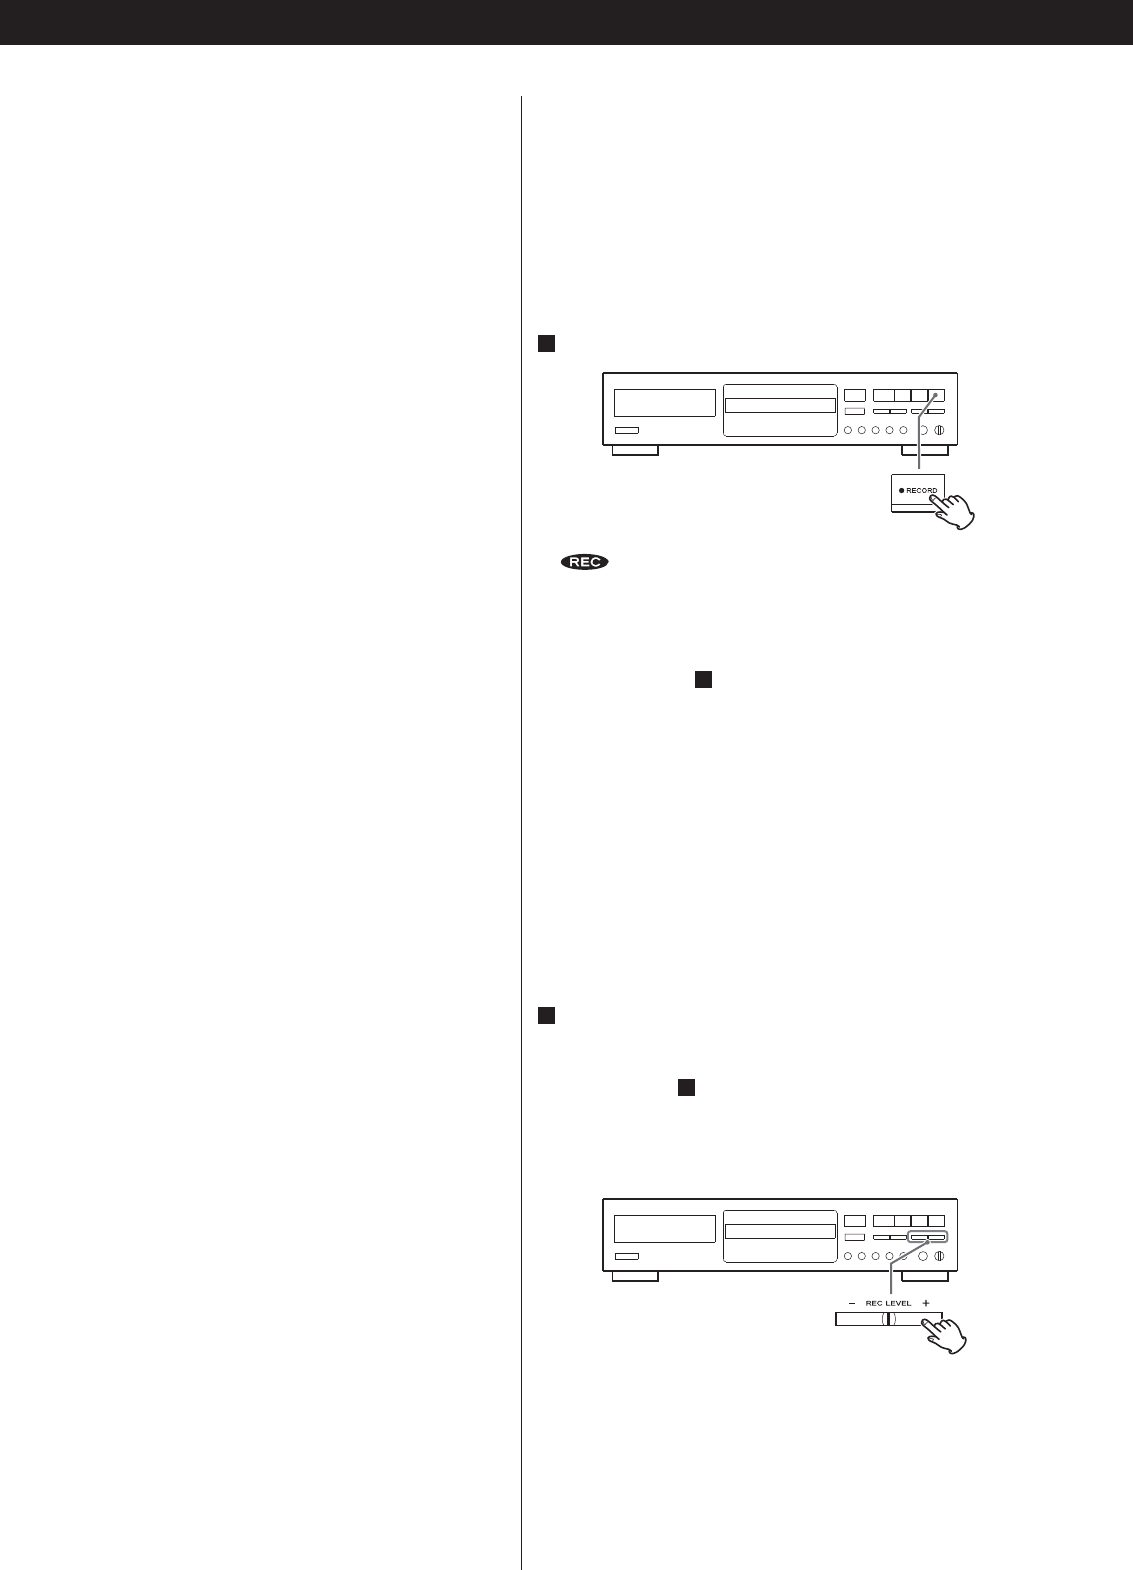
Press the RECORD button.
and J indicators on the display will light, and the unit
enters the record pause mode.
No button will work while “WAITING” is displayed. Wait a few <
seconds until “WAITING” disappears from the display. When DIGITAL
is selected in step
2
, the sampling frequency of the digital source
(“ FS 4 4 _1K ”, “FS 48K” or “ FS 32K”) briefly appears after
“WAITING”.
“DIN UNLOCK” appears when the unit cannot perceive the digital <
signal. In that case, connect a digital device to the DIGITAL IN
terminal, switch it on, and wait a few seconds until the unit enters
the record pause mode.
You cannot record if “MONITOR” appears on the display. In that <
case, reload a recordable disc, wait a few seconds until “NO TOC”
and “CD-R” (or “CD-RW”) indicators light on the display, then press
the RECORD button again.
5
If necessary, adjust the recording level using the REC LEVEL
buttons.
The recording level can be adjusted only when “ANALOG” is
selected in step
2
.
The recording level is 0 dB when the power is turned on. Usually,
recording is possible even if the recording level has not been
adjusted.


