


_
5
_
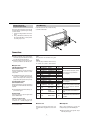
O Before connection, turn off all compo-
nents and pay special attention to left (L)
and right (R) channel indications.
O Read the owner's manual of each com-
ponent you intend to use with this unit.
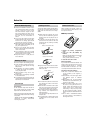
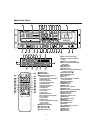
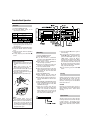
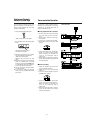
∑ Signal cords
LINE INPUT/OUTPUT terminals
(Balanced/Unbalanced)
Use these terminals to connect the deck to
a mixer, cassette tape recorder or other
components.
O LINE OUTPUT terminals output the com-
pact disc or cassette deck tape signal.
When both compact disc and tape are
played back, the tape sound has priority.
CD LINE OUTPUT terminals
(Balanced/Unbalanced)
Use these terminals to connect the deck to
the CD, DAT or AUX terminals of the stereo
amplifier.
O CD LINE OUTPUT terminals always out-
put the disc signal.
DIGITAL OUTPUT
This RCA connector outputs digital audio
data in SPDIF format.
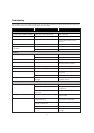
CONTROL I/O (Parallel port)
This 15-pin "D"-sub connector is used for
connection to a suitably-equipped con-
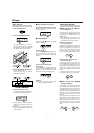
Connections
Pin No. Component & Signal Direction Function
1 CASSETTE READY IN
2 CASSETTE REVERSE PLAY IN
3 CASSETTE FORWARD PLAY IN
External command reception; active
4 CD REW IN when low (at ground potential for
5 CD F. FWD IN
30 ms or longer)
6 CD STOP IN
7 CD READY IN
8 COMMON Ground ——
9 CASSETTE STOP IN
External command reception; active
10 CASSETTE F. FWD IN when low (at ground potential for
11 CASSETTE REW IN
30 ms or longer)
12 CASSETTE PLAY TALLY OUT
Open collectors: ON (when at PLAY)
Transistor rating: maximum allowable
13 CD PLAY TALLY OUT
voltage 15 V and maximum allowable
current 80 mA
14 CD
FADER
IN
High∑Low:START, Low∑High:READY
START/READY
(high or low pulse must be 500 ms or
longer)
15 CD EVENT START IN
Active when low (at ground potential
for 100 ms) One-shot pulse makes the
unit START.
troller.
The pinouts of this connector are given
below.
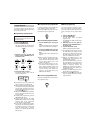
Caution:
If the CD player interferes with the tuner,
TV reciever, etc., allow a reasonable dis-
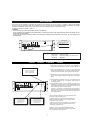
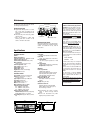
Be sure to remove the power cord from the
AC outlet before repositioning the voltage
converter switch.
1. Locate the voltage selector on the rear
panel.
2. Using a flat-bladed screwdriver, set to
the appropriate 230 V or 120 V position
according to your area.
Voltage Conversion
(For general export models)
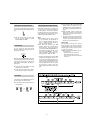
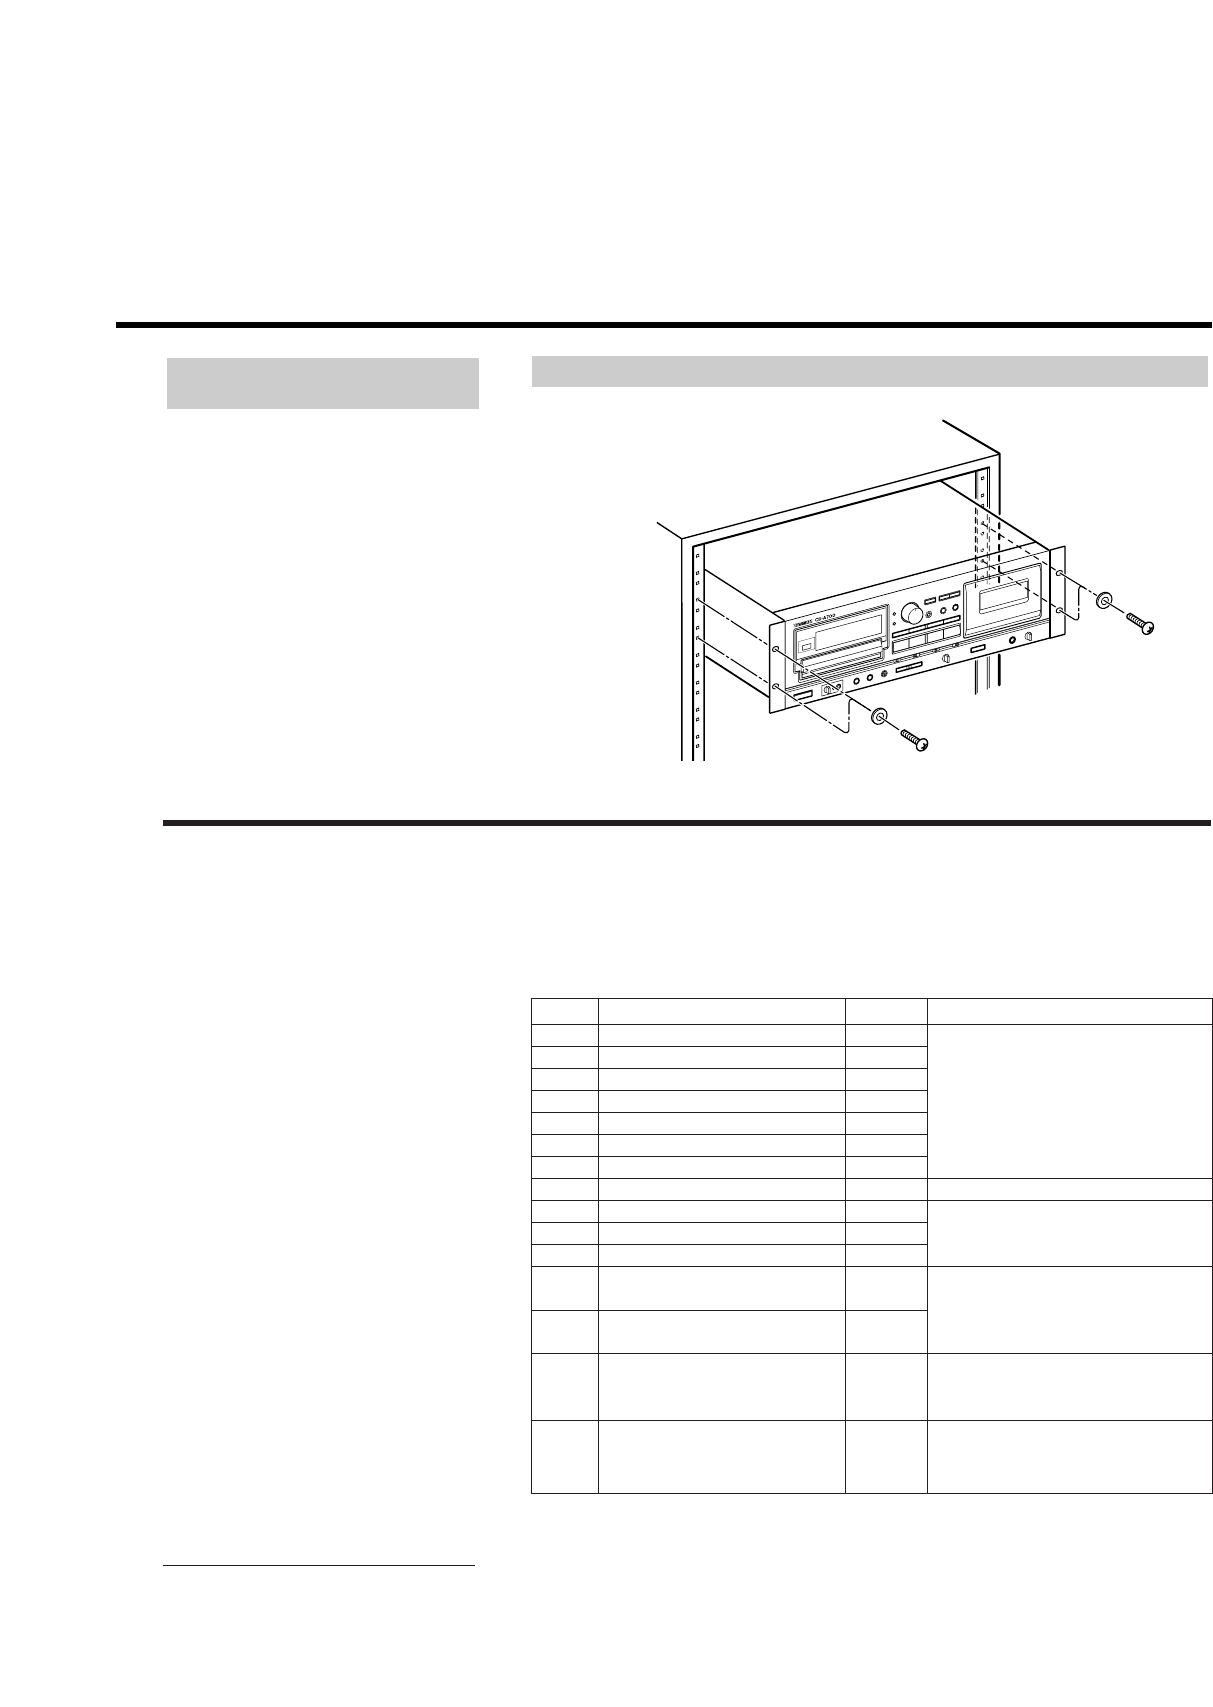
Install this deck with the provided mounting
screw kit as illustrated.
Rack Mounting
tance between them.
∑ Power cord
Be sure to connect the power cord to an
AC outlet which supplies the correct volt-
age.
∑ Headphones
When using headphones, connect the
headphone plug into the PHONES jack.
O Adjust the level of the signals output
from the phones jack.