


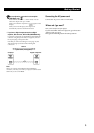

Recording From CDs
12
To cancel Time Edit
Press PLAYMODE until “SHUFFLE” and “PROGRAM”
disappear from the display.
When using the remote, press CONTINUE (CDP-XE500
only).
You can program the tracks you want in advance
Select the tracks before doing the above procedure. The
player creates a program from the remaining tracks. In
this case, you cannot select “HALF” to specify the tape
length.
You can freely specify the tape length
Set the tape length using ≠AMS±.
Example: When the tape length of one side is 30 minutes
and 15 seconds
1 To set the minutes, turn ≠ AMS ± until
“30” appears in the display, then press
ENTER .
2 To set the seconds, turn ≠ AMS ± until
“15” appears in the display, then press
ENTER .
When tracks, which aren’t numerically consecutive on
the disc, are programmed consecutively (i.e. 1, 3, 5
etc.)
A one-second access time blank is added between the
tracks.
To check and change your program
See page 11.
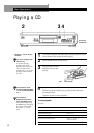
Recording a CD by Specifying
Tape Length (Time Edit)
You can have the player create a program that will fit
the length of the tape.
The player automatically creates a program, keeping
the original order of the disc.
The program can contain up to 24 tracks (a pause
inserted between tracks is counted as one track).
Note that tracks whose numbers are over 24 cannot be
programmed automatically.
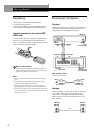
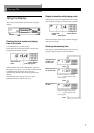
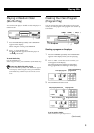
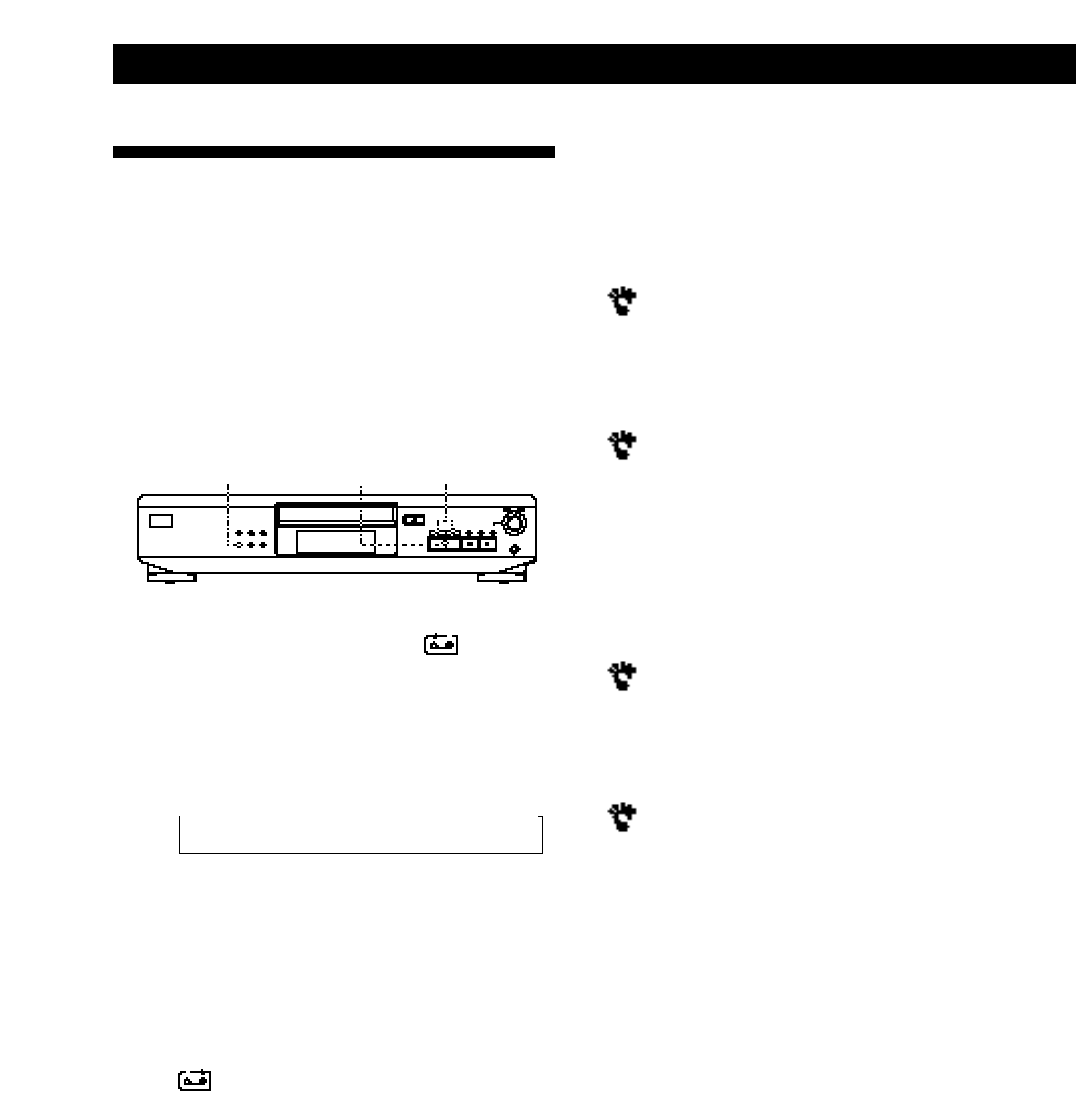
EDIT/TIME FADE
0 / )
·
1 Press EDIT/TIME FADE before you start playing
until EDIT appears and “A” in the indication
flashes in the display.
2 Press 0 or ) to specify the tape length.
Each time you press these buttons, the display
changes as shown below, with the tape length of
one side following each indication.
n HALF ˜ C-46 ˜ C-54 ˜ C-60 ˜ C-74 ˜ C-90 ˜ - -. - - N
(23.00) (27.00) (30.00) (37.00) (45.00)
When you select “HALF”
The player sets the program of each side to a half of the
total playing time of the disc. Note that you cannot select
“HALF” when the disc has more than 24 tracks.
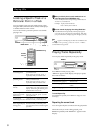
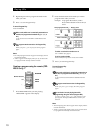
3 Press EDIT/TIME FADE to have the player create
the program.
The display shows the tracks to be recorded. “B” in
the indication flashes in the display.
4 When you record on both sides of the tape, press
EDIT/TIME FADE again.
The player inserts a pause, then creates the
program for side B. The display shows the
programmed tracks.
When you record on one side of the tape or on a
DAT or MD, skip this step.
5 Start recording on the deck and then press · on
the player.
When you record on both sides of the tape, the
player pauses at the end of the program for side A.
6 When you record on side B, reverse the tape and
press · or P on the player to resume playing.