


Locating a Scene or Track You Want
Locating a Scene or Track You WantStoring Information About CDs (Custom Files)
Storing Information About CDs (Custom Files)
Storing Information About CDs (Custom Files)Storing Information About CDs (Custom Files)
Storing Information About CDs (Custom Files)Storing Information About CDs (Custom Files)
27
EN
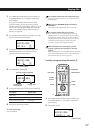
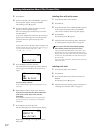
6 Press ENTER to select the group.
The group file indication lights up in the front
panel display and the flashing cursor (“) appears
to indicate the first space for the Group Memo.
7 Input the group name (Group Memo) following
Steps 4 through 6 in “Labeling discs with disc
titles” on page 23.
8 Press INPUT to store the Group Memo.
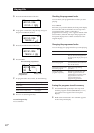
Erasing the Group Memo
1 Follow Steps 1 through 4 in “Putting discs into
groups” to select the Group Memo you want to
erase.
2 Press CLEAR.
3 Press INPUT.
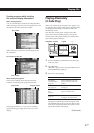
Playing discs in a group (Group Play)
You can enjoy Continuous or Shuffle Play within a
group.
1 Press CONTINUE or SHUFFLE to select the play
mode you want before you start playing.
When you select
ALL DISCS
Continuous Play
1 DISC Continuous
Play
ALL DISCS Shuffle
Play
1␣ DISC Shuffle Play
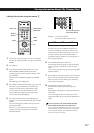
2 Press one of the GROUP 1–8 buttons to select the
group and press ·.
Group Play starts from the disc which is the most
upward number and located closest to the playing
position. If the disc at the playing position is put
into the selected group, the play starts from that
disc.
You can specify the first disc to play when starting
Group Play
After selecting the group, turn the JOG dial to select the
disc, then press ENTER.
The player plays
All tracks on all discs in the
group consecutively
All tracks on the specified disc
in the group consecutively
All tracks on all discs in the
group in random order
All tracks on the specified disc
in the group in random order
You can start Group Play using the remote
Before you start playing, press GROUP/DEL, the
number button of the group you want to play, then
ENTER.
Note
If “NO ENTRY” appears in the front panel display, no disc
has been put into the selected group.
Deleting discs from a group
• To delete a disc from a group
1 Follow Steps 1 through 4 in “Putting discs into
groups” on page 26 to select the disc.
2 Turn the JOG dial (when using the remote, press M
repeatedly) until “NOT FILED” appears in the
front panel display, then press ENTER.
3 Press INPUT.
• To delete all discs from a group at once
Press one of the GROUP 1–8 buttons you want to
clear, then press CLEAR for more than one second.
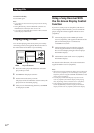
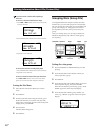
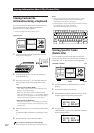
Checking the Group File information using
the on-screen display Z
You can check the Group Memos and disc titles stored
in each group.
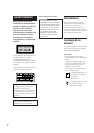
Checking the Group Memos
Press GROUP/DEL.
The on-screen display shows all the Group Memos.
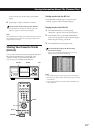
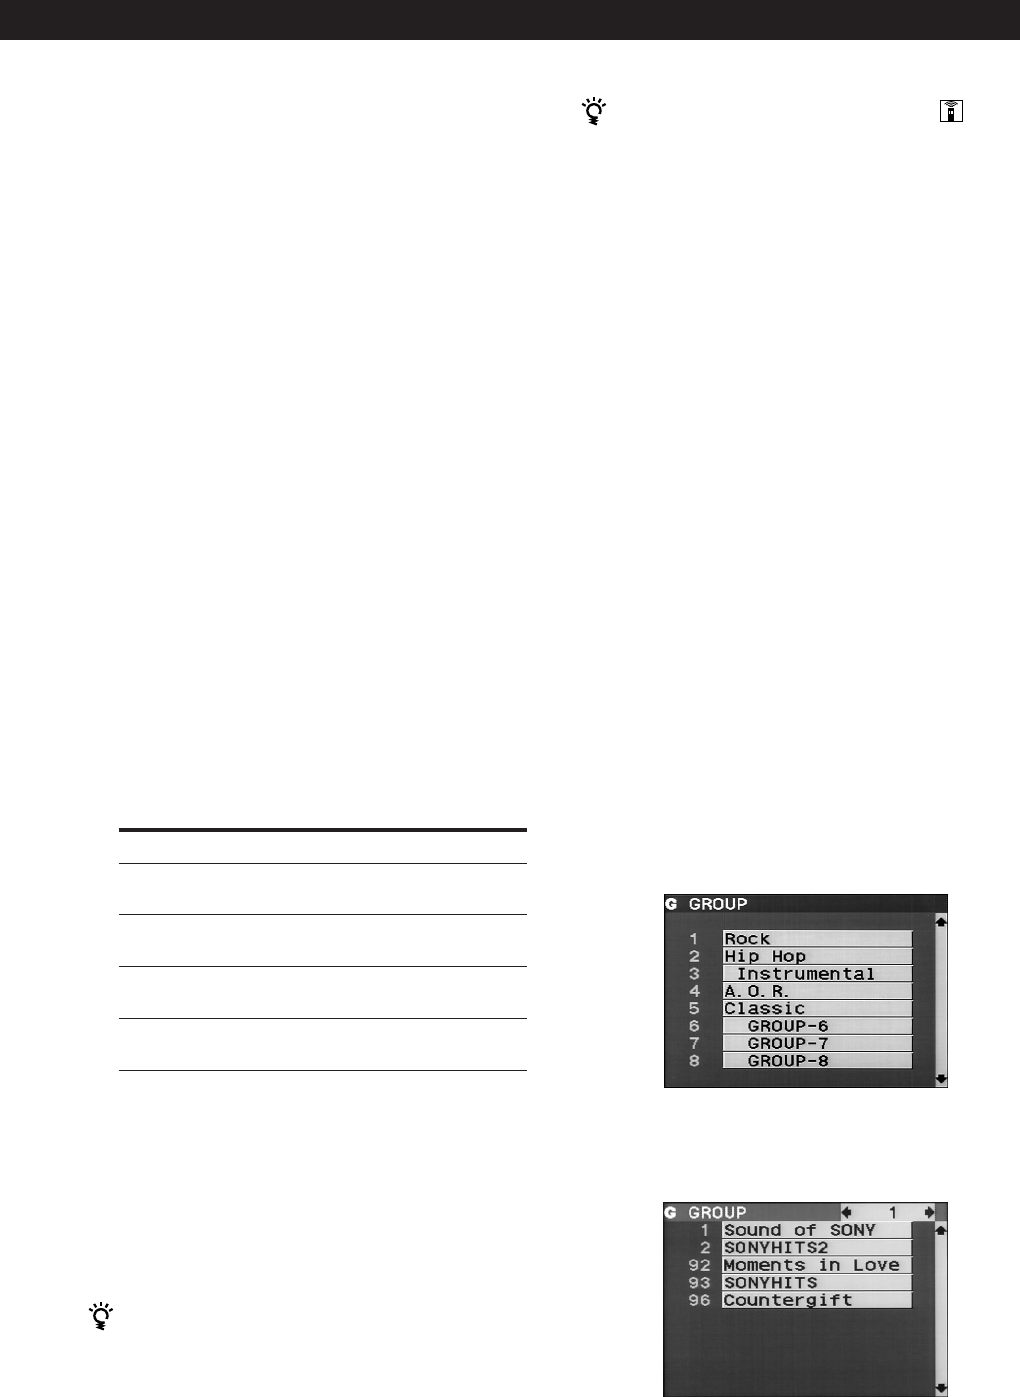
Checking the disc titles in each group
After pressing GROUP/DEL, press the number button
of the group you want. Then press ENTER.