


36
US
Getting Started
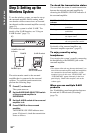
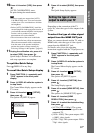
5 Press X/x to select a language, then
press .
The Setup Display for selecting the aspect
ratio of the TV to be connected appears.
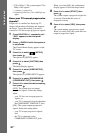
6 Press X/x to select the setting that
matches your TV type, then press .
• [16:9]: For a wide-screen TV or a 4:3
standard TV with a wide-screen mode
(page 61)
• [4:3 LETTER BOX] or [4:3 PAN SCAN]:
For a 4:3 standard TV (page 61)
The Setup Display for the Control for
HDMI function appears.
7 Press X/x to select the setting, then
press .
• [ON]: The Control for HDMI function
(page 70) is set to on.
• [OFF]: The Control for HDMI function is
set to off.
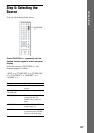
The Setup Display for selecting the speaker
formation appears.
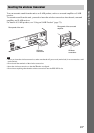
8 Press C/c to select the speaker
formation image as the speakers are
actually positioned, then press .
For details, see “Getting Optimal Surround
Sound for a Room” (page 79).
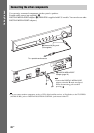
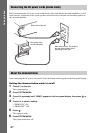
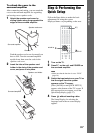
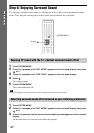
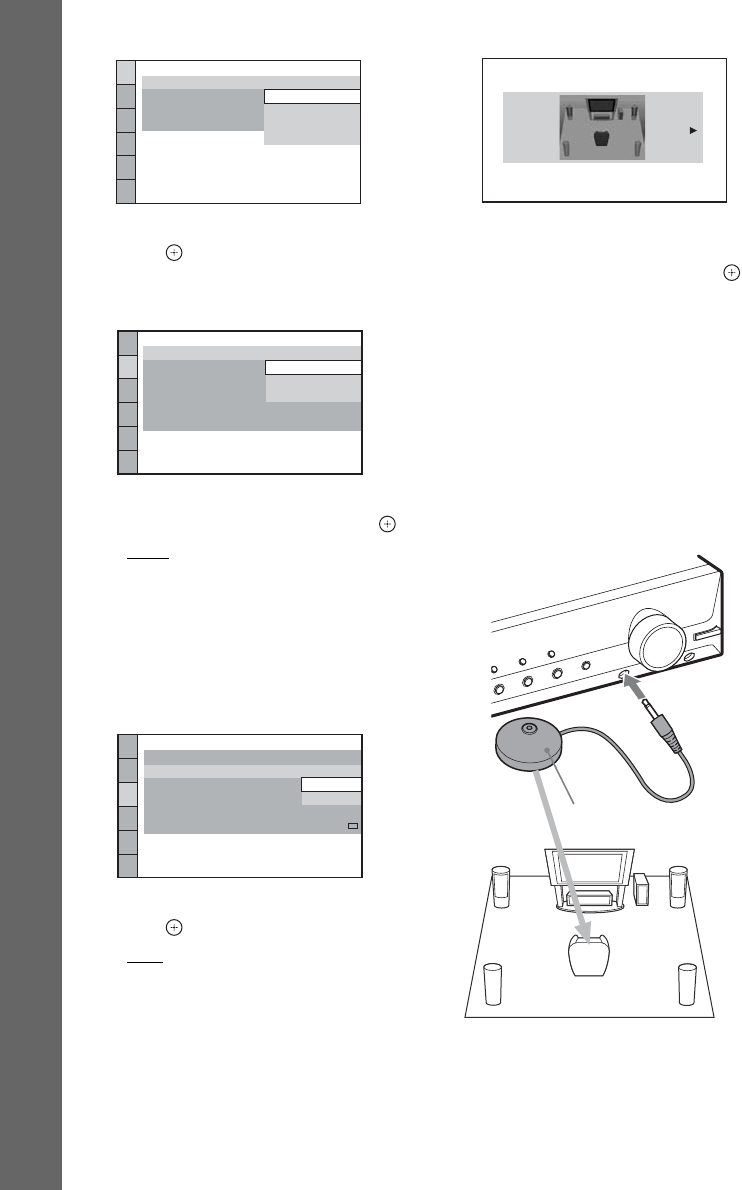
9 Connect the calibration mic (supplied)
to the A.CAL MIC jack on the front
panel.
Set up the calibration mic at ear level using
a tripod, etc. (not supplied).
The front of each speaker should face the
calibration mic, and there should be no
obstruction between the speakers and the
calibration mic.
LANGUAGE SETUP
MENU:
OSD:
AUDIO:
SUBTITLE:
ENGLISH
ENGLISH
FRENCH
SPANISH
PORTUGUESE
VIDEO SETUP
PROGRESSIVE
(COMPONENT OUT)
:
TV TYPE:
4:3 OUTPUT:
BLACK LEVEL:
PAUSE MODE:
16:9
OFF
AUTO
BLACK LEVEL
(COMPONENT OUT)
:
16:9
4:3 LETTER BOX
4:3 PAN SCAN
HDMI SETUP
HDMI RESOLUTION:
VOLUME LIMIT:
AUTO
(1920x1080p)
OFF
SD
YCBCR/RGB(HDMI):
JPEG RESOLUTION:
AUDIO(HDMI):
CONTROL FOR HDMI:
ON
ON
OFF
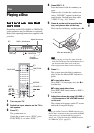
SPEAKER FORMATION
STANDARD
Calibration mic