


17
4.000
Inside
Brace
Outside
Brace
Top View
Front View Front Baffle
3.0
4.000
14.500
13.000
9.500
8.000
14.500
6.8753.8125 3.8125
2.500
0.750
0.750
0.750
2.5 2.5 2.5 2.5 2.5 2.5
70.000
70.000
70.000
71.500
4.000
5.5
13.125 13.125
45.125
11.000 11.000 11.000 11.00011.000
71.500
3.250
2.500
0.750
3.250
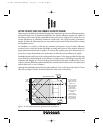
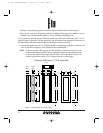
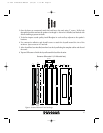
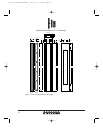
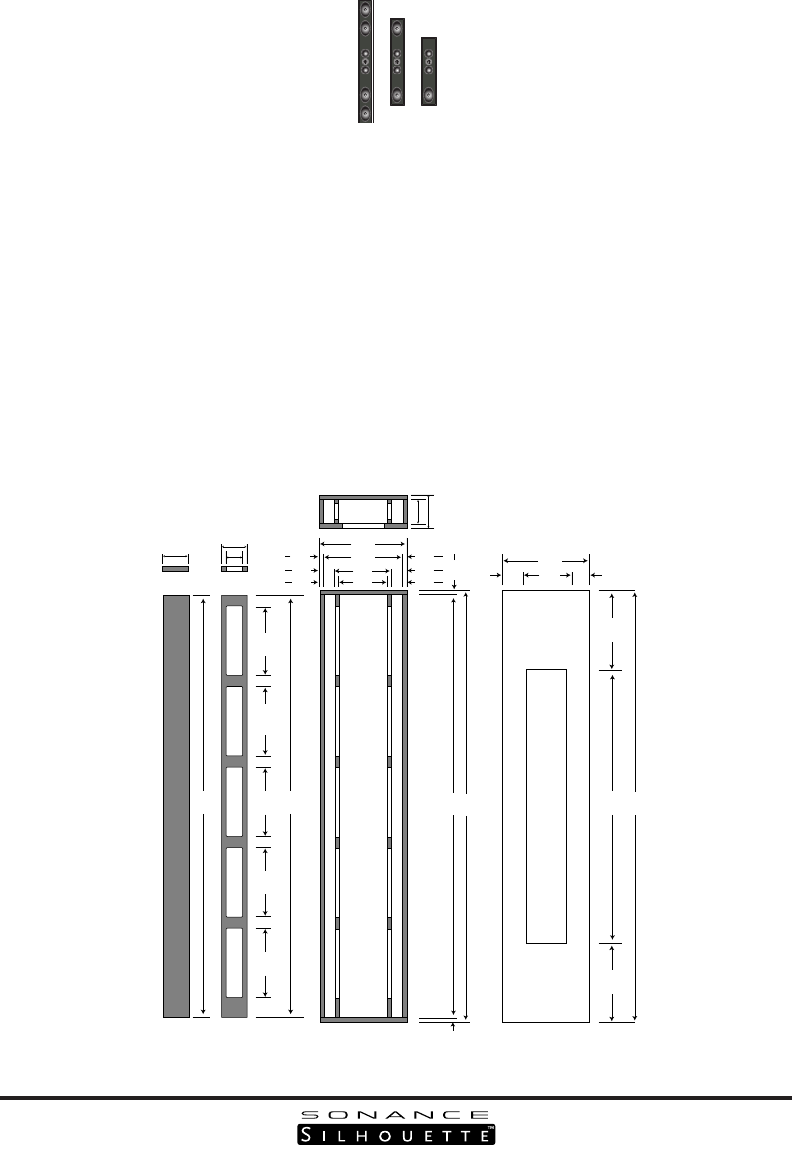
Sonance Silhouette II (2.106 cubic feet)
Figure 6: Sonance Silhouette II rear box design.
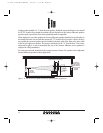
2. Once the boxes are constructed, attach the back box to the studs using 3" screws. Drill a hole
through the back box and run the speaker wire though it. After wire is installed,seal the hole with
silicone chalking to prevent air leaks.
3. To further improve sound quality, install fiberglass in each stud bay adjacent to the speaker’s
locations.
4. Use construction adhesive and drywall screws to attach the drywall around the rim of the
enclosure. Space screws at 4-6" intervals.
5. After drywall has been installed,mark and cut the drywall along the template outline and discard
the center.
6. Tape and fill seams to finish the drywall around the back box location.
33-1823 Silhouette Manual 2/16/00 1:36 PM Page 17