


8
SONANCE MERLOT
®
M
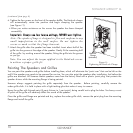
Installing the Speakers
Before Installation: New Construction
For installations in new construction, Sonance recommends using a Merlot M FlexBracket (part #92336) to reserve a
location for the speaker. The FlexBracket has perforated wings that can be positioned anywhere around the bracket, and
is nailed or screwed to the studs. This serves as a guide for the drywaller so that the speaker hole will be in the desired
location once the drywall is installed.
Before Installation: Retrofit
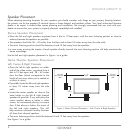
1. Determine the location for the speaker (see
Speaker Placement
on page 4).
2. Perform an obstruction survey to be certain that there are no studs, conduit, pipes, heating ducts, pocket doors or air
returns in the wall cavity that will interfere with the speaker.
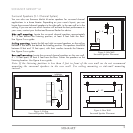
3. The cutout for all Merlot M speakers is 8
1
/
16
” x 4
5
/
8
” (205mm x 117mm). There also must be at least 3” (76mm) depth
within the wall cavity for the speaker.
4. Position the included cutout template where the speaker is to be located and pencil an outline on the wall.
• If you are unsure about obstructions, drill a small hole in the center of the outline and insert a coat hanger wire into
the hole to feel-around for possible obstructions.
5. Cut the mounting hole using a keyhole or drywall saw, and run the speaker wires from the mounting hole to the
amplifier location.
• Consult local building codes before running speaker wires through walls.
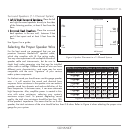
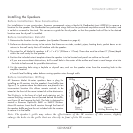
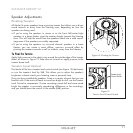
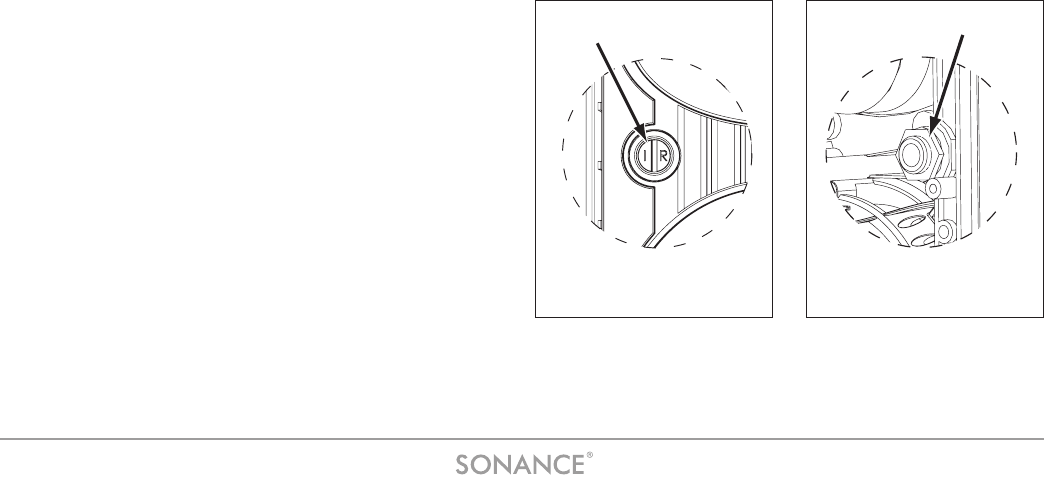
Before Installation: IR Plug
All Sonance Merlot M-series speakers have a plug for
installing an IR receiver into the speaker’s front baffle (see
Figure 7
). In systems where the electronics are placed in an
inconvenient location this allows remote controls to be
aimed at the front of the room instead of at the electronics.
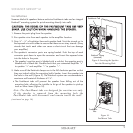
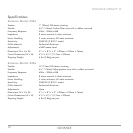
The IR plug is in the form of a bolt and retaining nut. To
remove the plug, unscrew the nut (located behind the baffle,
see
Figure 8
) and remove the bolt. The hole is designed to
receive a Sonance OptiLinQ
®
SMR1 or SMR1P Surface-
Mount IR receiver. Insert the IR receiver through the front of
the speaker baffle and use the nut included with the receiver
to secure it to the baffle.
Note: The speaker’s grille may reduce the effectiveness of the IR receiver. If this occurs, slightly
enlarge the holes in the grille that are directly in front of the IR receiver.
IR Plug
Figure 7:
IR Plug
Retaining Nut
Figure 8:
IR Plug Retaining Nut