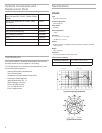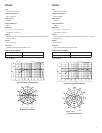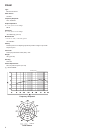
5
Microphone Techniques for Stereo
Recording
Stereo recording using two microphones adds realism by
capturing sound similar to the way that humans hear. Panning
(directing the signals left and right) adds width and directionality
when listening on stereo systems or headphones.
Tip: Panning the signals farther apart increases stereo separation
and width. Be careful of panning too far, as it may result in a
hollow sound in the middle of the stereo field.
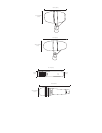
Using the Quick-Release Lever
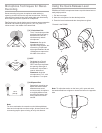
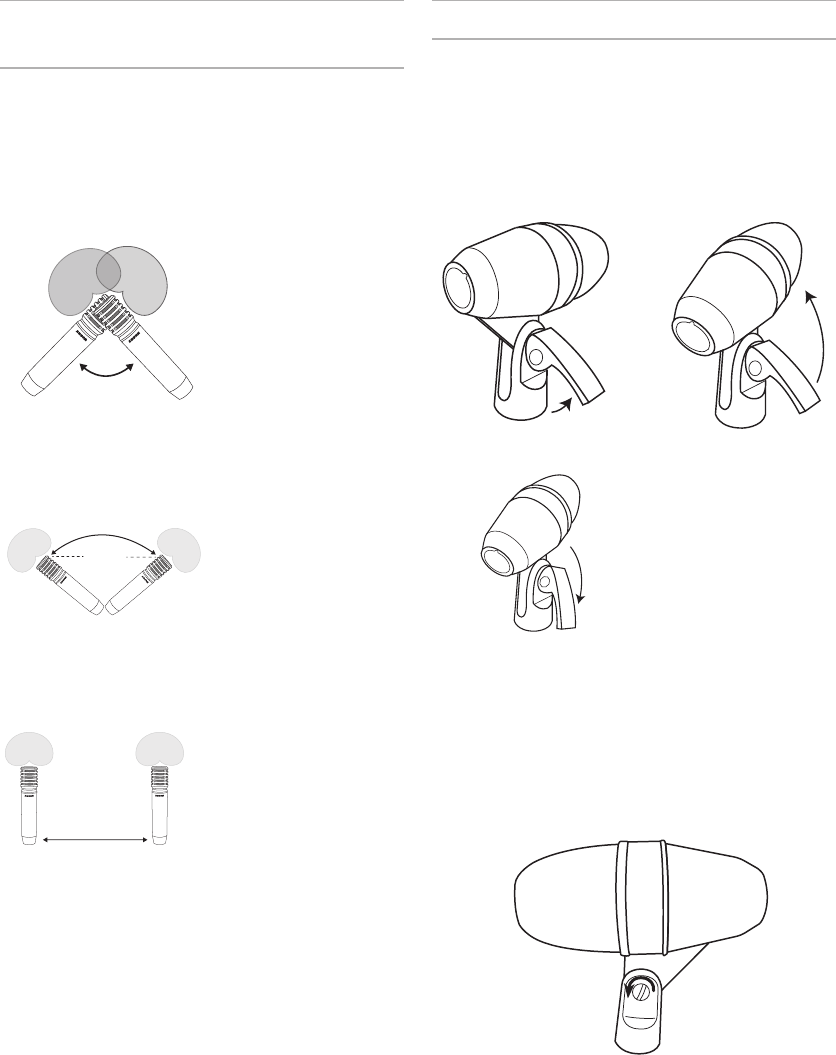
PGA56 and PGA52 microphones feature a quick-release lever to
easily adjust position.
1. Pull the lever open
2. Move the microphone into the desired position
3. Press the lever back towards the microphone to tighten
Pictured is the PGA56.
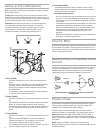
① X-Y Coincident Pair
The X-Y technique provides
excellent phase coherency
because sound arrives
simultaneously at both
microphones.
Placement: Set up the
microphones with the
capsules close together, but
not touching. Experiment
with angles between 90 and
120 degrees to capture the
full width of the source.
90ɴ120ɴ
② ORTF
Developed as a French
broadcasting standard,
ORTF technique replicates
the spacing and angle of
human ears. It provides a
natural, wide sound.
Placement: Angle the
microphones at 110°, with
the capsules 17 cm apart.
110ɴ
17 cm
(6.7 in.)
③ A/B Spaced Pair
Spaced pair recording can
deliver a dramatic stereo
effect because sound
arrives at each microphone
at a slightly different time,
providing the listener with
timing cues that localize
sounds.
1-3 m
(3-10 ft)
Note:
For drum overheads, the snare drum should be equidistant
from each microphone to achieve a tight, focused sound. Use
a measuring tape or piece of string to verify this distance.
1
2
3
Note: To adjust the tension on the lever, pull it open and use a
flat head screwdriver to tighten or loosen the bolt on the opposite
side.
1
2
3


