11/8/3 01_XLDAB151PH EN_AUS.fm
25
Troubleshooting chart (continued)
Sudden temperature changes, storage or operation in an
extremely humid environment may cause condensation
inside the cabinet (CD pickup, etc.) or on the transmitter on
the remote control. Condensation can cause the unit to
malfunction. If this happens, leave the power on with no
disc in the unit until normal playback is possible (about 1
hour). Wipe off any condensation on the transmitter with a
soft cloth before operating the unit.
When this product is subjected to strong external
interference (mechanical shock, excessive static
electricity, abnormal supply voltage due to lightning, etc.)
or if it is operated incorrectly, it may malfunction.
If such a problem occurs, do the following:
1 Set the unit to the stand-by mode and turn the power on again.
2 If the unit is not restored in the previous operation, unplug
and plug in the unit again, and then turn the power on.
Note:
If neither operation above restores the unit, clear all the
memory by resetting it.
Caution:
This operation will erase all data stored in memory including
clock, timer settings, tuner preset, and CD programme.
Remove the iPod, USB memory device and disc from the
unit. Then, set the unit to the power stand-by mode. Carrying
the unit with iPod or USB memory device left docked or discs
left inside might damage the unit.
Compact discs are fairly resistant to damage, however
mistracking can occur due to an accumulation of dirt on the
disc surface. Follow the guidelines below for maximum
enjoyment from your CD collection and player.
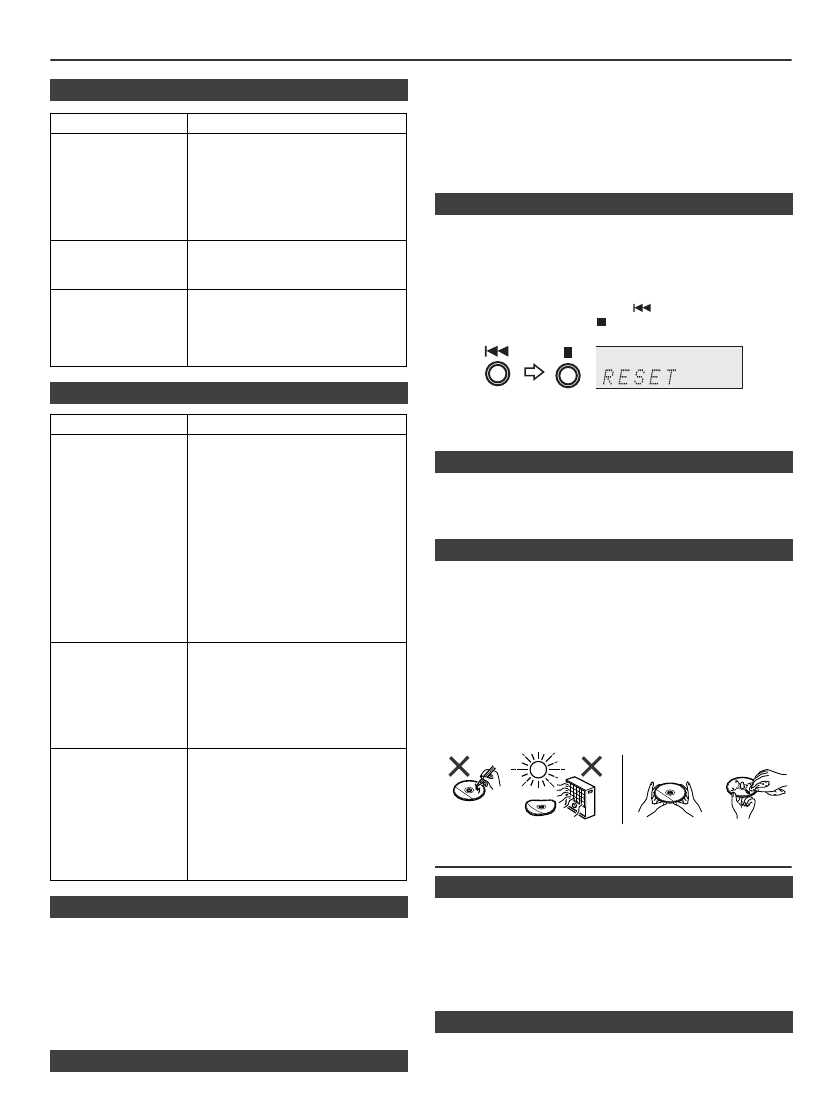
● Do not write on either side of the disc, particularly the non-label
side from which signals are read. Do not mark this surface.
● Keep your discs away from direct sunlight, heat, and
excessive moisture.
● Always hold the CDs by the edges. Fingerprints, dirt, or
water on the CDs can cause noise or mistracking. If a CD
is dirty or does not play properly, clean it with a soft, dry
cloth, wiping straight out from the centre, along the radius.
Maintenance
Periodically wipe the cabinet with a soft cloth and a diluted
soap solution, then with a dry cloth.
Caution:
● Do not use chemicals for cleaning (petrol, paint thinner,
etc.). It may damage the cabinet.
● Do not apply oil to the inside of the unit. It may cause
malfunctions.
Poor performance during CD playback (skipping or jumping)
can be caused by a dirty or contaminated CD laser pick up
lens. If this happens then the use of a commercially
available CD lens cleaning disc may restore normal
operation. Contact your supplier or local CD software dealer
to obtain CD lens cleaning discs. Ensure all included
instructions/documentation are carefully followed.
■ USB
Symptom Possible cause
● Device cannot
be detected.
● Is there any MP3/WMA file
available?
● Is the device properly
connected?
● Is it an MTP device?
● Does the device contain AAC
file only?
● Playback does
not start.
● Is it a copyright protected
WMA file?
● Is it a false MP3 file?
● Wrong time
display.
● Wrong file name
display.
● Is Variable Bitrate file being
played back?
● Is the File Name written in
Chinese or Japanese
characters?
■ iPod, iPhone or iPad
Symptom Possible cause
● No sound is
produced.
No image
appears on the
TV/monitor.
● The iPod, iPhone or iPad is not
playing.
● The iPod, iPhone or iPad is not
properly connected to the unit.
● Is the AC power lead of the
unit plugged in?
● The video cable is not properly
connected.
● The TV/monitor’s input
selection is not properly set.
● The iPod TV out feature has
not been set to output video.
● USB terminal do not support
video.
● iPod, iPhone or
iPad will not
charge.
● The iPod, iPhone or iPad is not
making full contact with the
connector.
● Using iPod (3
rd
generation).
● The iPod or iPhone is not
supported. Refer to page 9 for
compatible models.
●
“
This accessory
is not made to
work with
iPhone
”
or
“This
accessory is not
supported by
iPhone”
appears
on iPhone
screen.
● The iPhone battery is low.
Please charge the iPhone.
● iPhone is not properly docked.
■ Condensation
■ If problem occurs
■ Factory reset, clearing all memory
1
Press the ON/STAND-BY button to turn the power on.
2 Press the AUDIO/LINE (INPUT) button on the remote
control or FUNCTION button repeatedly on the main unit
to select LINE IN function.
3 In LINE IN function, press the
button on the main unit
then press and hold the button until “RESET” appears.
■ Before transporting the unit
■ Care of compact discs
■ Cleaning the cabinet
■ Cleaning the CD pickup lens
