


7
ENGLISH
7
Setting Up and Using Your Hartke GT60
Guitar Amplifier
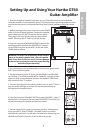
1. Remove all packing materials (save them in case of need for future service) and decide
where the amplifier is to be physically placed. To avoid potential overheating problems, make
sure that the rear panel is unobstructed and that there is good ventilation around the entire
unit.
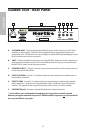
2. Before you plug-in the power cable, be sure the POWER
switch is in the off (down) position. Connect the supplied
power cable to the AC INLET located on the rear panel.
Then, plug-in the 3-pin AC plug into any grounded AC
socket. Don’t turn the GT Series on just yet, though.
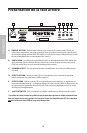
3. If you are using the GT60/408 PIGGYBACK connect the
included speaker cable from the SPEAKER OUT located
on the GT60’s rear panel to the INPUT on the rear of the
HG408 speaker cabinet.
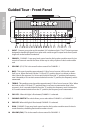
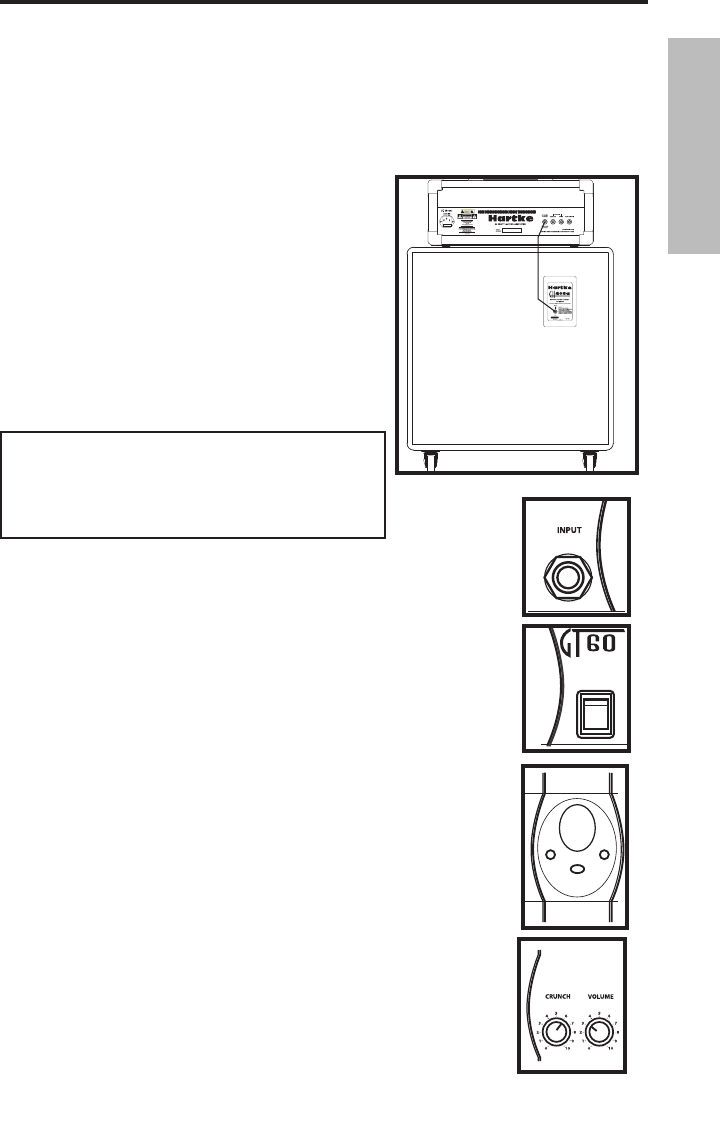
4. Use a standard music instrument cable to connect your guitar to the
INPUT jack on the front panel.
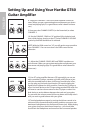
5. On the front panel of the GT Series, turn the CRUNCH and VOLUME
on CHANNEL 1, and GAIN and VOLUME on CHANNEL 2 controls to their
minimum (fully counterclockwise) position. Set the BASS, TREBLE and
MID controls to their "5" position.
5. Press the front panel Power switch in order to turn on your GT Series
amp; the switch will light up and you will see the tube heating up
through the front panel window.
6. Press the front panel CHANNEL SWITCH to select CHANNEL 1. Note: If
a footswitch is connected to the rear panel FOOTSWITCH input jack you
will need to change the channel using the foot switch.
7. Set the output of your guitar to maximum and then, while playing,
slowly turn the GT Series CHANNEL 1 VOLUME control up until the
desired level is achieved. You will get a nice clean tone when using just
VOLUME (no CRUNCH) for level, so set it to the level you like.
WARNING: The GT60 is to be used only when connect-
ed to an 4 or 8 ohm speaker load. Use with speaker
loads of less than 4 ohms can result in severe damage
to the unit due to excessive heat and current limiting
and will void your warranty!