Operating the Resolv A Series
Resolv A Series Control Panel
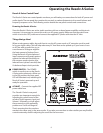
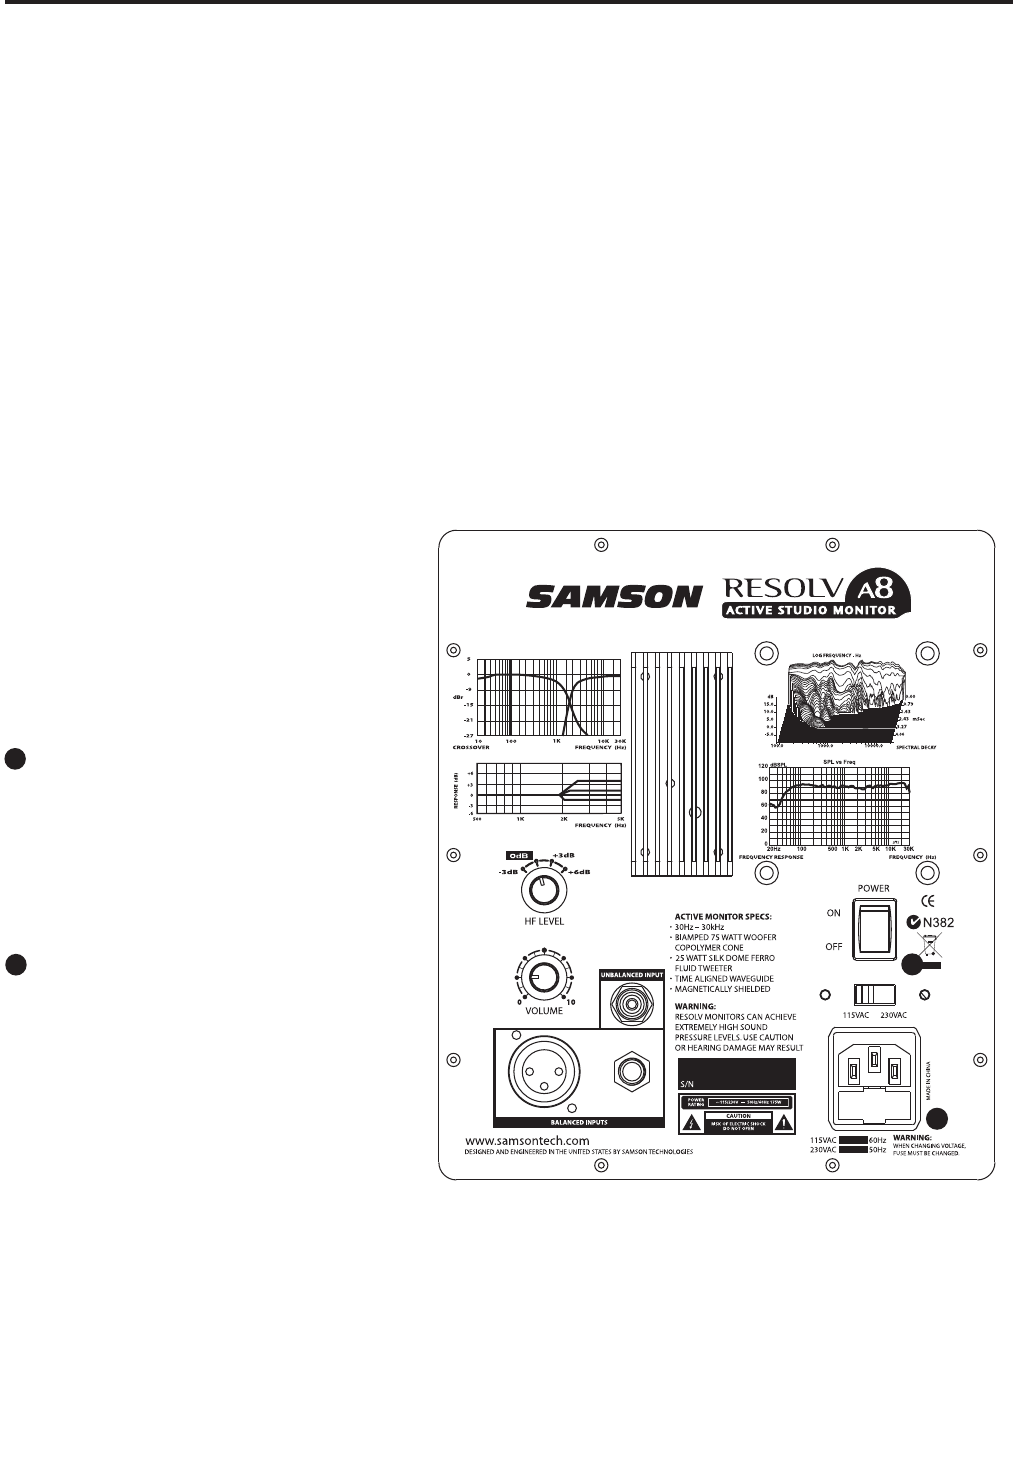
The Resolv A Series rear control panels are where you will make your connections for both AC power and
audio signals. The rear panel also contains the controls to make adjustments to the overall volume and
frequency response curve. The following section details the rear panel controls and connections.
Powering the Resolv A Series
Since the Resolv A Series are active studio monitors with an on-board power amplifier and electronic
crossover, it is necessary to connect the unit to an AC power supply. Make sure that the main Power
switch is set to the OFF position and connect the supplied IEC power cable into the AC inlet.
Things that go Hum!
When running power cables, be careful not to run the AC power cords or AC extension cords in paral-
lel to your input cables. This will help reduce any AC hum that can be picked up. If your have to cross
an AC line with an audio line, try to
cross them at a 90 degree angle for
the least amount of induced hum.
Using the Resolv A Series balanced
input connectors will greatly protect
against the induced hum thanks to
the common mode rejection (the
induced hum is phase canceled) that
it's balanced input circuit provides.
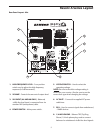
POWER SWITCH – The POWER
switch is used to turn on the Resolv
A Series active electronics. When set
to the ON position, the front panel
LED will illuminate red, indicating the
Resolv A Series is powered up and
ready for operation.
AC INLET - Connect the supplied IEC
power cable here.
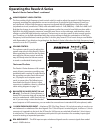
The Resolv A Series's rear panel
provides two important controls for
adjusting the overall sound of the
monitor, High Frequency Level and
Volume. Eventually, you will adjust
these controls to your preferable
position and “set it and forget it”.
That’s assuming that the monitors
remain in the same spot, in the same studio. If you take your monitors to other studios you may find the
controls extremely useful in adjusting the sound for the new room.
1
2
1
2
3
4
5
6
7
1
2
3
4
5
6
7
9


