


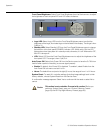


Operation
66 Q-750d Series Installation/Operation Manual
PRE
L
IMINAR
Y
• Paste Settings: To apply the settings on the clipboard to a different input source,
signal format and/or memory preset, do any or all of the following:
• Switch to another DHD Controller input (for example, from HD1 to HD2).
• Change the output signal format at the source (for example, from 720p/60 to
1080i/60).
• Switch to another Memory Preset (for example, from ISF Night to Custom 1).
Then, select Paste Settings from the Copy/Paste menu. If you want to keep these
new settings, you must save them! (Refer to Save ISF Night/Save ISF Day on
page 65 or Memory Presets on page 58.)
Output Shift: The controls in the Output Shift menu are similar to those in the Input
Position menu, except that they change the characteristics of the output signal. These
settings are saved independently for each aspect ratio.
Splash Configure: Use the Splash Configure menu to control the appearance and
behavior of the “splash” screen that appears on the display upon power-up.
• Owner Name/ISF Calibrated/ISF Other: You can have the Q-750d display the
owner’s name, your name, the phrase “ISF Calibrated” and/or any other string, up to
30 characters in length.
Use the up or down cursor button to select a character. Use the right and left cursor
buttons to change the cursor position. Press MENU when you have finished entering
text.
• Splash Timer: When you turn on the Q-750d, it projects a welcome screen with the
Runco and ISF logos, along with the personalized information you enter as described
above. Select Splash Timer from the Splash Configure menu to set the amount of time
for which this screen appears. The range is from 5 to 60 seconds, in one-second
increments. Press or to set the timer, then press MENU.
• Splash Enable: When you have finished customizing the splash screen, select Splash
Enable from the Splash Configure menu. Then, select On and press ENTER.
OSD Position: To adjust the position of the OSD, select OSD Position from the
Calibration menu and press ENTER.
Press or to select “Hor.” or “Ver.” Then, press or to change the position.
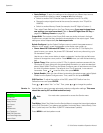
Service Use the Service menu to access advanced projector configuration settings. This menu
should be used by ISF-certified technicians only.
Test Video: Select Test Video from the Service Menu to access the internal test patterns
on the DHD Controller. Four patterns are available: Horizontal Ramp, Vertical Ramp, Color
Bars 1 (solid bars) and Color Bars 2 (SMPTE “checkerboard” pattern).
Press MENU to exit test pattern mode.
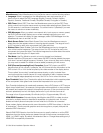
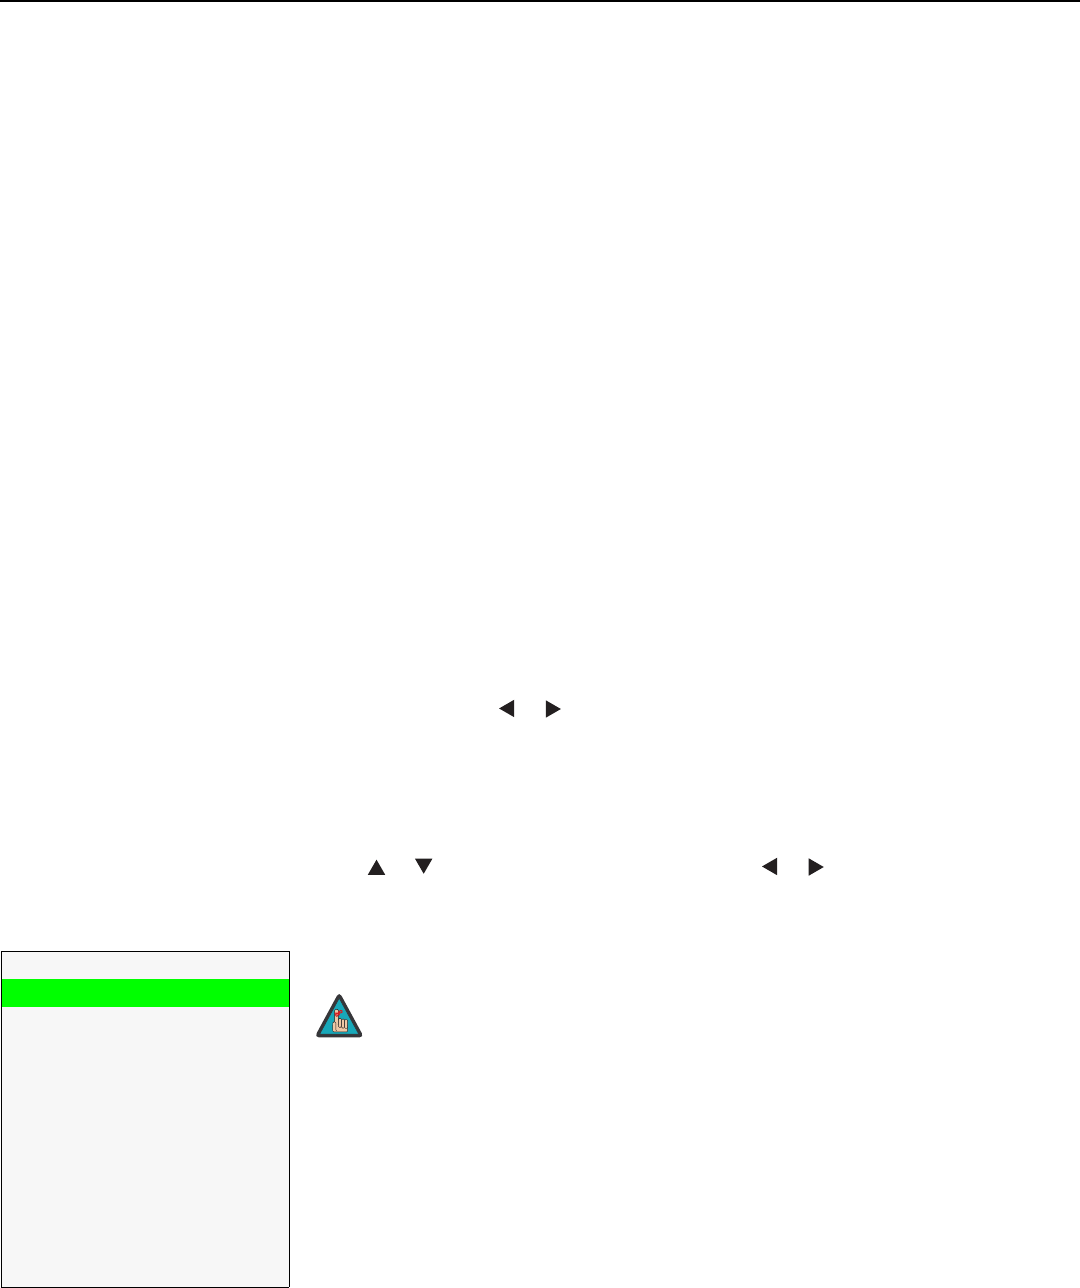
Service
Test Video
Input Names
Remote Control
Display Device
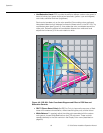
Color Space
Triggers
Miscellaneous
Sync Threshold
HDMI EDID Extension
Front Panel Brightness
System Reset
➤
You must enter a passcode to access the Service menu.
Note