


Installation
40 Q-750d Series Installation/Operation Manual
PRE
L
IMINAR
Y
3.8
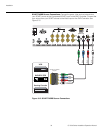
Primary Lens
Adjustments
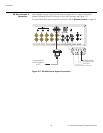
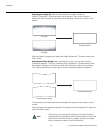
The Q-750d gives you a great deal of control over the picture size, position and focus.
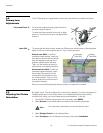
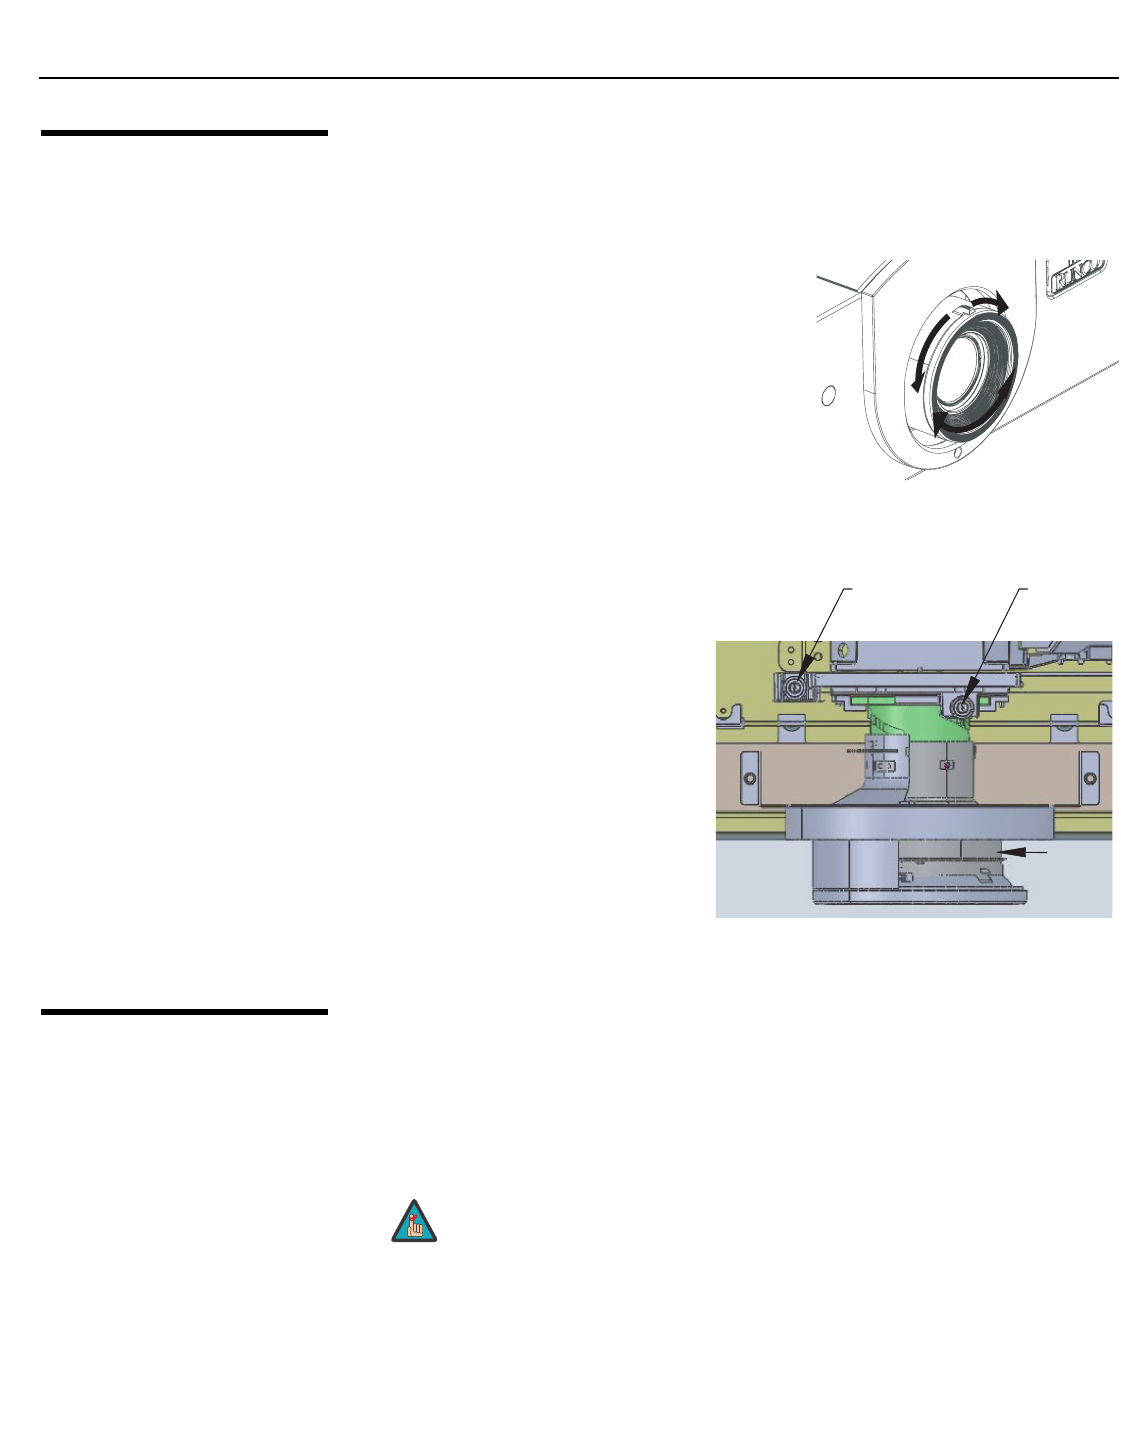
Focus and Zoom To focus the projected image, grasp the lens by
the outer ring and rotate it.
To make the picture smaller (zoom out) or larger
(zoom in), move the zoom tab in the appropriate
direction.
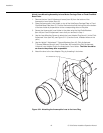
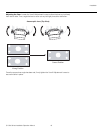
Lens Shift To access the lens shift controls, loosen the Phillips screw at the bottom of the decorative
bezel on the front of the projector (see w). Then, remove the bezel.
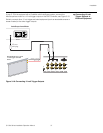
Vertical Lens Shift: To shift the
projected image vertically, insert the
provided hex wrench into the vertical
lens shift adjuster at the top of the
projector (directly above the lens).
Then, turn the wrench as shown to
shift the lens in the desired direction.
Horizontal Lens Shift: To shift the
projected image horizontally, insert
the provided hex wrench into the
horizontal lens shift adjuster at the
top of the projector. Then, turn the
wrench as shown to shift the lens in
the desired direction.
When you have finished adjusting the lens position, re-install the front bezel.
3.9
Adjusting the Picture
Orientation
By default, the Q-750d is configured for a “floor/front” installation, in which the projector is
installed upright and in front of the screen. If it is installed behind the screen and/or
mounted on a ceiling, you must change the picture orientation. To do this:
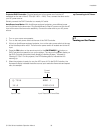
1. On the DHD Controller remote control or front panel, press MENU.
2. Select Service from the Main Menu and enter the Service Menu passcode.
3. Select Display Device from the Service Menu.
4. Select Configure from the Display Device menu, then select Installation.
➤
Zoom
in
Focus
Zoom
out
➤
Vertical
Lens Shift
Lens
Horizontal
Lens Shift
You must enter a passcode to access the Service menu.
Note