


4
Preparation
ˆ
Preparation
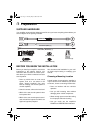
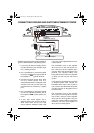
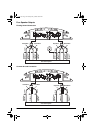
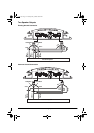
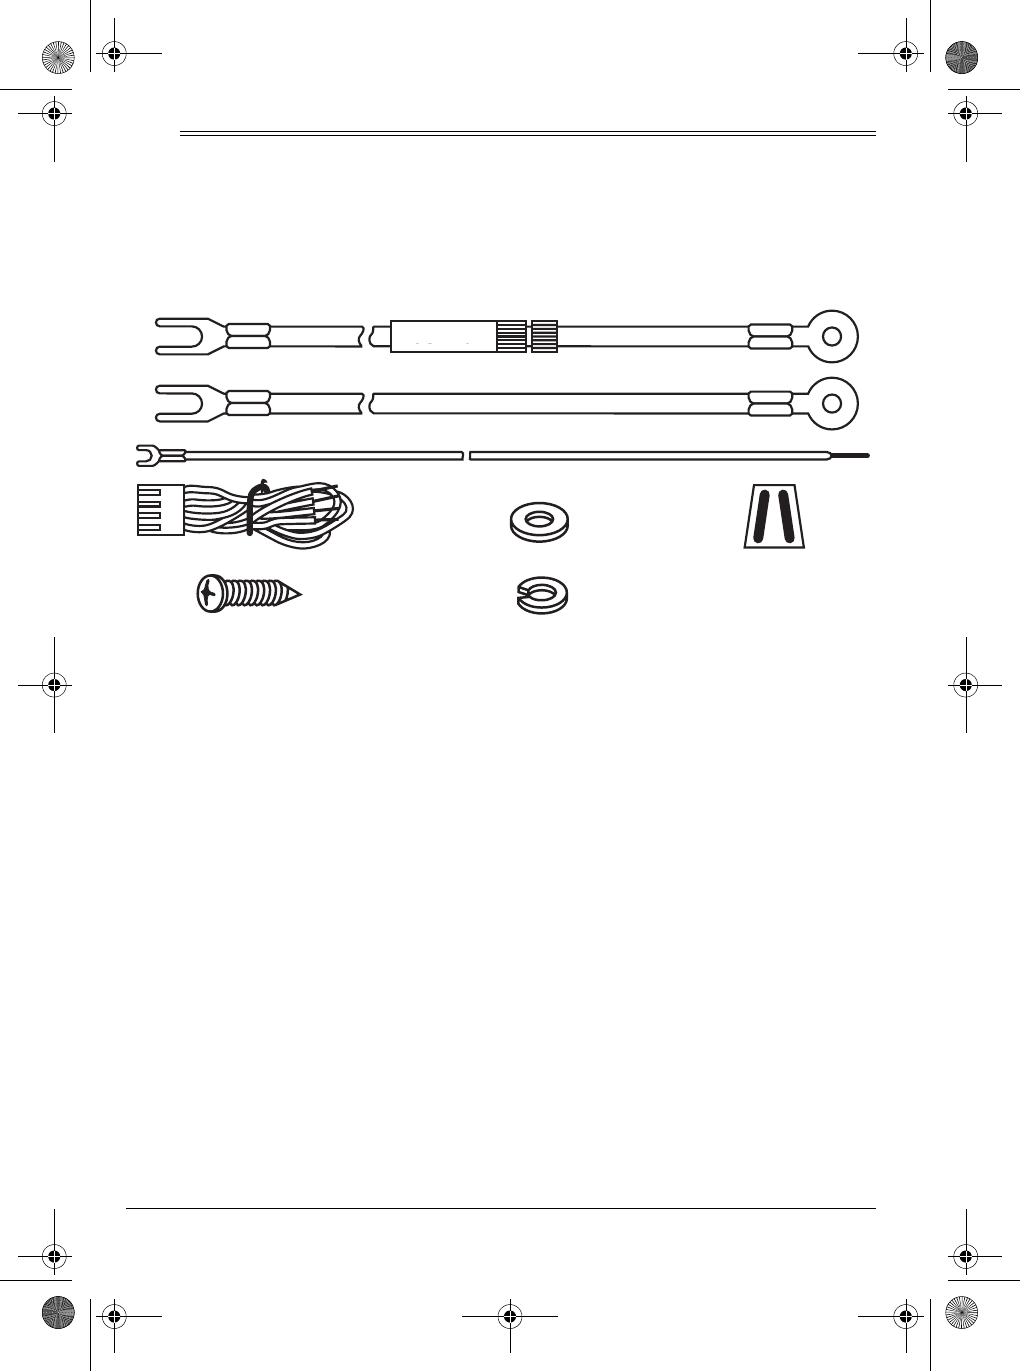
SUPPLIED HARDWARE
Your amplifier comes with the following items. Be sure you locate everything shown before you
store or dispose of the packing materials.
BEFORE YOU BEGIN THE INSTALLATION
Before you install your amplifier, read all the
instructions in this owner’s manual. You
should be able to answer all of these ques-
tions about your vehicle’s electrical and auto
sound systems.
• Does my vehicle have an auto sound
system, such as a car stereo or CD
player, already installed? (You must
have an existing auto sound system to
use this amplifier.)
• How do I connect a wire to the fuse box?
• Which of the auto sound system’s wires
is the power wire?
• Which of the auto sound system’s termi-
nals are low-level outputs and which are
high-level (speaker) outputs?
Also, be aware that installation in your vehi-
cle might require cutting or modifying your
vehicle.
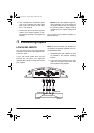
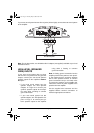
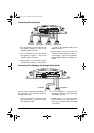
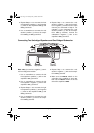
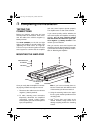
Choosing a Mounting Location
A good location for mounting the amplifier is
in your vehicle’s trunk. Wherever you decide
to mount it, choose a mounting location that:
• Does not interfere with the vehicle’s
operation
• Lets you drill mounting holes without
damaging other vehicle components
• Allows enough space around the cooling
fins for proper airflow and cooling
• Lets you easily see the amplifier’s
POWER and PROTECTION indicators
FUSE 40A
Power Wire (Red) (1)
Ground Wire (Black) (1)
Remote Wire (Blue/White) (1)
4-Pin Connector with Wire (2)
Flat Washers (4)
Lock Washers (4)
Sheet Metal Screws (4)
Twist-On
Terminal
Connectors (9)
12-2017.fm Page 4 Tuesday, May 9, 2000 10:02 AM