


15
Operation
Note:
If you have not already done so,
be sure to mark each wire with the name
of the terminal you will reconnect it to.
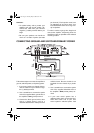
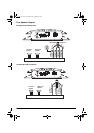
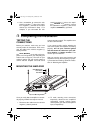
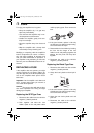
3. Using the mounting holes on the ampli-
fier as a guide, mark the positions for the
mounting holes.
4. Drill
9
/
64
-inch (3.57 mm) holes at the
marked locations, being careful not to
damage anything behind the mounting
surface.
5. Secure the amplifier to the mounting
surface using the supplied sheet metal
screws and washers.
6. Reconnect the wiring.
7. Reconnect the cable to the vehicle bat-
tery’s negative (–) terminal.
8. Reset your vehicle’s clock, your auto
sound system’s tuner memory, and
other timer/memory devices.
ˆ
Operation
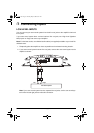
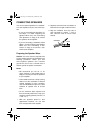
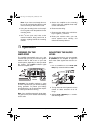
TURNING ON THE
AMPLIFIER
The amplifier automatically turns on a few
seconds after you turn your vehicle’s ignition
switch to ACC or ON or turn on your auto
sound system, depending on how you wired
the system. The
POWER
indicator lights
when the amplifier is on.
Important:
Your amplifier requires 17 amps
or more of power from your vehicle’s battery
during operation. To protect your battery
from discharging, do not operate the amplifi-
er unless your vehicle is running.
Note:
Your amplifier temporarily shuts down
if it gets too hot, then restarts automatically
once it cools.
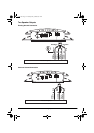
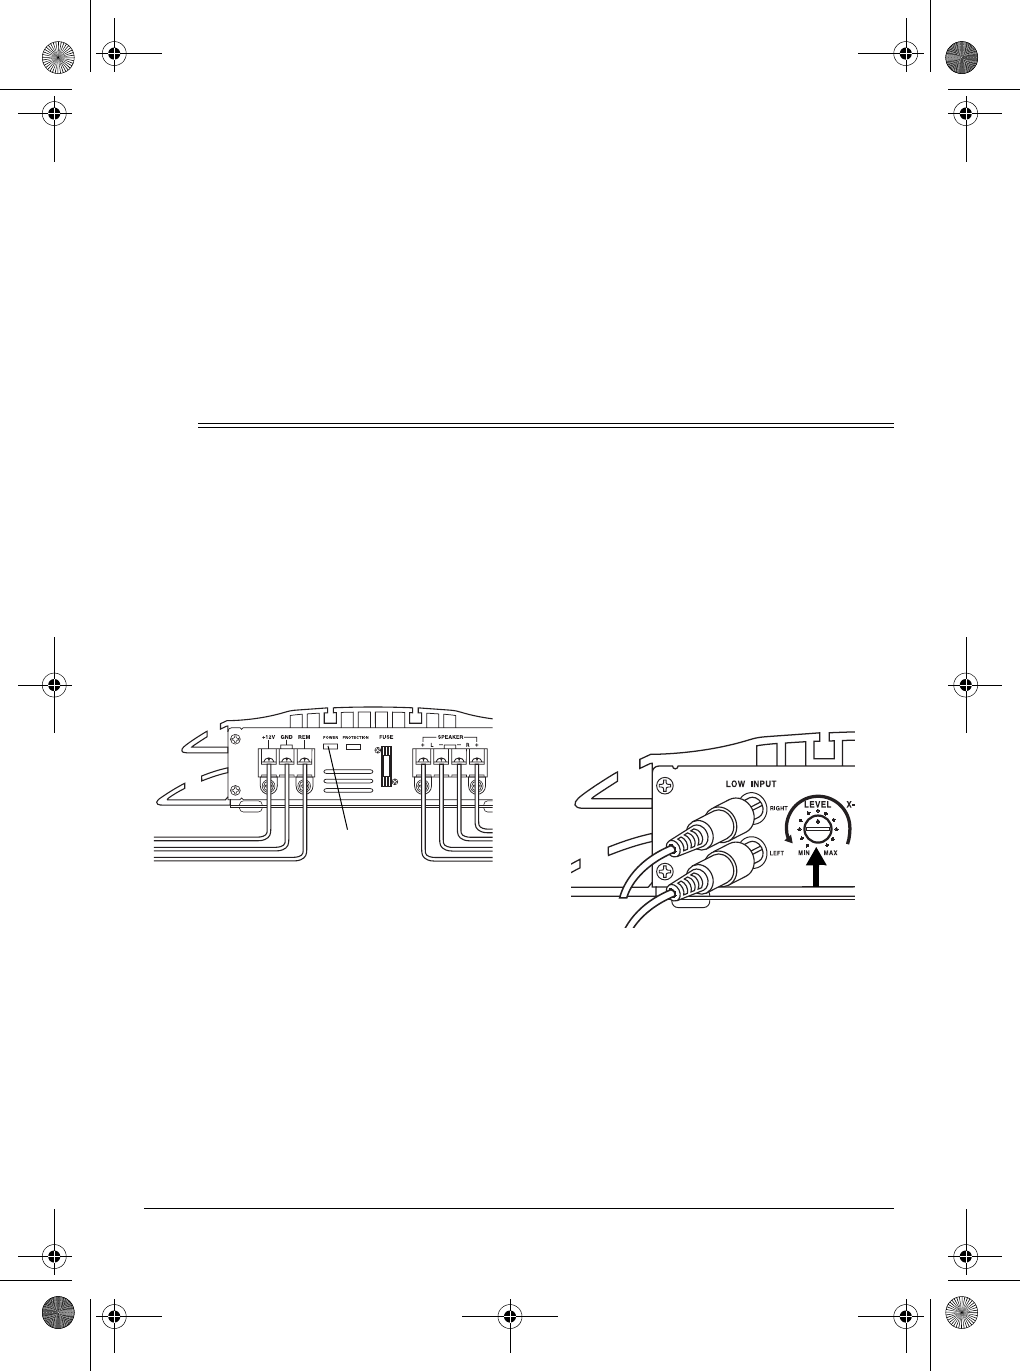
ADJUSTING THE AUDIO
LEVEL
For the best performance, you must set
LEV-
EL (MIN/MAX)
on the amplifier to adjust the
level of the audio signals that enter the am-
plifier.
1. Use a screwdriver to turn
LEVEL (MIN/
MAX)
fully counterclockwise to
MIN
.
2. Turn up the auto sound system’s volume
control to about one-third of its full
range.
3. Adjust
LEVEL (MIN/MAX)
to a comfort-
able listening level.
POWER
Indicator
12-2014.fm Page 15 Tuesday, May 9, 2000 8:51 AM