


16
The Basics
17
The Basics
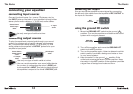
using your equalizer
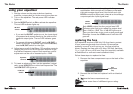
1. Set the volume on the output devices (receiver,
amplifi er, or tape deck) to minimum and turn them on.
2. Turn on the equalizer. The red power LED indicator
lights up.
3. Set the IN/OUT switch to IN to activate the equalizer.
The red LED indicator lights up.
• If you set the IN/OUT switch to out, the input signal
is bypassed and routed directly to the other sound
system’s output jacks. The red LED indicator goes
off.
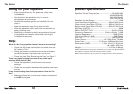
• To operate left channel IN/OUT, use the IN/OUT
switch on the left. To operate right channel IN/OUT,
use the IN/OUT switch on the right,
4. Adjust some or all of the fi fteen (15) equalizer controls
ranging from 25 Hz to 16 kHz for each channel to get
the desired frequency output. Each equalizer control
adjustment can be cut or boosted up to ±12dB.
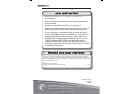
5. To insert an electronic fi lter into the equalizer’s signal
path, press LOW CUT to cut the low frequencies. The
red LOW CUT LED lights up.
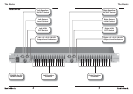
IN/OUT
Switch
Equalizer
Controls
6. It is possible that at certain settings, the frequency
equalization slide controls will increase or decrease
the total average signal level. Use the left and right
LEVEL controls to adjust each channel so the average
output equals the input signal level.
Each LEVEL control has four output level LED
indicators that light up to refl ect the output level
from -10dB to +6dB. The +6 dB LED lights up to
warn you that there is too much output power and
distortion. Lower the LEVEL control until this LED
goes off.
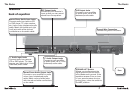
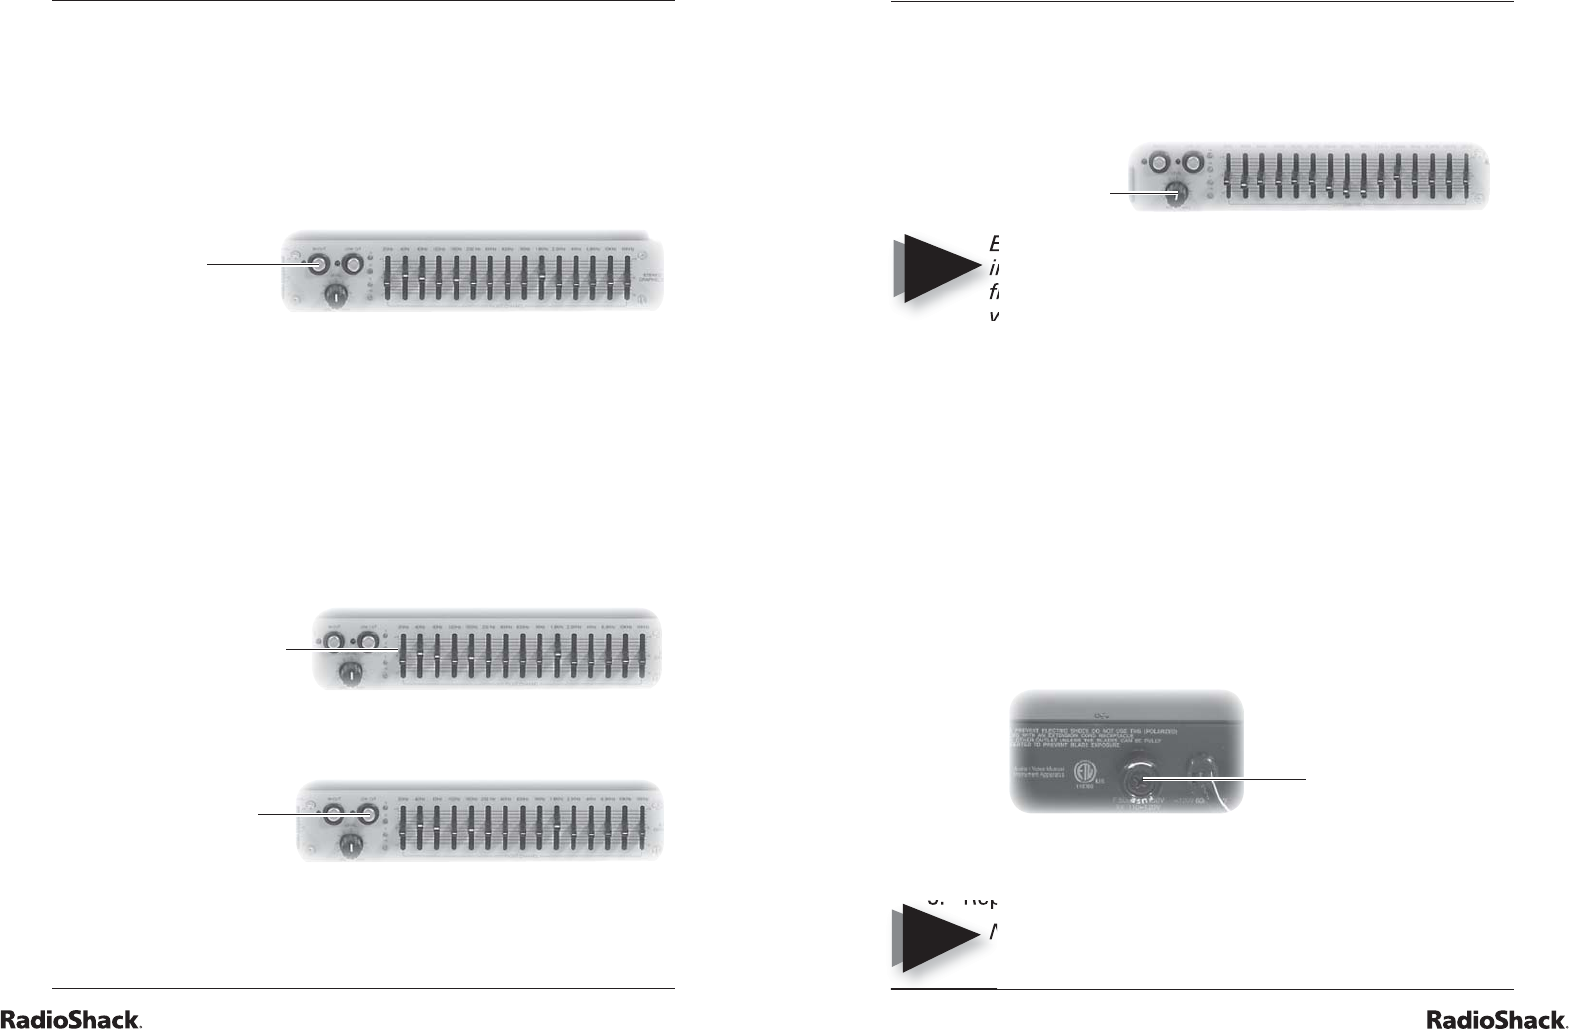
replacing the fuse
Your equalizer requires a 250 Volt, 0.5 Amp fuse to protect
it from power surges and short circuits. If the equalizer
suddenly turns off or will not turn on, the fuse could be
blown. Replace the fuse with a 0.5 Amp, 250 Volt, fast-blow,
1¼ x ¼ inch (32 mm x 6.35 mm) fuse (not supplied, available
at RadioShack or online at www.radioshack.com).
Follow these steps to replace the fuse.
1. Remove the fuse compartment cap on the back of the
equalizer.
2. Remove the old fuse and replace it with an identical
fuse.
3. Replace the fuse compartment cap.
Never use a fuse of a different type or rating.
LEVEL
Control
NOTE
Fuse
Compartment
Cap
NOTE
LOW CUT
Switch