Plantronics Savi User Guide 8
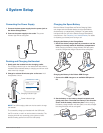
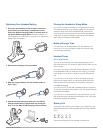
Connecting the Power Supply
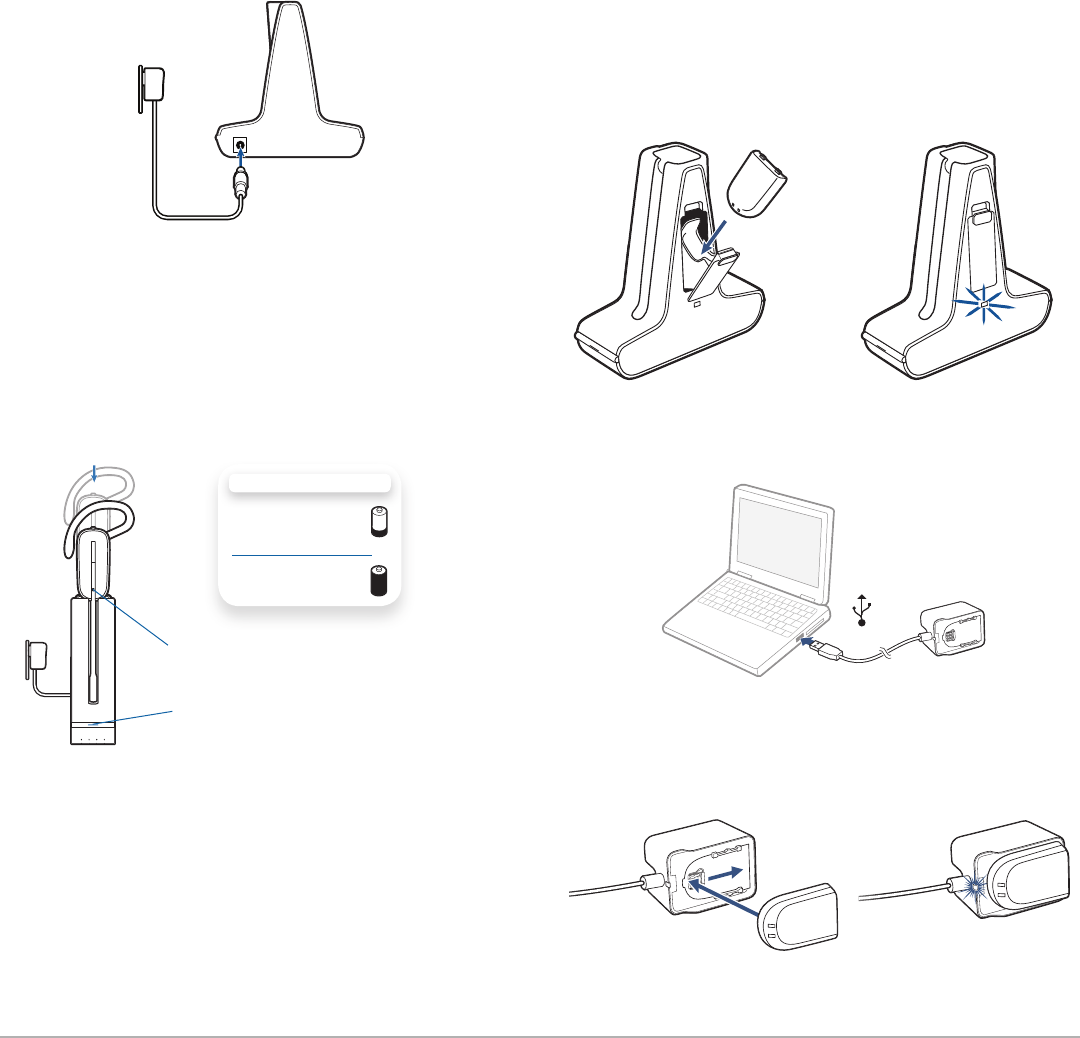
1 Connect the base power supply into the power jack on
the Deluxe Charger Base.
2 Connect the power supply to the outlet. The power
indicator light will be solid green.
Docking and Charging the Headset
1 Gently push the headset into the charging cradle.
The charging indicator light on the headset will ash white to
indicate that the headset battery is charging and will turn solid
white when fully charged.
2 Charge for at least 20 minutes prior to first use. A full
charge takes 3 hours.
Charging Indicator Light
CHARGING TIME
20 min .....................
Minimum charge
before first use
3 hours ...................
Full charge
Power Indicator Light
NOTE The USB charging cable can also be used to charge
the headset.
To successfully charge your headset with the USB cable
the PC must be on and in an active state (not standby). The
charging time will vary according to the number of other
devices drawing power from the PC’s USB port(s).
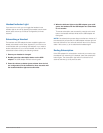
Charging the Spare Battery
Both the Deluxe Charge Base and Deluxe Charging Cable
can charge both the headset battery and the spare battery
simultaneously or independently if desired. The spare battery
is shipped with Savi 445 in the Deluxe Charger Base battery
compartment. See “Replacing Your Headset Battery”for details
on replacing your battery even during a call.
Charging the Battery in the Charge Base.
1 Ensure the deluxe charger base is powered on and the
battery is correctly seated in the battery compartment.
While charging the battery charge indicator will flash green;
once fully charged the charge indicator will be solid green.
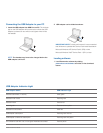
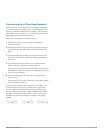
Charging the Battery in the Deluxe USB Charger.
1 Connect the USB charger to an available USB port on
PC.
2 Set the battery on the battery-shaped receptacle and
gently push down. Then slide the battery in the direction
shown until the battery clicks into place. While charging
the battery charge indicator will flash green; once fully charged
the charge indicator will be solid green.
4 System Setup


