


30
7 Using the Tape Deck
Setting up a future
recording (UK model only)
You can set the timer to record something from either the
tuner or a component connected to the auxiliary inputs. For
example, you might want to record a program on the radio
that is broadcast while you're at work. If you're recording
from an auxiliary component it must also be able to switch
on at the time the recording starts—this system can't control
it—or you have to leave it switched on until the recording
has finished. During the actual recording, the volume is
automatically set to minimum.
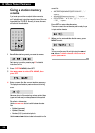
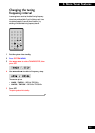
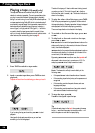
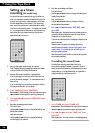
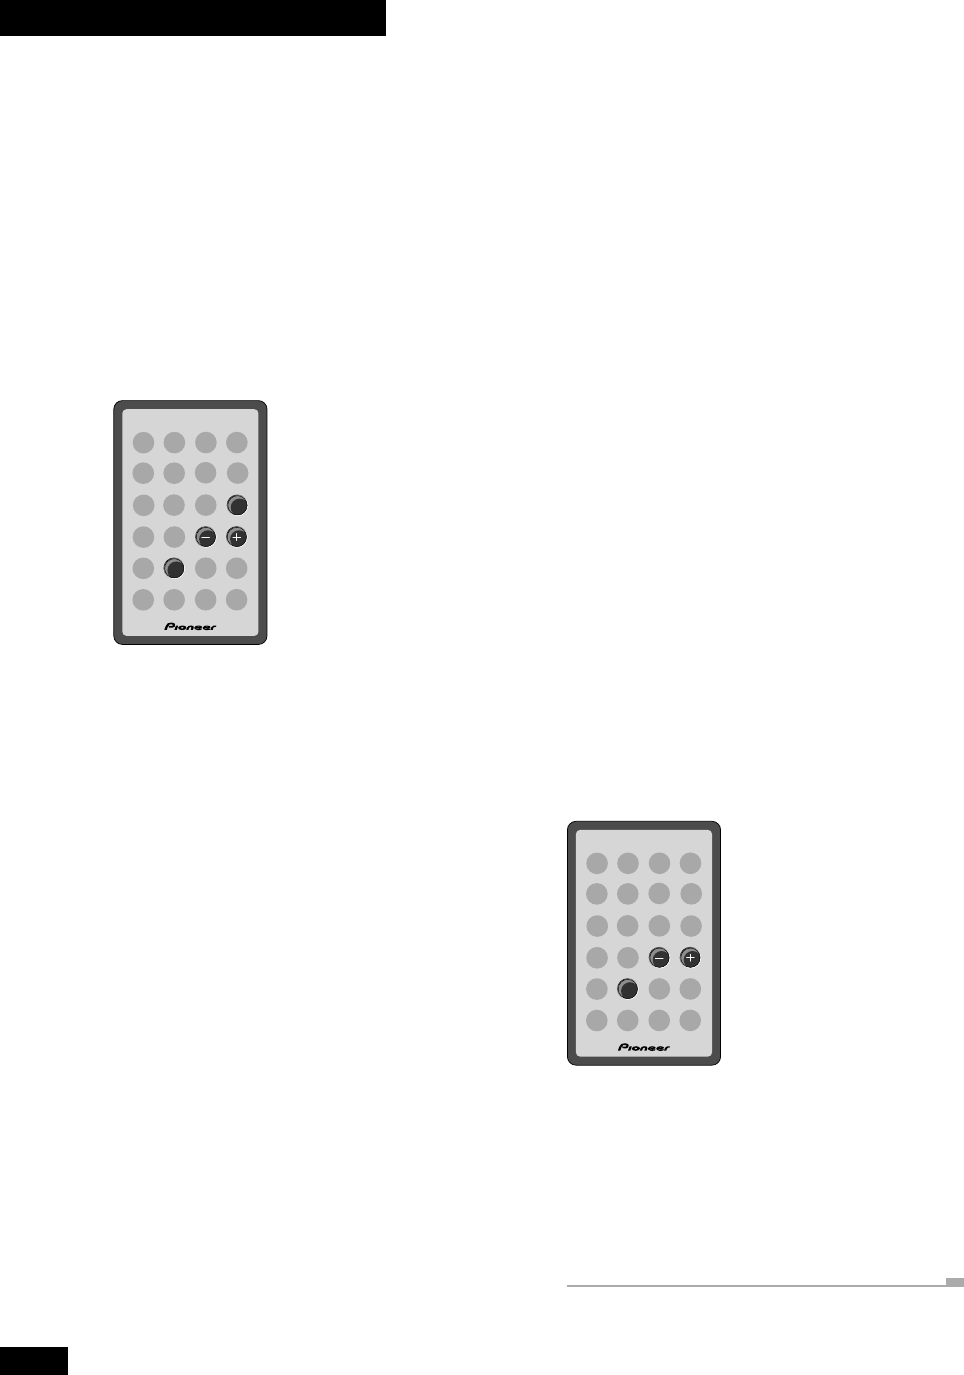
TIMER
SET
4¢
1 Set up the tape deck ready to record.
Load a cassette tape, set the recording direction and reverse
mode, and switch on/off Dolby NR as required.
2 Set up the tuner/auxiliary component.
If you're recording from the tuner, switch to the tuner, and
tune into the station (see page 17 for more detailed instruc-
tions on this).
If you're recording from the auxiliary component, switch to
that component and set it up for playback.
3 Press TIMER and select TIMER REC.
Remember: Switch between timer menu options using the
4 and ¢ buttons; select the option by pressing SET.
4 Use 4 and ¢ to select TIMER EDIT, then
press SET.
5 Set the recording start time:
First, set the hour:
Use the 4 and ¢ buttons to change the flashing hour
display, then press SET.
Next, set the minute:
Use the 4 and ¢ buttons to change the flashing
minute display, then press SET.
6 Set the recording end time:
First, set the hour:
Use the 4 and ¢ buttons to change the flashing hour
display, then press SET.
Next, set the minute:
Use the 4 and ¢ buttons to change the flashing
minute display, then press SET.
7 Use 4 and ¢ to select TAPE REC, then
press SET.
After pressing SET, the display shows you the settings you’ve
just made, including the switch on and off times, and the
component you’re recording from.
The clock and record symbols in the display indicate that the
record timer is set.
Be sure to switch the system into standby before timer
recording starts (the standby indicator lights green in timer-
standby mode). In timer-standby you can check the timer
settings by pressing TIMER.
After the recording has finished, the timer recording mode is
automatically cancelled.
Cancelling the record timer
Once the timer recording has finished, the timer is
automatically cancelled. However, if you need to cancel it
before the recording has started, (either because you made a
mistake setting it, or simply because you no longer want to
make the recording), here’s how you do it.
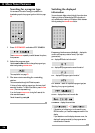
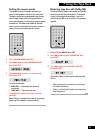
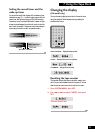
SET
4¢
1 Press TIMER and select TIMER REC.
Remember: Switch between timer menu options using the
4 and ¢ buttons; select the option by pressing SET.
2 Use 4 and ¢ to select TIMER OFF, then
press SET.
After pressing SET, the timer indicator in the display goes out.