


www.phoenixgold.com
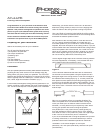
Figure 8
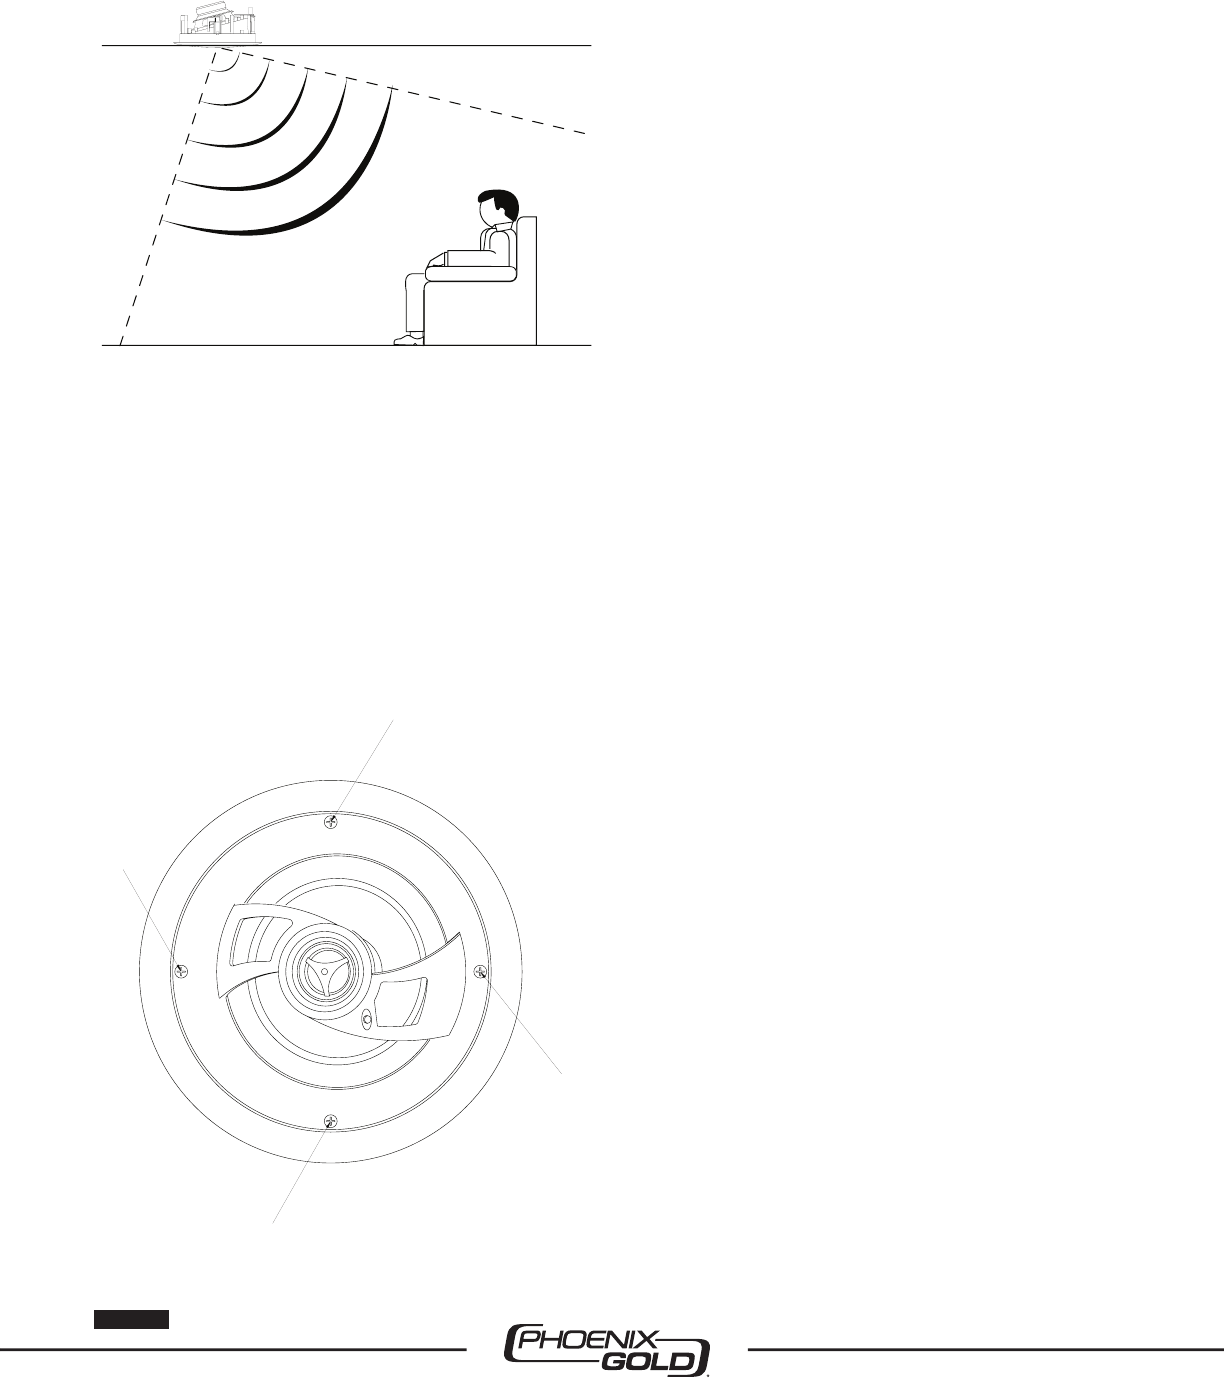
easily done by rotating the speaker until the optimum angle is
achieved- typically a direct line of sight with the listener (Fig. 8).
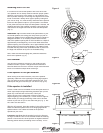
Next, one at a time, turn each of the four screws (Fig. 9) that
operate the doglegs counter clockwise a few turns until you feel
the dogleg is loose from its resting position. Now turn the screw
clockwise until you feel the dogleg contact the ceiling surface.
Tighten all four of the mounting screws in the same manner
until the speaker is properly aligned and held securely to the
wall surface. Caution: Do not over tighten!
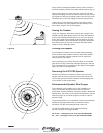
Aiming the Tweeter
Using your fi ngertips, place them carefully at the edges of the
tweeter housing. Apply gentle pressure to swivel the tweeter to
aim the axis toward the listening area. You can use a piece of
music with a solid center imaged vocalist to assist in correctly
aiming the tweeter. When the tweeters are properly aligned for
the listening area you will hear a coherent and stable center
image from your listening position.
Painting the Speaker
A paint shield is included in the ATCLCR6 speaker package.
Place the paint shield inside the frame to protect the speaker.
You can now safely paint the speaker frame to match your
ceiling surface if you desire.
When painting the grill caution should be taken to ensure that
paint does not clog or block the perforated openings in the grill.
This would prevent full operation from the speaker. We suggest
spray paint only for this application.
Removing the ATCLCR6 Speaker
Should it ever become necessary to remove the ATCLCR6
speaker from the ceiling, simply remove the grill and turn the
four mounting screws counter-clockwise until the doglegs lock
out of position in their resting seats.
Recommended Speaker Wire Gauges
The resistance of the speaker wire in your installation can
cause your speaker to perform at less than an optimum
quality level. Excess resistance, caused by using an undersized
speaker wire, can result in loss of detail and defi nition in the low
frequency region of your audio program, as well as a loss of
dynamic range.
To prevent this effect in your installation, we have recommended
speaker wire gauges that should not exceed 0.5 Ohms
resistance over the recommended length of wire run.
For the ATCLCR6 speaker, we suggest the following
minimum speaker wire gauge be used:
50’ or less – 16 Gauge 2-Cond. CL3 (PG model M1650W)
50’ – 100’ – 16 Gauge 2-Cond. CL3 (PG model M16100W)
1
2
3
4
Figure 6
Figure 9