27
English
3139 116 19721
CLOCK TIMER
View Clock
You can view the clock (if it is set) if the
system is in Standby mode or when any
sound source is selected (CD, TUNER, etc.).
The clock will be displayed for about 7
seconds.
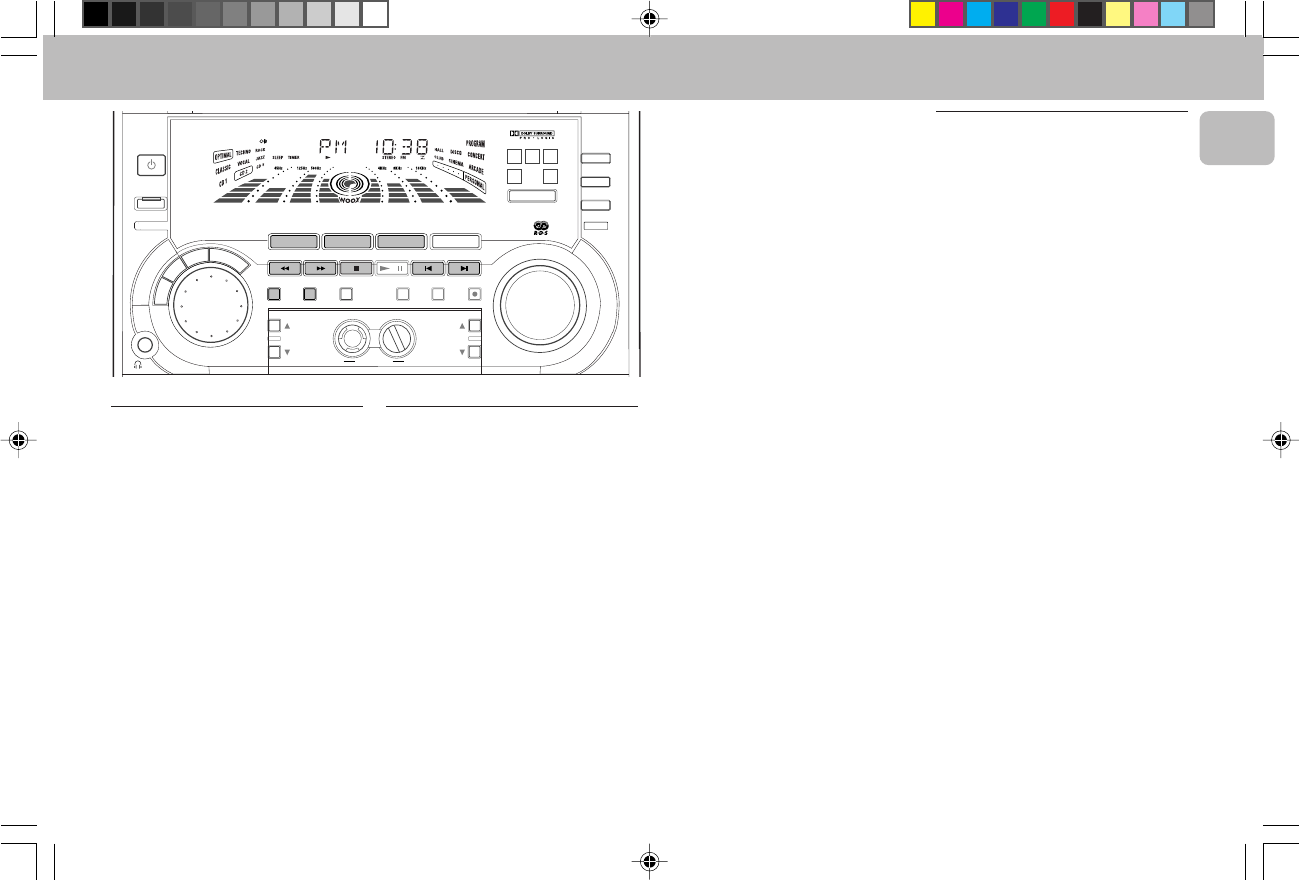
• Press CLOCK/TIMER briefly
(or CLOCK
on the remote control)
.
™ "PM 10:38 or 22:38" (the
current time) will be displayed
depending on whether you have
selected 12- or 24-hour mode.
™ "--
::
::
:--" will be displayed if the
clock is not set.
Note:
– When the system goes into low power
standby mode, the clock setting will not
be displayed.
Clock Setting
The clock can be set in either 12- or 24-
hour mode, e.g. "AM 12:00" or
"00:00". Before setting the clock, you
must be in the View Clock mode.
1 Press CLOCK/TIMER to select clock
mode.
2 Press PROG
(on the system only)
to
select 12- and 24- hour mode.
™ If 12-hour mode is selected,
"AM 12:00" starts flashing.
™ If 24-hour mode is selected, "00:00"
starts flashing.
3 Set the hour with␣ à or á on the
system.
4 Set the minute with␣ í or ë on the
system.
STANDBY
ON
MINI HIFI SYSTEM
BANDC1 • 2 • 3
CDR
DUB
(HSD)
RECORD
A. REVDIM
CLOCK/
TIMER
PROG
BASS
TREBLE
wOOx
TECHNOLOGY
POWER SAVE
IR SENSOR
V
O
L
U
M
E
PLUS
LEVEL
STOP•CLEAR
SEARCH•TUNING PLAY PAUSE
PREV NEXTSIDE
PRESET
▲
▲
B
A
S
S
/
T
R
E
B
L
E
P
E
R
S
O
N
A
L
D
S
C
V
E
C
TAPE 1•2
CD 1•2•3
CDR/DVD
TAPE
CD
TUNER
AUX
LEFT CENTER RIGHT
SURR
SURR
PRO LOGIC
RDS
DOLBY B NR
NEWS/TA
CD TEXT
BAND
5 Press CLOCK/TIMER again to store the
setting.
™ The clock starts.
• To exit without storing the setting, press
Ç on the system.
Notes:
– During clock setting, if no button is
pressed within 90 seconds, the system
will exit clock setting mode
automatically.
– When a power interruption occurs, the
clock setting is erased.
– To set the time with RDS clock, see
"Receiving RDS Radio Station" under
TUNER section.
Timer Setting
• The system can switch on to CD,
TUNER, or TAPE 2 mode automatically
at a preset time. It can serve as an
alarm to wake you up.
• Before setting the timer, make sure the
clock is set correctly.
• The timer will always be switched on
once it is set.
• The volume of the timer will
increase from the minimum level
until the volume level before the set
is switched to standby mode.
1 Press and hold CLOCK/TIMER for more
than
2 seconds
to select timer mode.
™ “AM 12:00” or “00:00" or the
last timer setting starts flashing
depending on whether you have
selected 12- or 24-hour mode.
™ The TIMER starts flashing.
™ The selected source is lit while other
available sources are flashing.
2 Press CD, TUNER or TAPE to select the
desired source.
• Before selecting CD or TAPE, make sure
a CD or tape is loaded in the CD tray or
tape deck 2.
3 Press␣ à or á on the system to set
the hour for the timer to start.
4 Press␣ í or ë on the system to set
the minute for the timer to start.
pg 01-31/P88/22-Eng 3/6/00, 1:28 PM27


