


16
English
Step 3: Setting the speakers
You can adjust the delay time (centre and rear
speakers only) and volume level for individual
speakers. These adjustments let you optimise
the sound according to your surroundings and
setup.
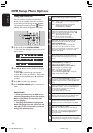
Test Tone - Turning on/off
If you have turned on the test tone, the test
signal will be automatically generated to help
you judge the sound level of each speaker.
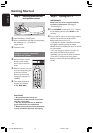
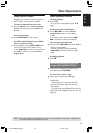
1 In disc mode, press SYSTEM MENU.
➜ Use the 1 2 3 4 keys on the remote to
navigate in the menu.
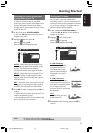
2 Highlight icon and press 4.
Move to and press 2.
Move to {TEST TONE} and press 2.
OFF
ON
DIGITAL OUT
CNTR DELAY
NIGHT MODE
REAR DELAY
TEST TONE
TEST TONE
3 Press 34 to select a setting.
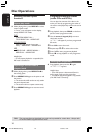
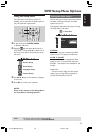
Adjusting the delay time
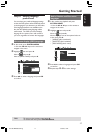
4 Press 34 to highlight one of the options
below at a time, then press 2.
DIGITAL OUT
CNTR DELAY
NIGHT MODE
REAR DELAY
TEST TONE
SET CENTER DELAY
OFF 5ms
{CNTR DELAY} – Select this to set the delay
time in relation to the listening position/
distance for the center speaker (5ms, 3ms, 2ms,
1ms or OFF).
{REAR DELAY} – Select this to set the delay
time in relation to the listening position/
distance for rear speakers (15ms, 12ms, 9ms,
6ms, 3ms or OFF).
5 Press 1 2 to adjust the settings that best suit
your surround sound needs.
6 Press OK to confirm.
Helpful Hint:
– Use longer delay time settings when the rear
speakers are closer to the listener than the front
speakers.
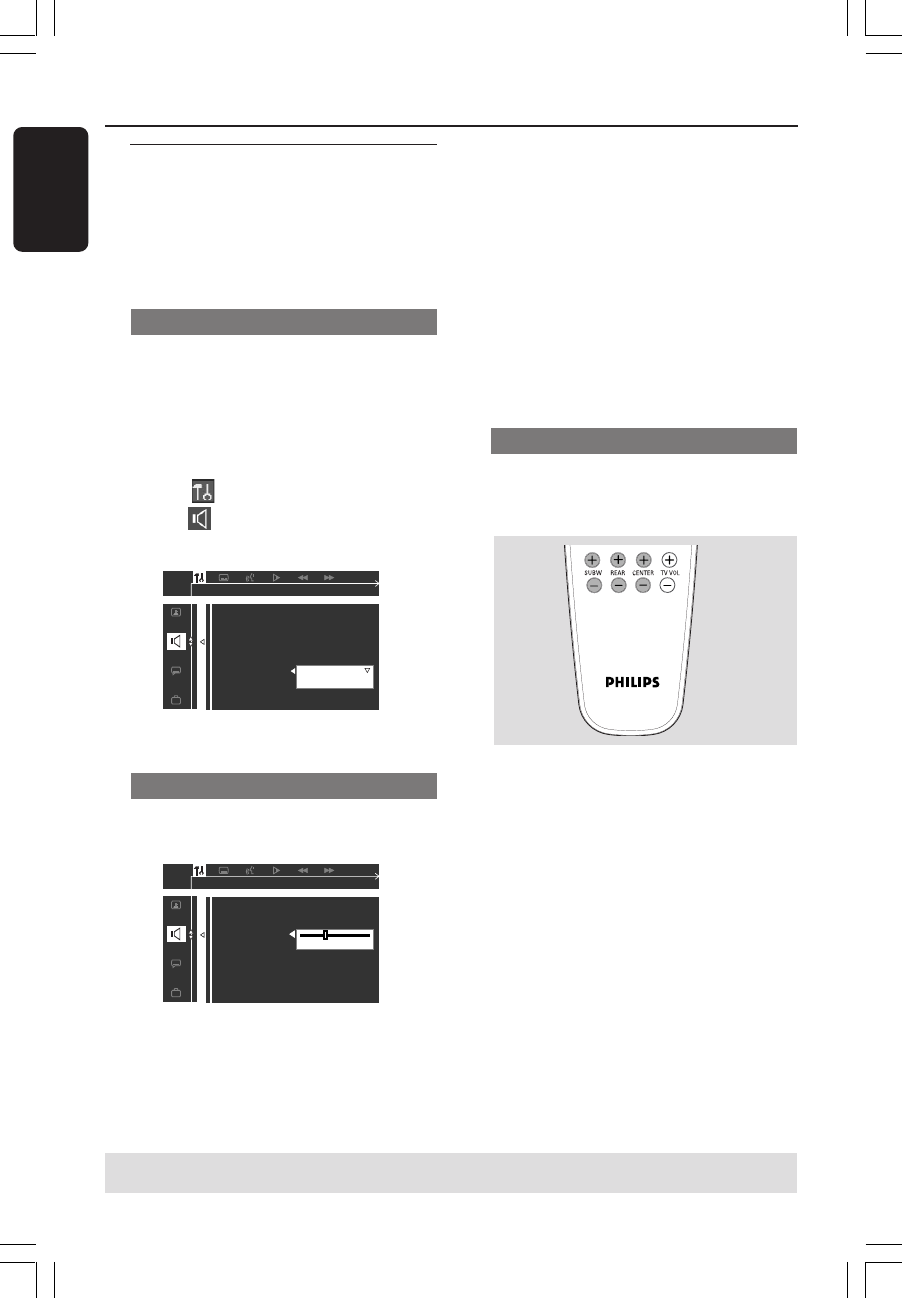
Adjusting the speaker output levels
You can adjust the rear speakers, centre
speaker and subwoofer output levels by
comparing the sound from the front speakers.
● Press the respective buttons on the remote
(REAR +-, CENTER +- and
SUBW +-) to adjust the output level
between -15dB ~ 10dB.
Helpful Hint:
– If you have selected Stereo mode, adjusting the
center and rear speakers’ volume level will have no
effect.
Getting Started
TIPS: To return to the previous menu, press 1.
To remove the menu, press SYSTEM MENU.
001-035-MX2500-00-Eng 9/16/04, 10:4616