


English
19
Important:
- Recording from CD-changers should always be started in the
Auto-Start mode.
- Only make analog recordings when digital recording is not
possible.
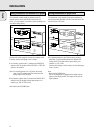
Preparing for manual recording
1 Make sure the disc is absolutely free of scratches and dust
particles.
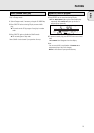
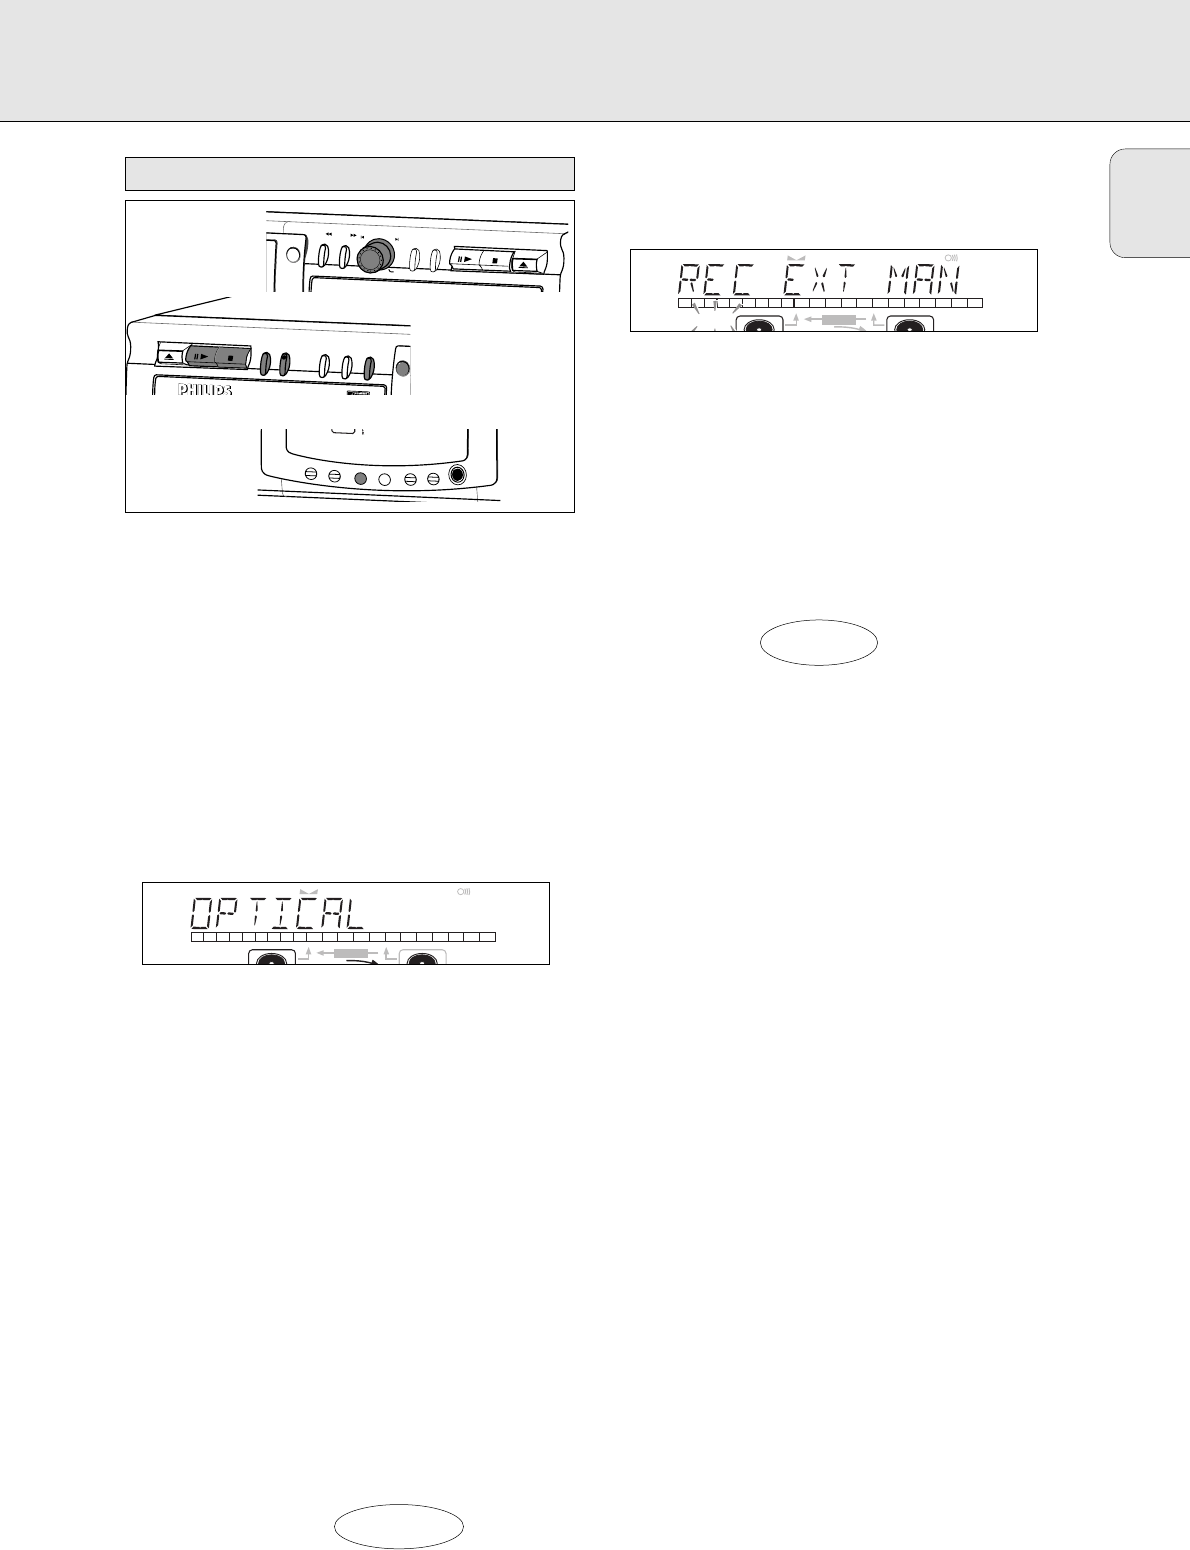
2 Press EXT(ernal) SOURCE repeatedly until (depending on the
connection used):
➜ DIGITAL I, OPTICAL I or ANALOG lights up and
DIGITAL 1, OPTICAL or ANALOG appears on the
display.
•When Auto Track is On (default setting), track numbers will
automatically be increased during recording.
•To switch off the Auto Track function you have to enter
Menu mode.
If you wish to increase track numbers manually, press
TRACK INCR(ement) on the remote control. For further
instructions see Menu mode.
ON (Auto): The track increments are automatically taken over
from the digital source material or after 2.7 seconds
silence during analog recording.
OFF (Manual): While recording track numbers can be
incremented manually by pressing TRACK INCR(ement) on
the remote control. (Minimum track length is 4 sec.) (This
can also be done in Auto track ON mode.)
• Track numbers cannot be changed after recording.
Note: Auto track works only with Consumer Sources with a
digital output signal according to the IEC 958
(consumer part) audio standard.
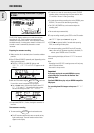
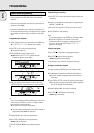
3 With the recorder stopped, press REC TYPE five times to
enter the Manual Record standby mode.
➜ MANUAL starts to flash and the display shows REC
EXT MAN followed by WAIT. After a few seconds
PRESS RECORD followed by the remaining time and
track number appear on the display.
4 Play the source first to set the optimal recording level on
the CD recorder.
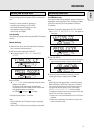
5 Rotate the EASY JOG/ENTER key until, on the Record/Play
Level bar, all the blue segments are alight, but the red
segments do not light continuously during the loudest
passages.
➜ Display shows _XX DB (Decibel, e.g. -3DB).
6 Stop the source.
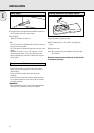
Start manual recording
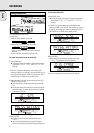
1 To start recording, press RECORD on the CD recorder and
immediately start the source (from Pause or Stop-mode).
➜ d lights continuously. The track number and recording
time left appear on the display.
•If CHECK INPUT message also flashes, the digital
connection is incorrect.
•To record a 3-second silence at the start of a track, press
PAUSE on the CD recorder before starting the source.
•To check the total remaining recording time, press DISPLAY
on the CD recorder. (This can also be done during the
recording.)
2 To stop recording, press STOP on the CD recorder.
➜ UPDATE lights up and d goes out.
• If STOP was pressed within 3 seconds after RECORD, no
recording will take place.
• To interrupt recording, press PAUSE on the CD recorder.
d starts to flash. Press PAUSE again to restart recording.
( A new track will always be made.)
After recording the display will show UPDATE for several
seconds.
Note: With AUTO TRACK ON, the recorder will stop and go
to REC STANDBY for 1 minute and then goes to Stop
mode automatically. Recordings from DAT, DCC or
recordings made analogously will stop after 20 seconds
silence. With AUTO TRACK OFF, the auto stop
mode is disabled.
Important:
If you want to play the recorded CDR disc on any
regular CD player, it must first be finalized. See
finalizing discs.
Finalized CDRW discs play only on CDRW compatible
CD players.
For recording from CD changers always use REC EXT
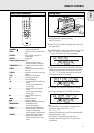
REM
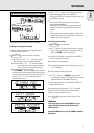
TRACK
REC
TIME
PROG
SHUFFLE
CHANGER
SYNC MANUAL
RECORD
REMTOTAL
ALL
TIME STEPTRACK
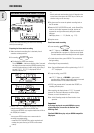
REM
TRACK
REC
TIME
PROG
SHUFFLE
CHANGER
SYNC MANUAL
RECORD
REMTOTAL
ALL
TIME STEPTRACK
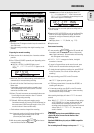
OPEN / CLOSE
PLAY / PAUSE
STOP
REC
TYPE
OPEN / CLOSE
PLAY / PAUSE
STOP
EXT
SOURCE
ERASEFINALIZE
CDR
RECORD
EASY JOG
STORE/
MENU
CANCEL/
DELETE
CD
ENTER
PHONES
DISPLAY SCROLL
DJ MODE
REPEAT
SHUFFLE
PROG
CDR 77X AUDIO CD RECORDER
ANALOG
RW
Manual recording from external CD player
RECORDING