5
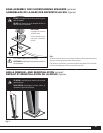
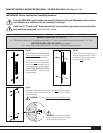
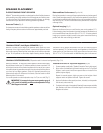
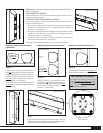
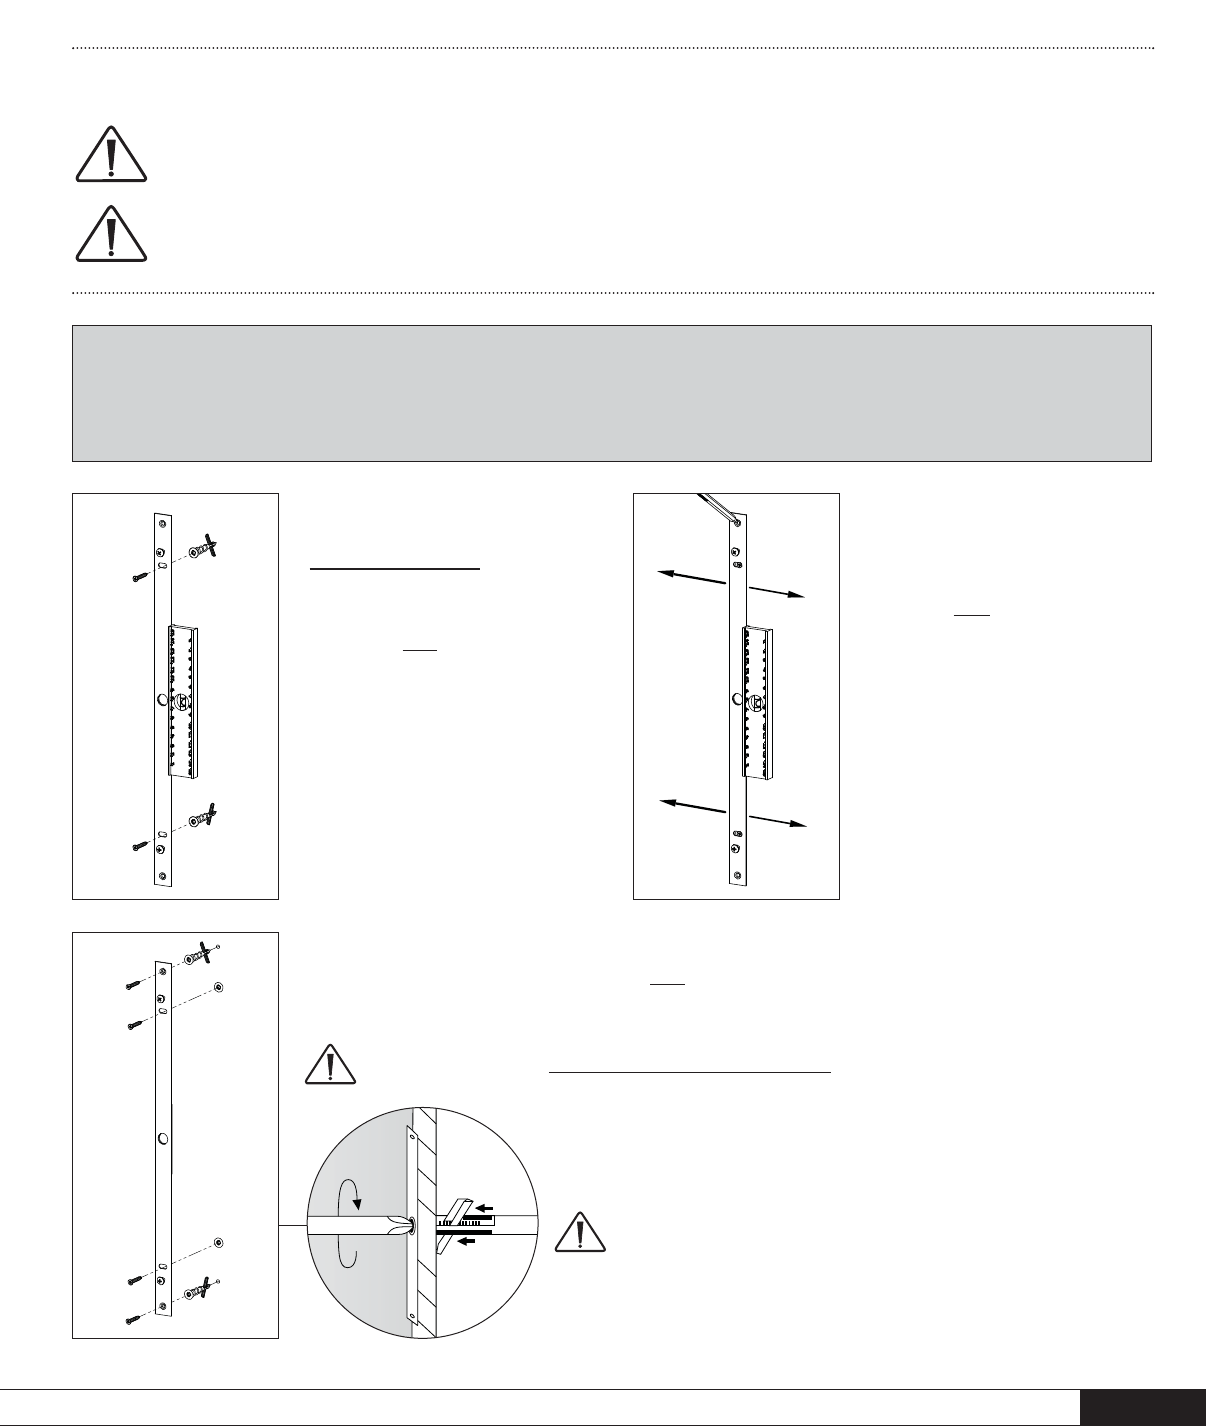
Fig. 9a
NOTE: This step is for positioning only.
Screws will be removed in next step to
allow installation of additional bolts.
Position bracket and ensure it is level.
Mark the two inner
screw holes. Drill pilot
holes, then press anchor bolts firmly into
drywall and screw in. Follow with flathead
screws: DO NOT SCREW ALL THE WAY
IN AT THIS POINT —leave screw heads
protruding slightly.
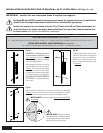
IMPORTANT: Please read before installing brackets
Paradigm DOES NOT supply hardware for mounting brackets to the wall. Mounting hardware shown
is an example only; hardware will vary depending on wall type.
Install into 1/2˝ (13 mm) or 5/8˝ (16 mm) drywall only. Screws must be long enough to go through anchor
bolts and firmly into drywall
(see inset circle, below)
.
BRACKET INSTALLATION FOR MILLENIA
™
20 AND MILLENIA
™
30 (Figs. 9a – 9e)
BRACKET PARTS LIST
(per speaker)
:
• 1 – Wall-mounting bracket (with 2 protruding screw heads) • 2 – Sets of 2 self-adhesive bumper pads (marked for 0° or 7° tilt)
PARTS REQUIRED, NOT INCLUDED
(per speaker)
:
• 4 – Anchor bolts (minimum load rate 25 lb / 11.3 kg) • 4 – Flathead (Countersunk) screws
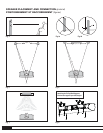
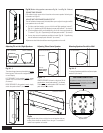
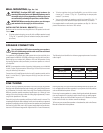
Fig. 9b
Bracket is slotted
(see illustration)
, to
allow further adjustment left or right, if
necessary. Re-check to ensure bracket is
level. Mark outer
screw holes.
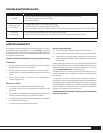
Fig. 9c
Remove the two flathead screws
(not shown)
. Drill outer pilot holes, then press
anchor bolts firmly into drywall and screw in. Now insert all four flathead
screws and tighten.
WARNING! For stability, all four
flathead screws MUST be used.
WARNING!All screws must be inserted
straight and fully tightened to ensure
correct operation of anchor bolts.


